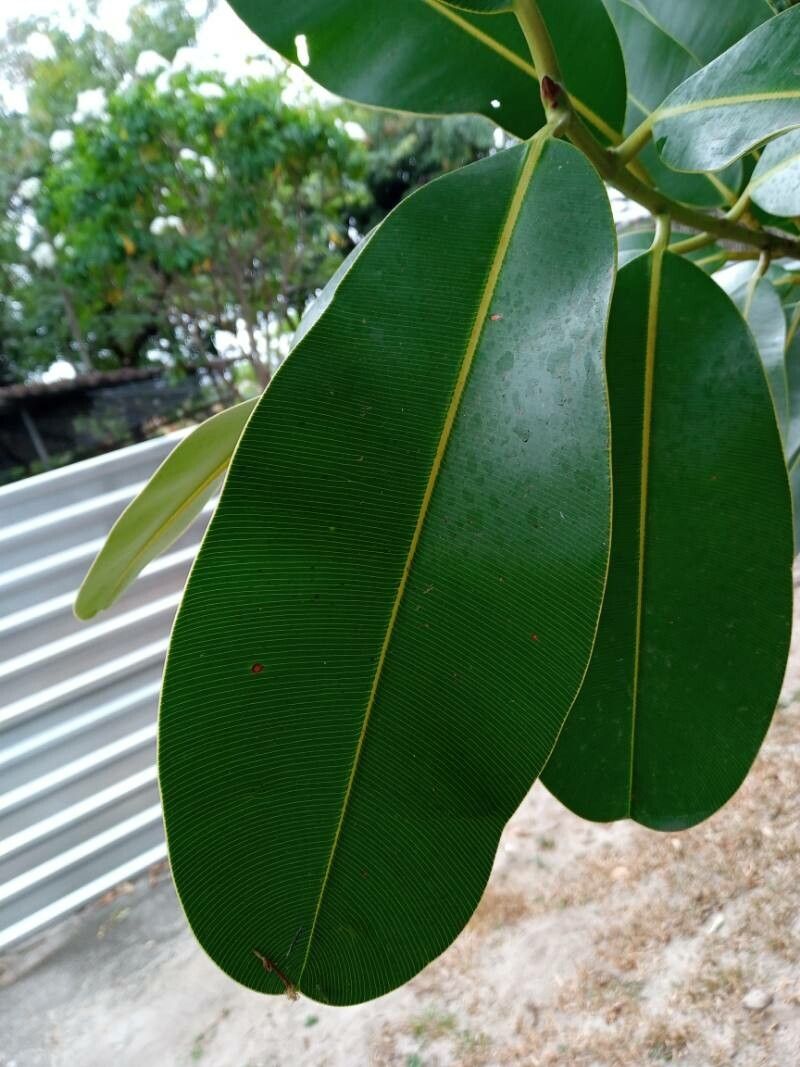
Hey there, fellow plant lovers! If you’ve ever admired the lush, glossy foliage and sweet fragrance of a Calophyllum brasiliense, you’re in for a treat. This beauty is a real showstopper, and the best part? You can bring more of its tropical charm into your own garden by propagating it yourself. It feels so rewarding to see those tiny roots emerge, doesn’t it? Now, I’ll be honest, Calophyllum brasiliense isn’t quite as hands-off as, say, a pothos for beginners, but with a little patience and this guide, you’ll be well on your way to success.
The Best Time to Start
There’s a sweet spot for getting your Calophyllum brasiliense cuttings going. The late spring or early summer is generally your best bet. This is when the plant is actively growing, channeling its energy into new shoots. You’re looking for semi-hardwood cuttings – not brand new, floppy green growth, and not old, woody stems. Think of it as the perfect stage between youthful enthusiasm and seasoned maturity.
Supplies You’ll Need
Before we get our hands dirty, let’s gather our tools:
- Sharp Pruning Shears or a Craft Knife: Cleanliness is key to preventing disease.
- Rooting Hormone: This is your secret weapon for encouraging strong root development. Look for one with IBA.
- Potting Mix: A well-draining mix is crucial. I like to use a blend of equal parts peat or coir, perlite, and coarse sand.
- Small Pots or Seedling Trays: Clean pots are a must.
- Plastic Bags or a Propagation Dome: To create a humid environment.
- Watering Can with a Fine Rose: For gentle watering.
- Labels: To keep track of your projects!
Propagation Methods
While Calophyllum brasiliense can be a little tricky, stem cuttings are your most reliable method for creating new plants.
-
Taking the Cuttings: In late spring or early summer, select a healthy stem that’s about pencil-thick and has a few inches of growth. Make a clean cut just below a leaf node (where a leaf attaches to the stem). You want cuttings that are roughly 4-6 inches long. Remove the lower leaves, leaving just two or three at the top. This reduces water loss and directs the plant’s energy into rooting.
-
Applying Rooting Hormone: Dip the cut end of the stem into your rooting hormone powder. Gently tap off any excess. You want a light coating, not a thick glob.
-
Planting the Cuttings: Fill your small pots or trays with your well-draining potting mix. Make a small hole with your finger or a pencil. Carefully insert the bottom end of the cutting into the hole, ensuring the leaf nodes are buried. Firm the soil gently around the stem to ensure good contact.
-
Creating Humidity: Water the soil lightly. Then, cover the pot with a clear plastic bag, making sure it doesn’t touch the leaves, or place it under a propagation dome. This traps moisture and creates a greenhouse effect, which is vital for preventing the cuttings from drying out.
-
Providing the Right Environment: Place your pots in a warm location with bright, indirect light. Avoid direct sun, which can scorch the delicate cuttings.
The “Secret Sauce” (Pro Tips)
Here are a few things I’ve learned over the years that can make a big difference:
- Bottom Heat is Your Friend: If you have a heat mat designed for seedlings, placing your pots on it can significantly speed up rooting. The warmth encourages root development from below.
- Don’t Drown Them: While humidity is crucial, overwatering is a fast track to rot. Let the surface of the soil to dry out slightly between waterings. You can check by gently poking your finger in. If it feels dry an inch down, it’s time.
- Patience, Young Grasshopper: Calophyllum brasiliense can take its sweet time. Don’t pull up your cuttings too soon to check for roots. Give them at least 6-8 weeks, sometimes longer. You’ll know they’re rooting when you see new leaf growth. A gentle tug should also reveal some resistance.
Aftercare & Troubleshooting
Once your cuttings have developed a good root system – you’ll see roots emerging from the drainage holes or feel them resisting when gently tugged – it’s time to move them into slightly larger pots. Continue to water them regularly, but still let the top inch of soil dry out. Gradually acclimate them to less humid conditions before removing the plastic bag or dome entirely.
The most common issue you’ll encounter is rot. If a cutting turns black and mushy, it’s likely succumbed to rot. This is usually due to overwatering or poor drainage. If you see signs of rot, remove the affected cutting immediately to prevent it from spreading. You might also see cuttings that simply refuse to root. Don’t get discouraged; sometimes, it just doesn’t work out, and that’s perfectly okay!
A Warm Encouraging Closing
Propagating Calophyllum brasiliense is a wonderful way to expand your collection and share the joy of these beautiful plants. Be patient with the process, pay attention to their needs, and celebrate every little sign of success. Watching a new plant grow from a simple cutting is one of gardening’s greatest rewards. Happy propagating!
Resource:
https://identify.plantnet.org/k-world-flora/species/Calophyllum%20brasiliense%20Cambess./data