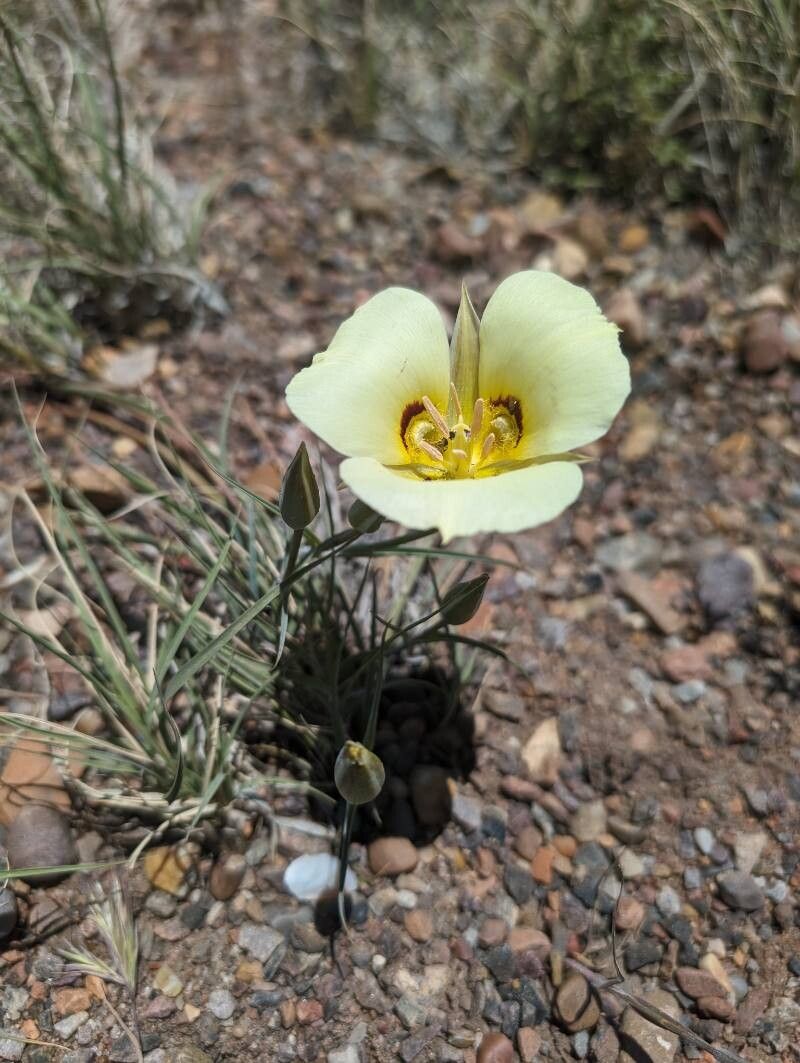
Hello, fellow garden enthusiasts! Today, I want to talk about a truly special plant: Calochortus aureus, often called the Golden Fairy Lantern. Its delicate, bell-shaped blooms, a gorgeous golden hue, are like little jewels in the garden. Propagating them is such a fulfilling journey. Now, I’ll be honest, Calochortus can be a bit particular, so for absolute beginners, it might be a rewarding challenge rather than a walk in the park. But don’t let that deter you! With a little care and attention, you can absolutely succeed.
The Best Time to Start
For Calochortus aureus, the ideal time to think about propagation is right after they’ve finished flowering and as their foliage begins to yellow and die back. This typically happens in late spring to early summer. This resting period is when the bulbs are in their prime for gathering energy and preparing for new growth. Trying to propagate when the plant is actively growing or flowering can stress it out and lead to lower success rates.
Supplies You’ll Need
Here’s what you’ll want to have on hand:
- Well-draining potting mix: I usually go for a gritty mix. A good blend is 2 parts perlite, 1 part coarse sand, and 1 part peat moss or coco coir.
- Small pots or trays: Clean, shallow containers are best. Terracotta pots are fantastic as they breathe well.
- Sharp, sterilized pruning shears or a sharp knife: For making clean cuts and avoiding disease.
- Rooting hormone (optional but recommended): Especially if you’re taking cuttings. The powder or gel kind works well.
- Watering can or spray bottle: For gentle watering.
- Labels and a marker: To keep track of your efforts!
- A trowel or small scoop: For handling soil.
Propagation Methods
Calochortus are primarily propagated from their bulbs, not from stem cuttings or water. So, we’ll focus on that!
Bulb Division
This is the most common and successful method for Calochortus.
- Wait for Dormancy: As I mentioned, wait until the foliage has yellowed and dried. Gently tug the spent foliage; if it pulls away easily, the bulb is likely dormant.
- Carefully Unearth: Using your trowel or a small stick, gently dig around the plant. You want to be as careful as possible to avoid damaging the bulbs or their delicate roots. Lift the entire clump out.
- Locate the Offsets: You’ll likely see small bulbs (offsets) attached to the main bulb. Sometimes they’re nestled right at the base.
- Gentle Separation: Using your fingers or a sharp, sterilized knife, carefully separate the offsets from the main bulb. Try to get a few small roots attached to each offset if you can. If an offset doesn’t have roots, don’t worry too much; it can usually grow them.
- Clean and Dry (Optional but helpful): Some gardeners like to let the separated bulbs sit in a dry, airy place for a day or two to allow any cut surfaces to callus over. This can help prevent rot.
- Replant: Fill your clean pots with your gritty potting mix. Plant each offset about 1-2 inches deep, depending on its size. Make sure there’s enough room between them.
- Water Sparingly: Water the soil lightly after planting. The goal is to moisten it, not to saturate it.
Seed Propagation (for the patient gardener!)
Growing from seed is a much slower process and often takes several years for the plant to reach flowering size.
- Collect Seeds: If you allow your Calochortus to go to seed, collect the seed pods when they turn brown and start to split.
- Sow in Fall: Sow the seeds in early autumn in shallow trays filled with your well-draining mix. You can simply scatter them on the surface and lightly cover them with a thin layer of soil.
- Stratification: Calochortus seeds often benefit from cold, moist stratification. This means they need a period of cold to germinate. You can achieve this by placing the sown trays in a cold frame or a sheltered spot outdoors where they will experience winter temperatures. Keep the soil consistently moist but not waterlogged.
- Germination: Germination usually occurs in spring as temperatures warm up.
The “Secret Sauce” (Pro Tips)
Here are a couple of things I’ve learned over the years that make a big difference for these finicky beauties:
- Think like a desert dweller: Calochortus often grow in arid or semi-arid regions. This means they hate sitting in soggy soil, especially when they are dormant. Ensuring excellent drainage is paramount to preventing bulb rot. I always err on the side of too dry rather than too wet.
- Don’t over-pot: When dividing bulbs, it’s tempting to put a lot of offsets into one big pot. Resist this! Give each offset or small clump its own space. Overcrowding leads to competition for resources and can increase the risk of disease spreading. Plus, it’s much easier to monitor individual growth.
Aftercare & Troubleshooting
Once your Calochortus offsets are planted, they’ll need a period of recovery.
- Watering: Keep the soil lightly moist during the growing season. Once the foliage starts to die back again, reduce watering significantly to encourage dormancy. They truly need to dry out in summer.
- Light: New seedlings or divisions will appreciate a spot with good light, but avoid intense direct sun when they are actively growing, as this can dry out the soil too quickly.
- Troubleshooting: The absolute biggest problem you’ll face is bulb rot. If you see your bulbs turning mushy, black, or slimy, it’s a sure sign of too much moisture. Sadly, if rot sets in, it’s very difficult to save the bulb.
Happy Growing!
Propagating Calochortus aureus is a journey of patience and observation. Don’t be discouraged if your first attempts aren’t perfect. Each season is a learning opportunity. Enjoy the process, celebrate every sign of new growth, and soon you’ll have your own collection of these radiant Golden Fairy Lanterns to admire. Happy gardening!
Resource:
https://identify.plantnet.org/k-world-flora/species/Calochortus%20aureus%20S.Watson/data