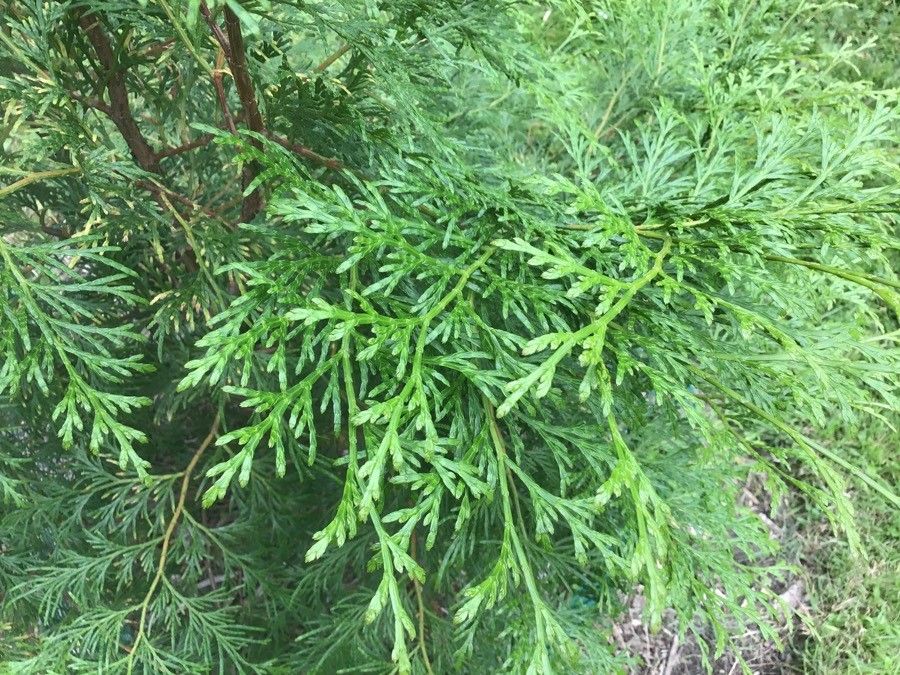
Hello, fellow garden enthusiasts! I’m so thrilled you’re interested in Calocedrus formosana – the Taiwanese Incense-cedar. This magnificent conifer, with its graceful form and beautifully fragrant wood, is a true gem in any landscape. If you’ve ever admired its stately presence and thought, “I wish I had more of those!”, then you’re in the right place. Propagating it can feel a bit like magic, especially when you nurture a tiny cutting into a thriving young tree.
Now, let’s be honest. Is Calocedrus formosana the easiest plant for absolute beginners to propagate? Perhaps not. It requires a little patience and attention to detail. But don’t let that daunt you! With the right approach, even a relative newcomer can achieve success. Think of it as a rewarding challenge that will deepen your understanding of these marvelous trees.
The Best Time to Start
My favorite time to get started with Calocedrus formosana propagation is in late spring to early summer. This is when the plant is actively growing and has plenty of energy to put into developing new roots. You’re looking for semi-hardwood cuttings – essentially, stems that have started to firm up from the current year’s growth but aren’t yet completely woody. Gently bend a new stem; if it snaps cleanly, it’s usually about right.
Supplies You’ll Need
Gathering your supplies beforehand makes the whole process much smoother. Here’s what I always have on hand:
- Sharp Pruning Shears or a Knife: Essential for clean cuts that heal well. Sterilize them between plants!
- Rooting Hormone: A powder or gel can significantly boost your success rate. Look for one formulated for woody cuttings.
- Well-Draining Potting Mix: A sharp sand and perlite mix, or a specialized seed starting mix, works wonderfully. Avoid heavy garden soil.
- Small Pots or Trays: Clean pots with drainage holes are crucial. If using a tray, ensure it can hold the potting mix securely.
- Plastic Bag or Dome: To create a humid microclimate around your cuttings.
- Watering Can with a Fine Rose: For gentle watering.
- Labels and a Marker: To keep track of what you’ve planted and when.
Propagation Method: Stem Cuttings
This is, by far, the most common and successful method for Calocedrus formosana.
- Take Your Cuttings: In late spring or early summer, select healthy, vigorou s shoots from your mature tree. Using your sterilized pruning shears, take cuttings about 4 to 6 inches long. Make this cut just below a leaf node (where the leaves attach to the stem).
- Prepare the Cuttings: Gently remove the lower leaves from the cutting, leaving only a few at the very top. This prevents them from rotting when placed in the soil. If the remaining leaves are very large, I sometimes trim them in half to reduce water loss through transpiration.
- Apply Rooting Hormone: Dip the cut end of each prepared cutting into your rooting hormone. Tap off any excess.
- Pot Up: Fill your clean pots with the well-draining potting mix. Make a small hole in the center of the mix with a pencil or your finger.
- Insert the Cuttings: Firmly insert the hormone-coated end of each cutting into the hole. Gently firm the soil around the stem to ensure good contact. Space them a couple of inches apart if using a larger pot or tray.
- Water Gently: Water thoroughly using your fine-rose watering can until the soil is evenly moist but not waterlogged.
- Create Humidity: Cover the pots with a clear plastic bag or a propagation dome. This will trap moisture and create the humid environment the cuttings need to root. Make sure the plastic bag doesn’t touch the leaves – you can use stakes to keep it elevated.
- Find a Suitable Spot: Place the pots in a bright location that receives indirect sunlight. Avoid direct sun, as this can scorch the delicate cuttings.
The “Secret Sauce”
Here are a couple of things I’ve learned over the years that really make a difference:
- Bottom Heat is Your Friend: For woody cuttings like these, a little bottom heat can be a game-changer. Placing your pots on a heated propagation mat set to around 70°F (21°C) can significantly speed up root development. It mimics the warmth of the soil in summer.
- Don’t Overwater! I know I said water thoroughly initially, but after that, it’s about maintaining consistent moisture. Feel the soil every day. It should feel damp, not soggy. If you lift the pot and it feels heavy, it’s too wet. Overwatering is the quickest way to encourage rot on cuttings.
- Patience, Patience, Patience: Conifers can be slowpokes when it comes to rooting. I often wait 8 to 12 weeks, sometimes even longer, before I even start to suspect roots have formed. Resist the urge to tug on the cuttings to check!
Aftercare & Troubleshooting
Once you start to see tentative signs of growth – new tiny leaves emerging or a slight resistance when you very gently tug – that’s a good indicator that roots are forming!
- Gradual Acclimation: Begin to gradually remove the plastic bag or dome over a week or two. This allows the new plant to adjust to the ambient humidity.
- Continued Care: Keep the soil consistently moist but not wet. Continue to provide bright, indirect light.
- Signs of Trouble: The most common issue you’ll face is rot. If you see cuttings turning mushy, blackening, or developing fuzzy mold, it’s usually a sign of too much moisture and not enough air circulation. Unfortunately, these are often unsalvageable. You might also see cuttings shrivel and dry out; this can be due to too much direct sun or not enough humidity, or simply that the cutting didn’t take.
A Gentle Encouragement
Propagating Calocedrus formosana is a journey, and each cutting is a little experiment. Some will thrive, and some won’t, and that’s perfectly normal. Don’t be discouraged if your first attempts aren’t 100% successful. Celebrate the small victories, learn from any setbacks, and most importantly, enjoy the simple pleasure of nurturing life from a simple cutting. Happy gardening!
Resource:
https://identify.plantnet.org/k-world-flora/species/Calocedrus%20formosana%20(Florin)%20Florin/data