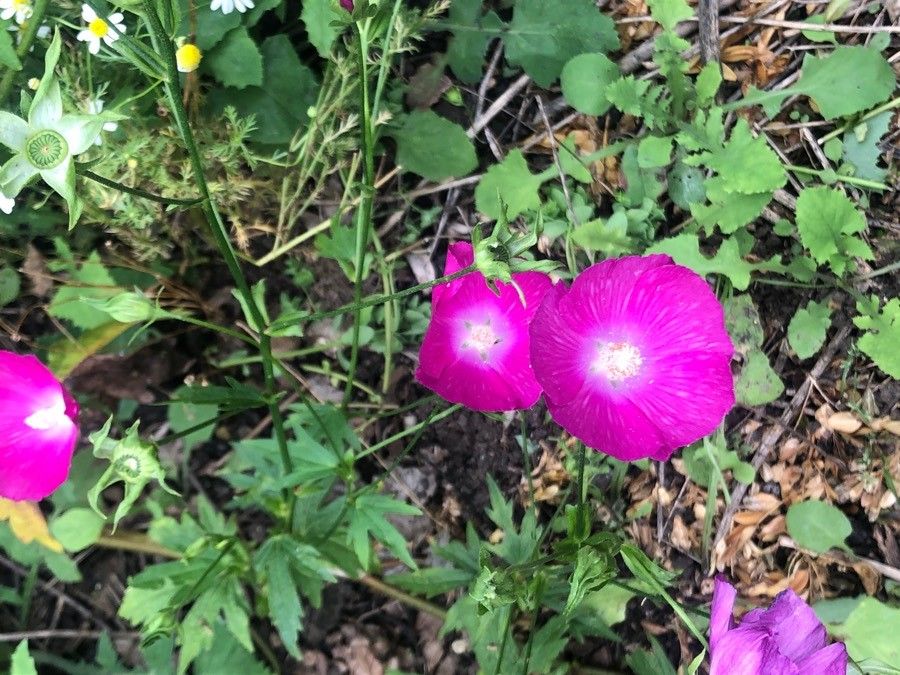
Oh, hello there! It’s so good of you to stop by. Today, we’re diving into the delightful world of propagating Callirhoe bushii, a plant I’ve come to adore over the years. This charming native wildflower, with its open cups of vibrant magenta flowers, is a real showstopper in any garden. And trust me, successfully coaxing new life from it is an incredibly rewarding experience. While some plants can be a bit finicky, I find Callirhoe bushii to be quite a forgiving companion to propagate, even for those just starting out on their plant-parenting journey.
The Best Time to Start
For the absolute best chance of success with Callirhoe bushii, I always turn my attention to early spring. This is when the plant is just waking up from its winter slumber and putting on its first flush of new growth. Those tender, young stems are brimming with energy and more receptive to forming roots. You can also have success with late summer cuttings, but I find spring gives you a solid head start and a better overall strike rate.
Supplies You’ll Need
Gathering your supplies before you begin makes the whole process much smoother. Here’s what I typically reach for:
- Sharp pruning shears or a clean knife: For making clean cuts.
- Rooting hormone powder or gel: This is a lifesaver for encouraging root development.
- Small pots or seed trays with drainage holes: Cleanliness is key here!
- A well-draining potting mix: I like to use a blend of peat moss, perlite, and a bit of coarse sand. This ensures good air circulation and prevents waterlogging. You can also buy a specialized seed starting mix.
- A watering can or spray bottle: For gentle hydration.
- Clear plastic bags or a propagation dome: To create a humid environment.
- Labels and a pen: To keep track of your cuttings!
Propagation Methods
There are a couple of ways we can encourage new Callirhoe bushii plants, but my two favorites are stem cuttings and, if your plant is well-established, division.
Stem Cuttings
This is the method I use most often, and it’s wonderfully effective.
- Select your stem: Look for healthy, non-flowering shoots that are about 4-6 inches long. Gently bend a stem – if it snaps cleanly, it’s supple enough.
- Make the cut: Using your clean pruning shears or knife, make a cut just below a leaf node. A leaf node is where a leaf attaches to the stem; this is where roots tend to emerge.
- Prepare the cutting: Carefully remove the lower leaves, leaving only the top two or three. This prevents them from rotting in the soil or water. If the leaves are particularly large, you can even cut them in half.
- Apply rooting hormone: Dip the cut end of the stem into your rooting hormone powder or gel. Tap off any excess.
- Plant the cutting: Make a small hole in your prepared potting mix with a pencil or your finger. Gently insert the hormone-coated stem into the hole, ensuring at least one leaf node is below the soil surface. Firm the soil gently around the stem.
- Create a humid environment: Water the pot lightly and then cover it with a clear plastic bag or propagation dome. This will trap moisture and create the humid microclimate cuttings need to root. Make sure the leaves don’t touch the plastic. You can use stakes to prop it up.
- Placement: Place the pot in a bright spot with indirect light. Avoid direct sun, which can scorch those delicate cuttings.
Division (For Mature Plants)
If you have a well-established Callirhoe bushii plant that’s looking a bit crowded or you simply want more of them, division is a simpler option.
- Dig up the parent plant: In early spring, before new growth really takes off, carefully dig up the entire plant. Try to disturb the roots as little as possible.
- Separate the clumps: Gently shake off some of the excess soil. You should be able to see where the main root ball divides into smaller clumps, each with its own shoot. Use your hands or a clean trowel to gently pull or cut the clumps apart. Make sure each section has a good portion of roots and at least one or two healthy shoots.
- Replant: Immediately replant the divisions into their new homes, whether that’s back in the ground or into new pots. If potting, use a well-draining mix.
- Water well: Give them a good watering to help them settle in.
The “Secret Sauce” (Pro Tips)
Now, for a few little tricks I’ve picked up along the way that can make a big difference.
- Bottom Heat is Your Friend: For stem cuttings, a bit of gentle warmth from below can truly be a game-changer. A heating mat placed under your pots can significantly speed up root formation. It creates the ideal cozy environment for root development without overheating the leaves.
- Don’t Be Afraid of Airflow: While humidity is crucial, completely sealing your cuttings without any air exchange can lead to fungal issues. Open the plastic bag or dome for a few minutes each day to allow for fresh air circulation. It’s like giving them a little breath of fresh air!
- The “Snap Test” is Reliable: When looking for those perfect stems for cuttings, get to know the feel of a young, yet firm stem. Not too floppy, not too woody. The ability of the stem to snap cleanly when bent is a great indicator of its suitability.
Aftercare & Troubleshooting
Once you start seeing signs of new growth, like tiny leaves or the beginnings of new shoots emerging from the soil, you know your cuttings have rooted! Hooray!
- Gradual Acclimation: If you’ve used a plastic bag or dome, gradually acclimate your new plants to normal humidity over a week or so. Start by opening the bag for longer periods, then remove it entirely.
- Watering: Keep the soil consistently moist but not soggy. Overwatering is one of the most common ways to lose cuttings. Allow the top inch of soil to dry slightly between waterings.
- Light: Continue to provide bright, indirect light. As they grow stronger, you can slowly introduce them to more direct sun, depending on your climate and the plant’s preferences.
Now, what if things don’t go as planned? Don’t despair!
- Rotting Stems: This is usually a sign of too much moisture and not enough airflow. Ensure your soil drains well and remember to air out your cuttings.
- Shrivelling Cuttings: This can happen if the environment is too dry. Make sure your humidity dome or bag is effectively trapping moisture, or try misting lightly.
- No Root Development: Patience is key! Some plants take longer than others. If your cuttings haven’t shown any rot but also no roots after several weeks, they might just need more time, or perhaps the conditions weren’t quite right. Sometimes, it’s worth trying again.
A Little Encouragement
Propagating plants is a journey, not a race. There will be times when things flourish and times when they don’t quite take. Don’t get discouraged by the setbacks; they are all part of the learning process. Celebrate every tiny sign of new life, and relish the joy of creating your own Callirhoe bushii from scratch. Happy propagating!
Resource:
https://identify.plantnet.org/k-world-flora/species/Callirhoe%20bushii%20Fernald/data