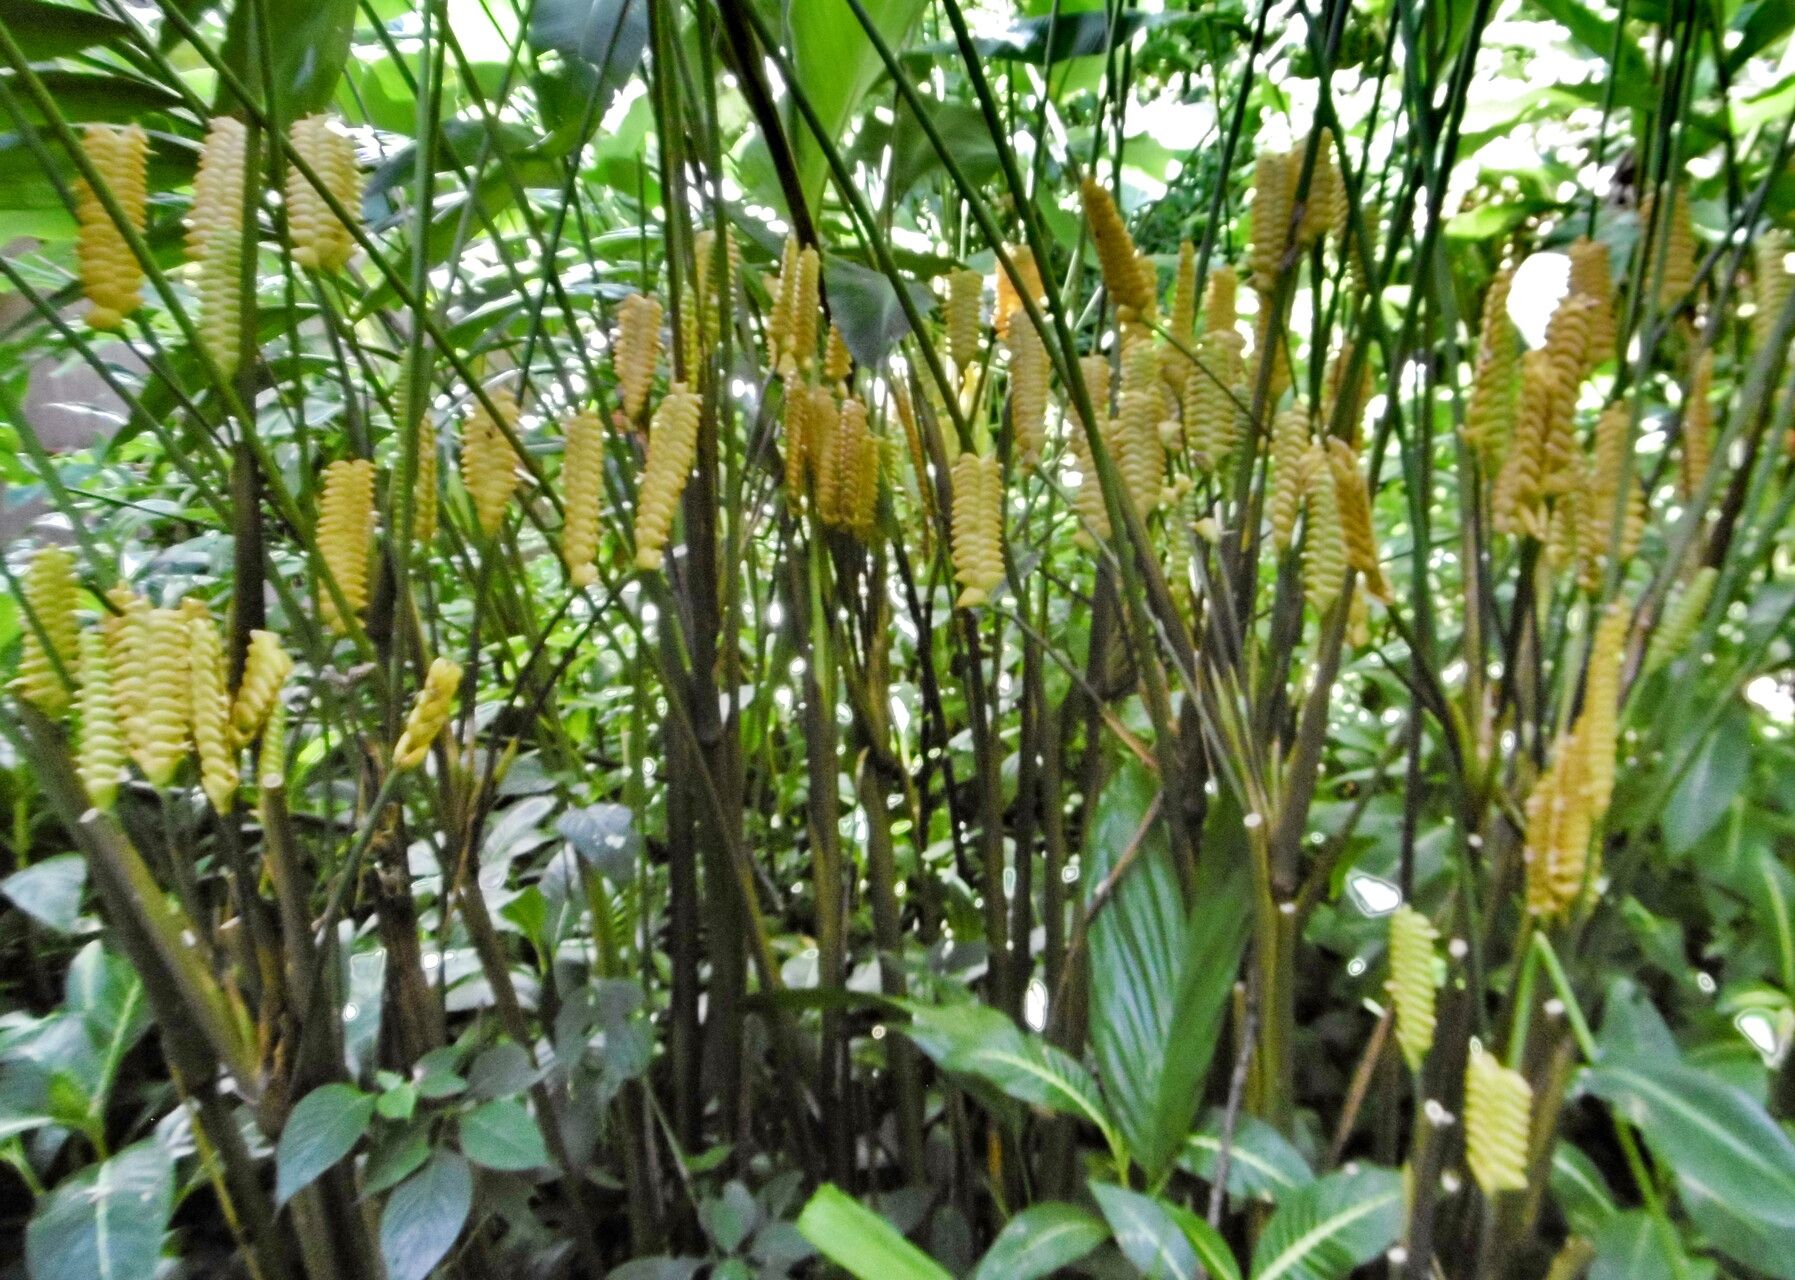
Oh, Calathea crotalifera! What a stunner. Those bold, paddle-shaped leaves have such a tropical allure, don’t they? They bring a touch of the exotic right into our homes and gardens. And the best part? They’re surprisingly rewarding to propagate. If you’re looking to fill a sunny corner or share some green goodness with a friend, creating new Calathea babies is a fantastic journey. Now, I won’t lie. Calatheas can be a little finicky sometimes, but propagating them is definitely achievable, even for those who are just starting their plant journey. It just takes a bit of gentle guidance!
The Best Time to Start
My favorite time to get these projects going is in the late spring or early summer. This is when the plant is in its most vigorous growth phase. Think warm days, good sunlight, and plenty of energy for your Calathea to put into making new roots. Trying to propagate too early in the cooler months can lead to slower growth and a higher chance of failure.
Supplies You’ll Need
Before we get our hands dirty, let’s gather our tools:
- Sharp pruning shears or a clean knife: For making clean cuts. Sterilize them with rubbing alcohol first!
- Well-draining potting mix: I like a blend of peat moss, perlite, and orchid bark for good aeration. A standard houseplant mix with extra perlite works well too.
- Small pots or propagation trays: Whatever you have on hand that will hold your new cuttings.
- Rooting hormone (optional but recommended for division): Helps give those new roots a boost.
- Clear plastic bag or propagation dome: To maintain humidity.
- Warm, indirect light: A bright windowsill out of direct sun is perfect.
- Watering can or spray bottle: For gentle watering.
Propagation Methods
Calathea crotalifera is best propagated through division. This is where you carefully separate a mature plant into smaller sections, each with its own roots.
Step-by-Step Division:
- Gently remove the plant from its pot. Tip it over carefully and coax it out. If it’s stuck, run a knife around the inside edge of the pot.
- Inspect the root ball. You’re looking for natural divisions, where sections of the plant are already starting to separate at the base. You should see multiple pseudobulbs (those slightly swollen bases) clustered together.
- Carefully tease apart the divisions. Use your fingers or a sterile knife to gently separate the root ball into smaller sections. Each section should have at least one or two pseudobulbs and some healthy roots. Avoid ripping the roots; the gentler you are, the better.
- Trim any damaged or dead roots.
- Pot up your new divisions. Plant each section in its own pot filled with your prepared potting mix. Don’t pack the soil too tightly; we want those roots to breathe. Ensure the top of the root ball is level with the soil surface.
- Water thoroughly but gently. You want the soil to be evenly moist, but not waterlogged.
The “Secret Sauce” (Pro Tips)
Here are a few things I’ve learned over the years that really make a difference:
- Don’t overcrowd your new pots. Give each division enough space to grow. I often aim for divisions that have at least 2-3 pseudobulbs. It gives them a better fighting chance!
- Consider a little bottom heat. Placing your pots on a seedling heat mat can really encourage root development. It mimics the warmth of spring soil and gives those new roots a cozy start. Just be mindful not to let the soil dry out if you’re using heat.
- Mist, mist, mist! Calatheas love humidity. After potting your divisions, place the pots inside a clear plastic bag or under a propagation dome to create a mini-greenhouse effect. Open it up for a few minutes each day to allow for air circulation and prevent fungal issues.
Aftercare & Troubleshooting
Once your divisions are potted, keep them in a warm spot with bright, indirect light. Avoid direct sun, as it can scorch those tender new leaves. Keep the soil consistently moist but not soggy. You want it to feel like a wrung-out sponge.
The biggest challenge you might face is rot. This usually happens from overwatering or poor drainage. You’ll see mushy stems or leaves turning yellow and falling off. If you spot this, act fast! Remove the affected parts, let the soil dry out more, and ensure your pot has drainage holes. Sometimes, if rot sets in severely, the division may not be salvageable, but don’t get discouraged. It’s all part of the learning process!
Give it a few weeks, and you should start seeing signs of new growth. That’s your cue that the roots are happily establishing themselves.
A Little Patience Goes a Long Way
Propagating Calathea crotalifera is a wonderful way to expand your plant family. Be patient, observe your new babies, and enjoy watching them unfurl their first new leaves. Each success is a small victory, and with these tips, I have a feeling you’ll have plenty of them! Happy propagating!
Resource:
https://identify.plantnet.org/k-world-flora/species/Calathea%20crotalifera%20S.Watson/data