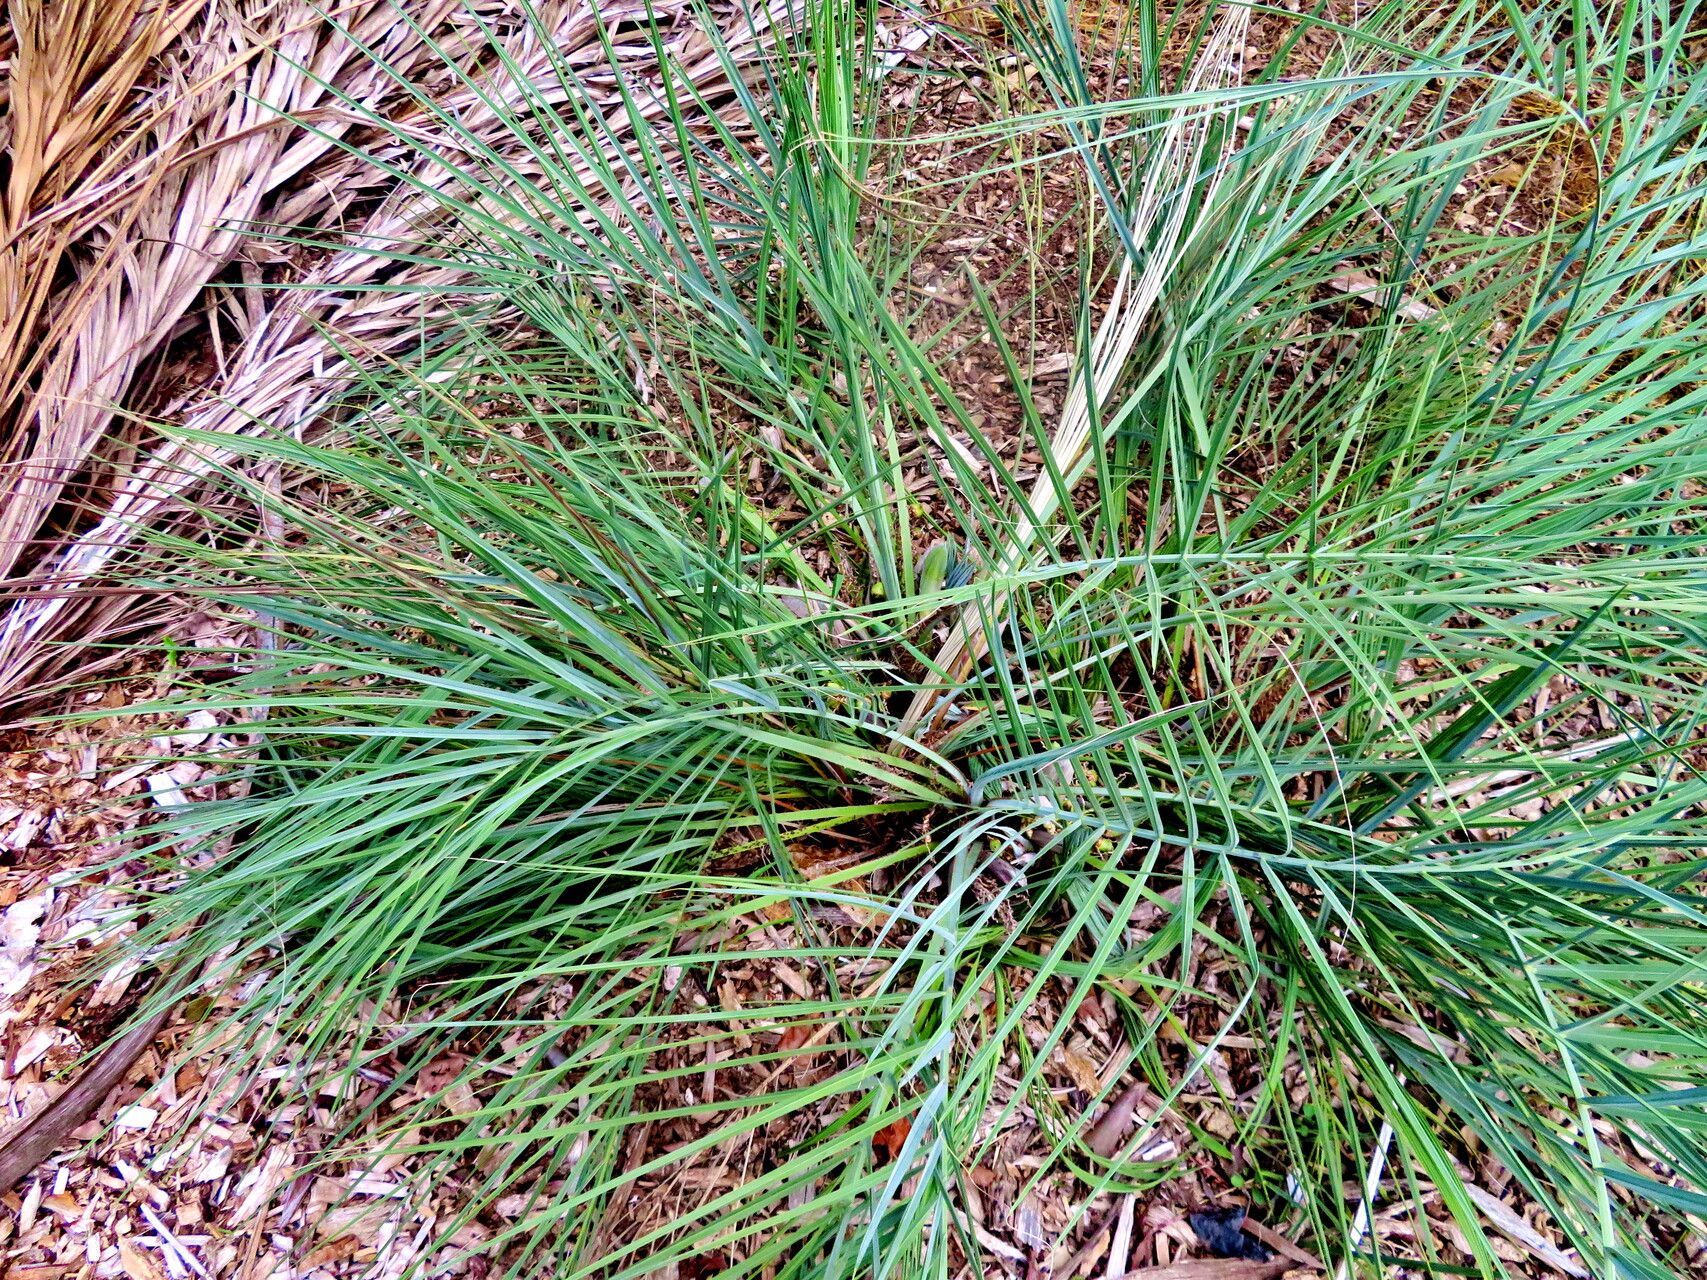
Hello, fellow plant lovers! You’ve probably seen those stunning Butia lallemantii palms gracing some of your favorite gardens or conservatories. With their elegant, feathery fronds and that subtle, almost iridescent shimmer, they’re a real showstopper. I remember the first time I saw one, I was utterly captivated. And guess what? Bringing more of these beauties into existence through propagation is a truly rewarding adventure. If you’re new to the palm-propagation scene, Butia lallemantii might present a bit of a learning curve, but with a little patience and these tips, you’ll be well on your way.
The Best Time to Start
For Butia lallemantii, the sweet spot for propagation is undoubtedly late spring through early summer. This is when the plant is experiencing its most vigorous growth phase. Think of it as giving your new babies the longest possible growing season to establish themselves before cooler weather rolls in. Waiting until conditions are warm and consistently sunny will significantly boost your success rates.
Supplies You’ll Need
Here’s what you’ll want to gather before you dig in:
- Sharp, sterile pruning shears or a clean knife: Essential for making clean cuts.
- Well-draining potting mix: A blend of peat moss, perlite, and coarse sand works wonderfully. Avoid anything too heavy that will hold excess moisture.
- Rooting hormone (optional but recommended): A powder or gel can give your cuttings that extra push.
- Small pots or propagation trays: Ensure they have drainage holes! Little terra cotta pots are my go-to.
- Plastic bags or a propagation dome: To create a humid microclimate.
- Watering can with a fine rose: For gentle watering.
- A clean workspace: To avoid introducing any nasty pathogens.
Propagation Methods
While Butia lallemantii can be a bit fussy, the most reliable method for home gardeners is typically through seeds. Divisions are rarely successful and stem cuttings are incredibly difficult with these palms. So, let’s focus on the seeds.
Seed Propagation (The Primary Method):
- Source Your Seeds: The quality of your seeds is paramount. Try to source fresh seeds from a reputable supplier or directly from a healthy parent plant. Look for plump, well-formed seeds.
- Seed Preparation: This is crucial. Butia lallemantii seeds have a hard outer coating. You’ll need to soak them in warm water for 24-48 hours. Some gardeners also like to gently scarify the seed coat with a file or sandpaper to help water penetration, but be careful not to damage the embryo inside.
- Planting the Seeds: Fill your chosen pots or trays with your prepared, well-draining potting mix. Plant the seeds about 1-2 cm deep, spacing them a few inches apart if using a tray.
- Providing Warmth and Humidity: This is where the magic happens. Cover the pots or trays with a plastic bag or a propagation dome to trap humidity. This mimic’s the tropical conditions the seeds crave. Place them in a warm spot. Bottom heat is a game-changer for palm seeds. A warm mat can significantly speed up germination. Aim for consistent temperatures around 25-30°C (77-86°F).
- Patience is Key: This is not a fast process. Germination can take anywhere from 3 to 12 months, sometimes even longer! Don’t give up if you don’t see sprouts immediately. Keep the soil consistently moist but not waterlogged.
The “Secret Sauce” (Pro Tips)
Here are a couple of things I’ve learned over the years that can really make a difference:
- Don’t Drown Your Dreams: Even though they love humidity, overwatering is the quickest way to kill your seeds. The soil should feel like a wrung-out sponge – moist, but not soggy. If you see condensation pooling heavily on your plastic cover, open it up for a few hours to air it out.
- The Power of a Heat Mat: I can’t stress this enough. If you’re serious about propagating palms, a heating mat for reptiles or a purpose-made seed starting heat mat will drastically improve your germination rates and speed. It provides that consistent, gentle warmth that they just adore.
- Whisper Softly: When watering, use a very fine mist or a gentle stream. You don’t want to dislodge your precious seeds or wash away any developing roots.
Aftercare & Troubleshooting
Once you spot that first tiny shoot poking through the soil, celebrate! This is just the beginning.
- Gradual Acclimatization: Don’t yank off the plastic cover right away. Gradually introduce your new seedlings to the outside air over a few days by opening the bag or dome for longer periods. This helps them adjust to lower humidity.
- Bright, Indirect Light: Once they are fully acclimated, move them to a spot with bright, indirect light. Direct sun can scorch their delicate new leaves.
- Continue Gentle Watering: Keep the soil consistently moist, but still avoid waterlogging.
- Signs of Trouble: The most common culprit for failure is rot, often caused by overwatering. If you see any signs of mushiness at the base of the seedling or any blackening, it’s usually a goner. Another sign of stress can be yellowing leaves, which might indicate too much direct sun or nutrient deficiency (though this is less common early on). If seeds simply don’t germinate after a very long time, they may have been non-viable to begin with.
A Heartfelt Wrap-Up
Growing Butia lallemantii from seed is a marathon, not a sprint. It demands patience, a keen eye, and a willingness to learn. But oh, the satisfaction of nurturing these magnificent palms from tiny seeds into lush giants! So, take a deep breath, gather your supplies, and embark on this wonderful journey. Enjoy every tiny sprout, every unfurling frond, and remember that the greatest reward is in the process itself. Happy gardening!
Resource:
https://identify.plantnet.org/k-world-flora/species/Butia%20lallemantii%20Deble%20&%20Marchiori/data