Oh, hello there! So glad you stopped by. Today, we’re going to dive into something truly special: propagating Bunchosia volcanica. This little gem, sometimes called the “Plum Tree” or “Black Cherry” for its lovely, tart fruit, is such a joy to have in the garden. Its glossy leaves and the surprise of edible berries make it a real conversation starter. And the best part? Learning to multiply it yourself is incredibly rewarding. Now, for the seasoned gardener, it’s usually a straightforward process. For absolute beginners, it might be a tad more involved, but don’t you worry, we’ll walk through it together.
The Best Time to Start
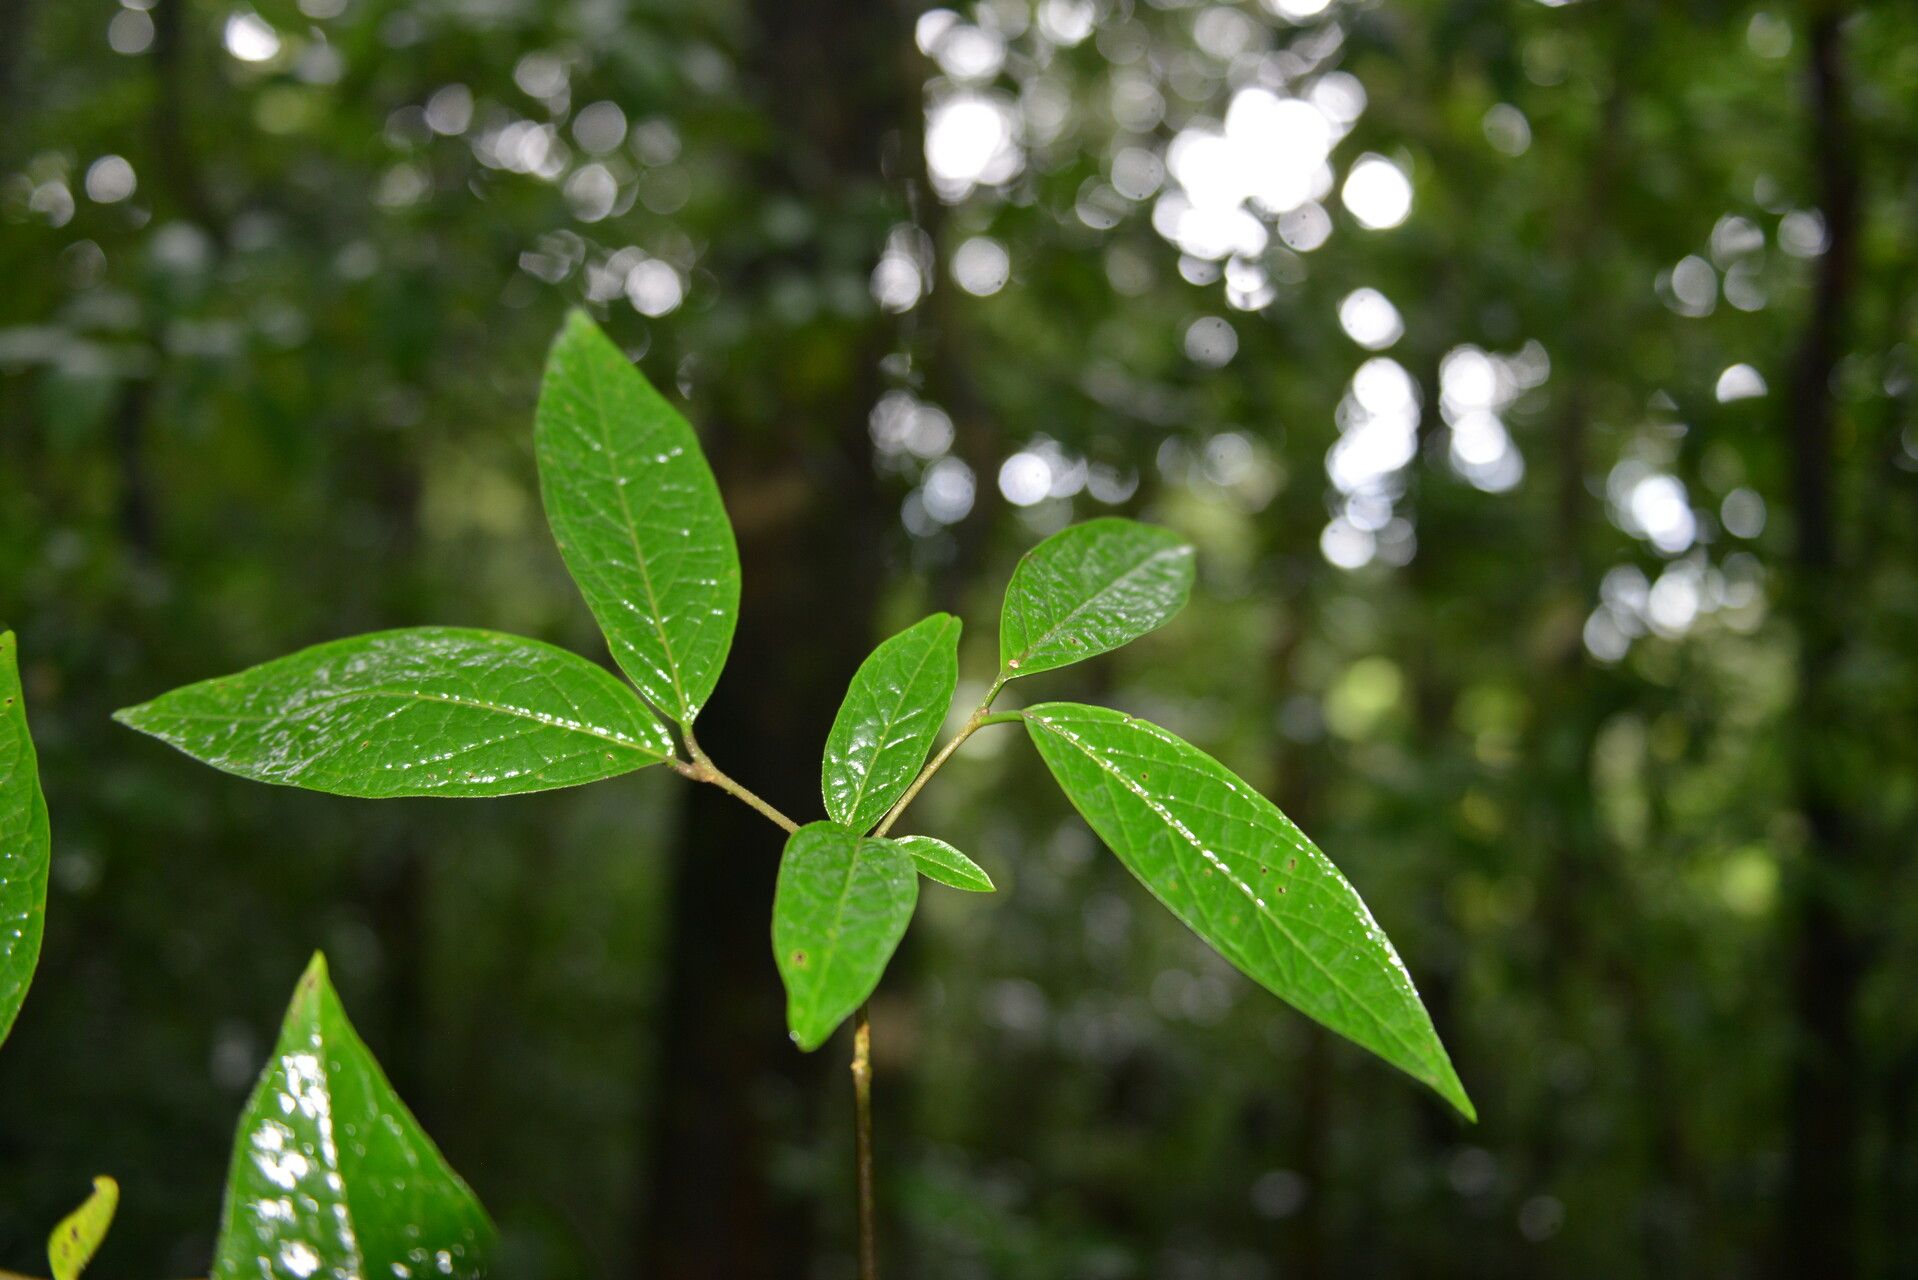
The sweet spot for propagating Bunchosia volcanica is late spring to early summer. That’s when the plant is actively growing, and its energy is bursting. You’ll want to take cuttings from new, semi-hardwood growth. This means it’s not brand new and floppy, but not yet tough and woody either. Think of it as being firm but still a bit flexible.
Supplies You’ll Need
Gathering your supplies beforehand makes all the difference. Here’s what I usually have on hand:
- Sharp Pruning Shears or a Knife: For clean cuts that heal well.
- Rooting Hormone: A powdered or liquid solution to encourage root development.
- Well-Draining Potting Mix: A mix of perlite, peat moss, and a bit of compost works wonders. You can also use a dedicated cactus and succulent mix.
- Small Pots or Seedling Trays: Clean ones are important to prevent disease.
- Plastic Bag or Humidity Dome: To keep those cuttings nice and moist.
- Watering Can with a Fine Rose: For gentle watering.
- Labels: To remember what you planted and when!
Propagation Methods
I find stem cuttings to be the most reliable method for Bunchosia volcanica. It’s straightforward and usually yields great results.
Here’s how I do it:
- Select Your Cuttings: Find healthy stems on your mother plant. Look for those semi-hardwood shoots I mentioned.
- Make the Cut: Using your clean pruning shears or knife, make a cut just below a leaf node (where a leaf attaches to the stem). Aim for cuttings that are about 4-6 inches long.
- Prepare the Cuttings: Gently strip off any leaves from the bottom half of the cutting. This prevents them from rotting in the soil.
- Apply Rooting Hormone: Dip the cut end into your rooting hormone, tapping off any excess. Follow the instructions on your specific product.
- Plant the Cuttings: Fill your small pots with your prepared potting mix. Make a hole with your finger or a dibber, enough to insert the cut end of the cutting about an inch or two deep.
- Firm the Soil: Gently press the soil around the base of the cutting to ensure good contact.
- Water Gently: Water thoroughly but gently, allowing excess water to drain away.
- Create Humidity: Cover the pots with a clear plastic bag or place them in a seedling tray with a humidity dome. This creates a mini-greenhouse environment. If using a bag, make sure it doesn’t directly touch the leaves of the cuttings.
The “Secret Sauce” (Pro Tips)
Over the years, I’ve picked up a few tricks that seem to really boost success rates.
- Steaming the Potting Mix: Before planting, I often lightly steam my potting mix for about 30 minutes. This helps sterilize it and gets rid of any potential fungi or pests that could harm your delicate cuttings. Just let it cool completely before using!
- Bottom Heat is Your Friend: If you have a seedling heat mat, using it is a game-changer. Providing gentle bottom heat encourages the roots to form much faster and more vigorously. It mimics that warm soil feeling the plant loves.
- Don’t Be Afraid to Fertilize (Later): Once you see signs of new growth, it’s time for a very diluted liquid fertilizer. Think one-quarter strength of what you’d normally use. This gives those new roots a little boost without overwhelming them.
Aftercare & Troubleshooting
Once roots have formed (you might see them peeking out the drainage holes or feel a slight resistance when you gently tug on the cutting), it’s time to transition them.
For the first few weeks, continue to keep them in a bright, indirect light and maintain consistent moisture. Don’t let them dry out, but also avoid waterlogging. Gradually acclimate them to less humid conditions by slowly opening the plastic bag or dome over a week or two. Once they are truly established and showing good, healthy new growth, you can transplant them into slightly larger pots.
The most common issue you might encounter is rot, indicated by the cutting turning black and mushy. This is usually due to overwatering or poor drainage. If you see this, it’s best to discard the affected cutting and reassess your watering and soil mix for the remaining ones. Yellowing leaves can sometimes indicate too much or too little water as well, so keep an eye on their overall appearance.
A Encouraging Closing
There you have it! Propagating Bunchosia volcanica is a wonderful way to expand your collection or share these delightful plants with friends. Be patient with yourself and the process. Sometimes it takes a few tries, and that’s perfectly okay. The joy is in the journey, watching those tiny roots sprout and knowing you helped create new life. Happy gardening!
Resource:
https://identify.plantnet.org/k-world-flora/species/Bunchosia%20volcanica%20W.R.Anderson/data