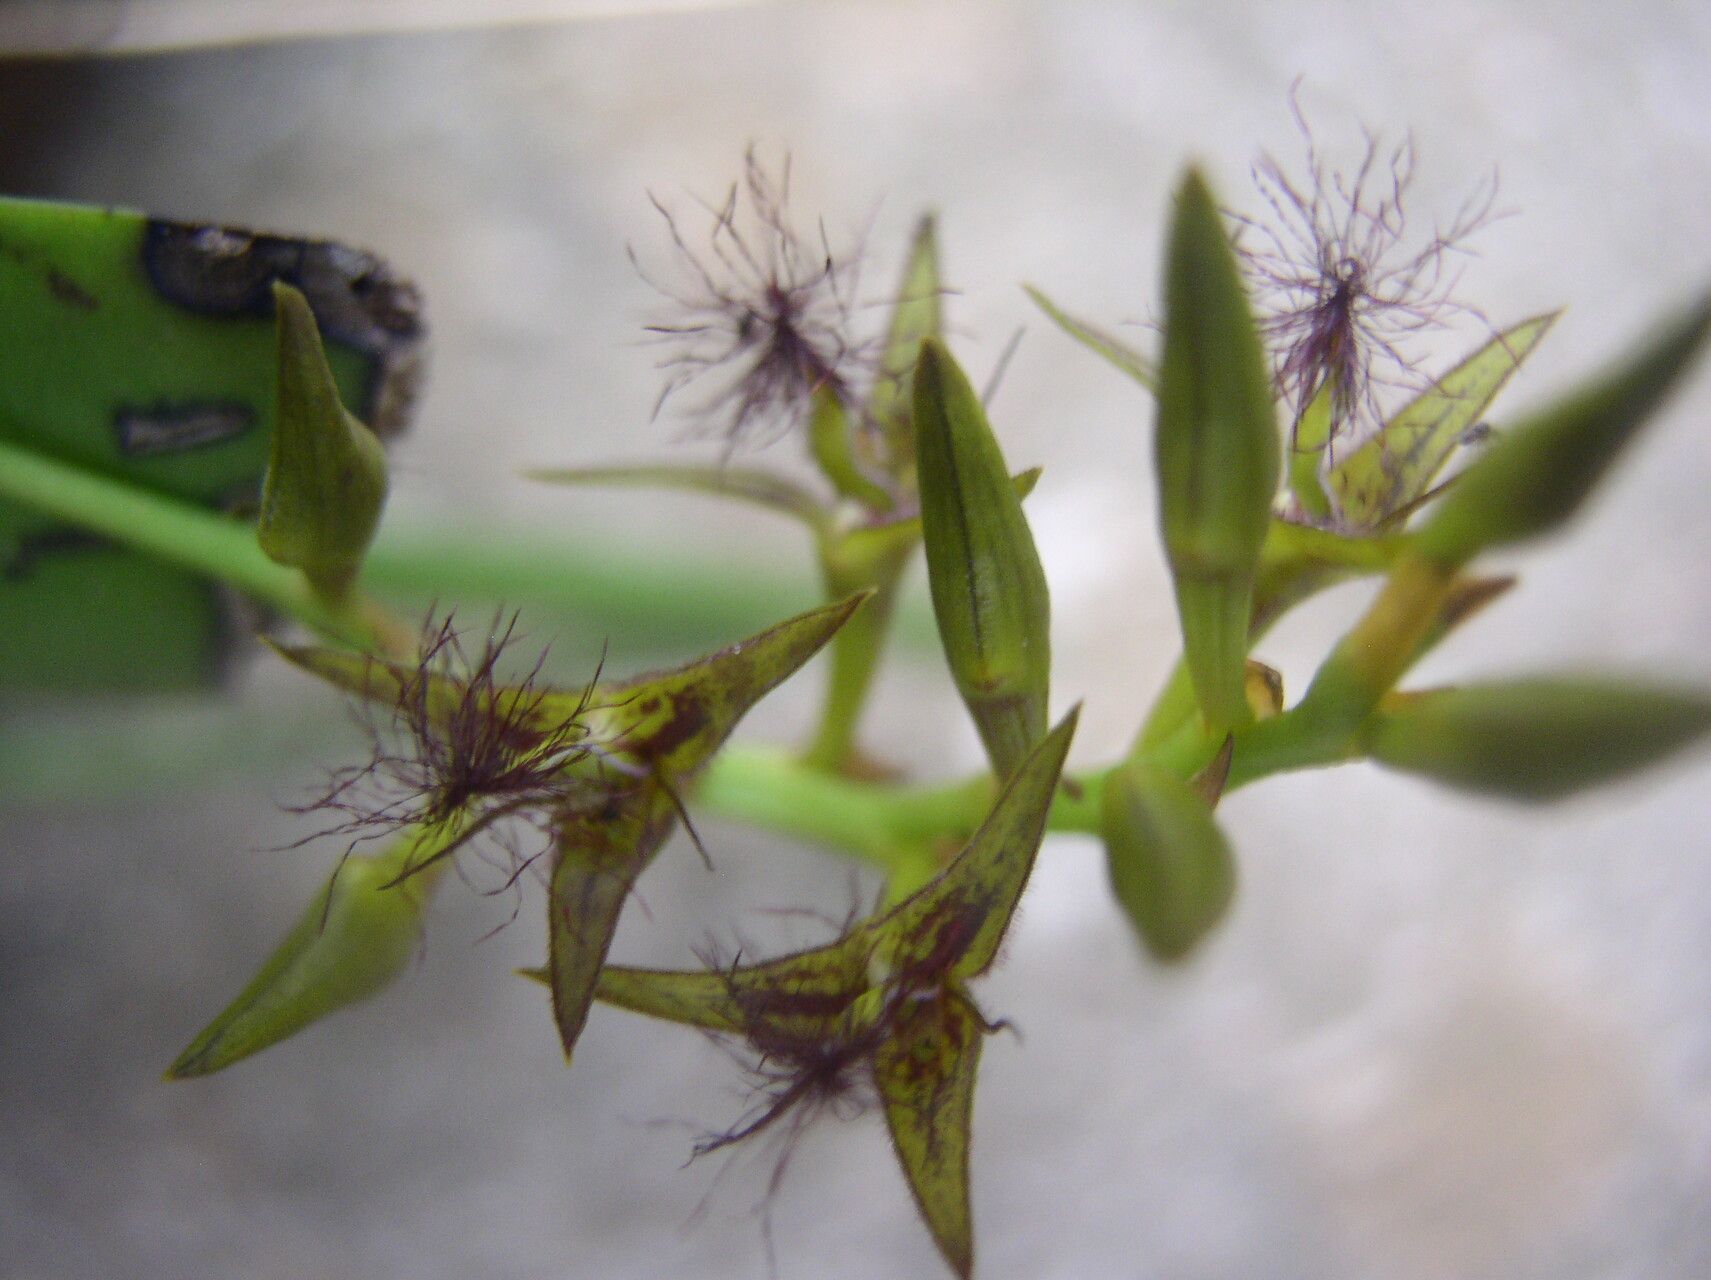
Hello fellow plant lovers! Let’s chat about a truly delightful orchid: Bulbophyllum alinae. If you’ve ever admired its delicate, often fragrant blooms and unique growth habit, you might be wondering if you can get more of these beauties for yourself. And the answer is a resounding yes!
Propagating Bulbophyllum alinae is a wonderfully rewarding endeavor. Watching a tiny piece of your beloved plant transform into a new, flourishing specimen is just about as satisfying as it gets in the gardening world. Now, for beginners, I’d say Bulbophyllum alinae can be a bit of a gentle challenge. It’s not the easiest orchid to multiply, but with a little care and attention, it’s absolutely achievable. Think of it as moving from beginner to intermediate – you’ll learn so much!
The Best Time to Start
Generally, the sweet spot for propagating Bulbophyllum alinae is during its active growing season. For most growers, this means spring and early summer. You’ll want to tackle this when the plant is showing visible signs of new growth, like plump new pseudobulbs or fresh leaves emerging. This is when the plant has more energy reserves to dedicate to developing roots and establishing itself. Trying to propagate when it’s dormant or stressed is just setting yourself up for disappointment.
Supplies You’ll Need
Here’s a handy list of what you’ll want to have on hand before you get started:
- Sharp, sterile pruning shears or a clean hobby knife: Crucial for making clean cuts to prevent disease. I always sterilize mine with rubbing alcohol.
- A well-draining orchid potting mix: Something like a good bark-based mix with perlite is perfect. Avoid anything that stays too wet.
- Small pots or containers: Choose ones that are just slightly larger than the section you’re propagating. Good drainage holes are non-negotiable!
- Rooting hormone (optional but recommended): A powder or gel can give your cuttings a helpful boost.
- Sphagnum moss (long-fibered): Excellent for retaining just the right amount of moisture.
- Watering can or spray bottle: For gentle watering or misting.
- A humidity dome or clear plastic bag (optional): To create a microclimate.
- A sunny windowsill or grow light: For providing the right amount of light.
Propagation Methods
For Bulbophyllum alinae, the most reliable method is division. This is where you’re essentially taking a healthy, established plant and gently separating it into smaller, viable pieces.
Here’s how I do it:
- Gently remove the orchid from its pot. Try not to disturb the roots too much. If it’s been in the pot for a while, it might be a good idea to soak the root ball for a few minutes to loosen things up.
- Inspect your plant. Look for sections that have at least two or three healthy pseudobulbs and a decent root system attached. A pseudobulb is that bulbous growth that sits above the leaf; it’s where the plant stores energy.
- Using your sterile shears or knife, carefully separate the divisions. Make sure each section has ample roots. If roots are tangled, you might need to gently tease them apart. Sometimes, a bit of clean cutting is necessary to free up a section.
- Trim away any dead or mushy roots. This is important for preventing rot.
- Pot up each division. Place it in a small pot filled with your orchid mix. The base of the plant should be at the soil level.
Another method, though less common for Bulbophyllum alinae, is taking keikis. Sometimes, orchids will produce “baby plants” called keikis. If you see one with its own tiny roots, you can try to gently separate it, but this is less predictable and often requires the keiki to be a bit more developed.
The “Secret Sauce” (Pro Tips)
I’ve learned a few tricks over the years that have really helped me.
First, don’t over-pot your divisions. Using a pot that’s too large can lead to the potting medium staying too wet, which is a fast track to root rot. Start small, and you can always repot later.
Second, consider using a bit of long-fibered sphagnum moss. I like to tuck some around the base of the division after potting. It helps retain just enough moisture without waterlogging the roots. You can also gently pack it around the base if there are a few gaps in the potting mix.
And this one is key: mimic their natural environment as much as possible. A Bulbophyllum loves good air circulation but also appreciates consistent humidity. When you first pot up your divisions, creating a slightly more humid environment for a week or two can give them a boost, but always ensure there’s airflow to prevent fungal issues.
Aftercare & Troubleshooting
Once your divisions are potted, place them in a location with bright, indirect light. Water them sparingly at first. You want the potting mix to dry out somewhat between waterings. A gentle misting can be good, but avoid letting water sit on the leaves or in the crown of the new growth, as this can encourage rot.
If you see yellowing leaves that aren’t new growth, that’s a potential sign of stress or overwatering. Mushy, dark roots are a definite red flag for rot, and you’ll need to unpot immediately, trim away the rot with sterile tools, and repot in fresh, drier medium.
Patience is your best friend here. It can take several months for a new division to establish a robust root system and start showing significant new growth. Don’t get discouraged if it looks a little sad for a while.
Wrap-up
Propagating Bulbophyllum alinae might take a little more finesse than some other orchids, but the payoff is so worth it. Be patient, observe your plants closely, and trust your instincts. Enjoy the journey of growing your orchid family! Happy growing!
Resource:
https://identify.plantnet.org/k-world-flora/species/Bulbophyllum%20alinae%20Szlach./data