Hello there, fellow garden enthusiasts!
Today, I want to talk about a plant that truly brings the buzz to your garden – Buddleja incana, often called the grey-leafed butterfly bush. If you love the idea of attracting fluttering beauties and enjoy the satisfaction of creating new life from existing ones, you’re in for a treat. Propagating Buddleja incana is a wonderfully rewarding process, and I’m happy to say, it’s quite beginner-friendly. You’ll likely find yourself with more of these lovely plants than you know what to do with before you know it!
The Best Time to Start
For Buddleja incana, the magic happens in late spring to early summer. This is when the plant is actively growing, and those soft, new shoots are full of vigor. Taking cuttings during this period gives them the best chance to root and establish before the heat of summer fully sets in or the cooler weather arrives. Think of it as capturing that burst of youthful energy.
Supplies You’ll Need
Gathering your tools beforehand makes the whole process smoother. Here’s what I usually have on hand:
- Sharp pruning shears or a clean knife: Essential for making clean cuts that heal well.
- Rooting hormone (optional, but recommended): A little boost can make a big difference, especially for less experienced propagators.
- Potting mix: A lightweight, well-draining mix is key. I often use a blend of equal parts peat moss, perlite, and vermiculite. You can also find specialized seedling or cutting mixes.
- Small pots or trays: Clean pots that are about 3-4 inches deep work well.
- Plastic bags or a propagator: To create a humid environment for your cuttings.
- Watering can or spray bottle: For gentle watering.
- Labels: To remember what you planted and when!
Propagation Methods
We’ll focus on the most straightforward and effective method for Buddleja incana: stem cuttings.
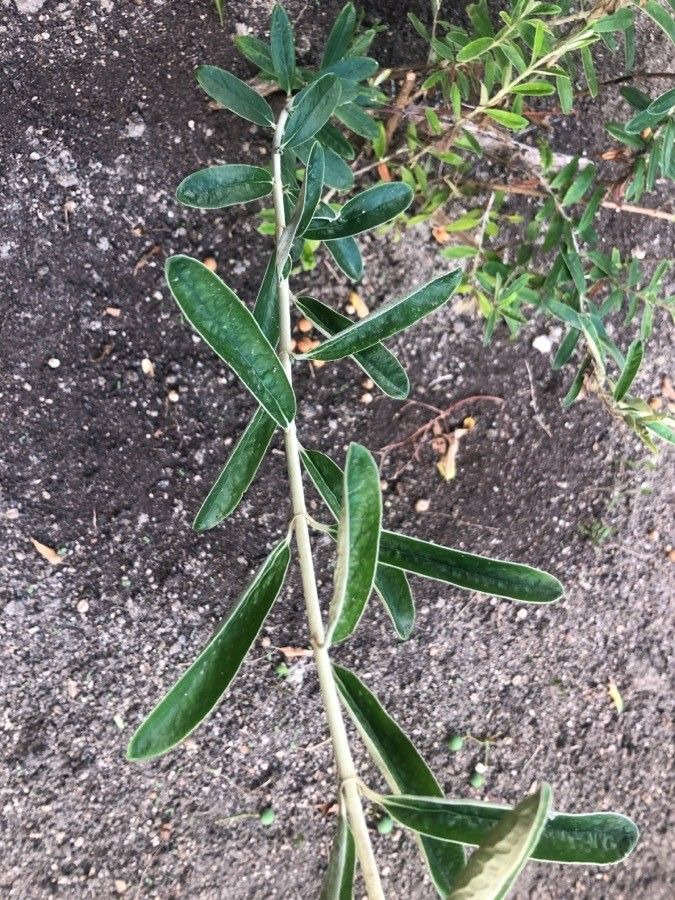
- Select Your Cuttings: Look for healthy, non-flowering shoots on your Buddleja incana. You want pieces that are about 4-6 inches long. The stem should be flexible but not floppy, and feel firm. Snip them just below a leaf node (where a leaf attaches to the stem). These are prime rooting spots!
- Prepare the Cuttings: Gently remove the lower leaves from your cuttings, leaving just a few at the top. This prevents them from rotting in the soil. If your cuttings are quite large at the top, you can even whack the remaining leaves in half to reduce water loss.
- Apply Rooting Hormone (If Using): Dip the cut end of each stem into your rooting hormone powder. Tap off any excess.
- Plant Your Cuttings: Make a hole in your potting mix with a pencil or your finger. Insert the cut end of the cutting into the hole, ensuring it’s well-supported by the soil. Gently firm the soil around it.
- Water Gently: Water your newly planted cuttings thoroughly but so they don’t become waterlogged.
- Create Humidity: This is crucial! Cover the pots with a clear plastic bag (supported by sticks so it doesn’t touch the leaves) or place them in a propagator. This traps moisture and keeps your cuttings from drying out.
- Find a Bright Spot: Place your pots in a bright location that receives indirect sunlight. Avoid direct sun, which can scorch the tender cuttings.
The “Secret Sauce” (Pro Tips)
Here are a few little tricks I’ve picked up over the years that really help boost success rates:
- Bottom Heat is Your Friend: If you have access to a heat mat, placing your pots on one can significantly speed up root formation. Most plants, including Buddleja incana, love a little warmth radiating from below.
- Don’t Disturb Too Soon: Resist the urge to tug on your cuttings to see if they have roots. Give them at least 3-4 weeks before gently trying to pull. If you feel resistance, you’ve likely got roots.
- Cleanliness is Next to Godliness: Make sure your pots, tools, and even your hands are clean. This helps prevent the spread of fungal diseases, which are the enemy of any new cutting.
Aftercare & Troubleshooting
Once your cuttings have developed a good root system – you might see them peeking out of the drainage holes or feel a definite resistance when you gently tug – it’s time for a little more attention. You can gradually acclimate them to slightly less humid conditions by opening the plastic bag a little more each day. Water them when the top inch of soil feels dry.
The most common setback you might encounter is rot. If you see your cuttings turning mushy or black at the base, it’s usually a sign of too much moisture and not enough air circulation. In this case, you may need to discard them and start again, ensuring your soil drains exceptionally well.
A Encouraging Closing
Propagating Buddleja incana is a journey, and like any good garden project, it requires a bit of patience. Don’t be discouraged if your first few attempts aren’t perfect. Each cutting you take, and each tip you try, is a learning experience. So, grab your shears, get your hands a little dirty, and enjoy the wonderful process of bringing more of these butterfly-attracting delights into your world! Happy propagating!
Resource:
https://identify.plantnet.org/k-world-flora/species/Buddleja%20incana%20Ruiz%20&%20Pav./data