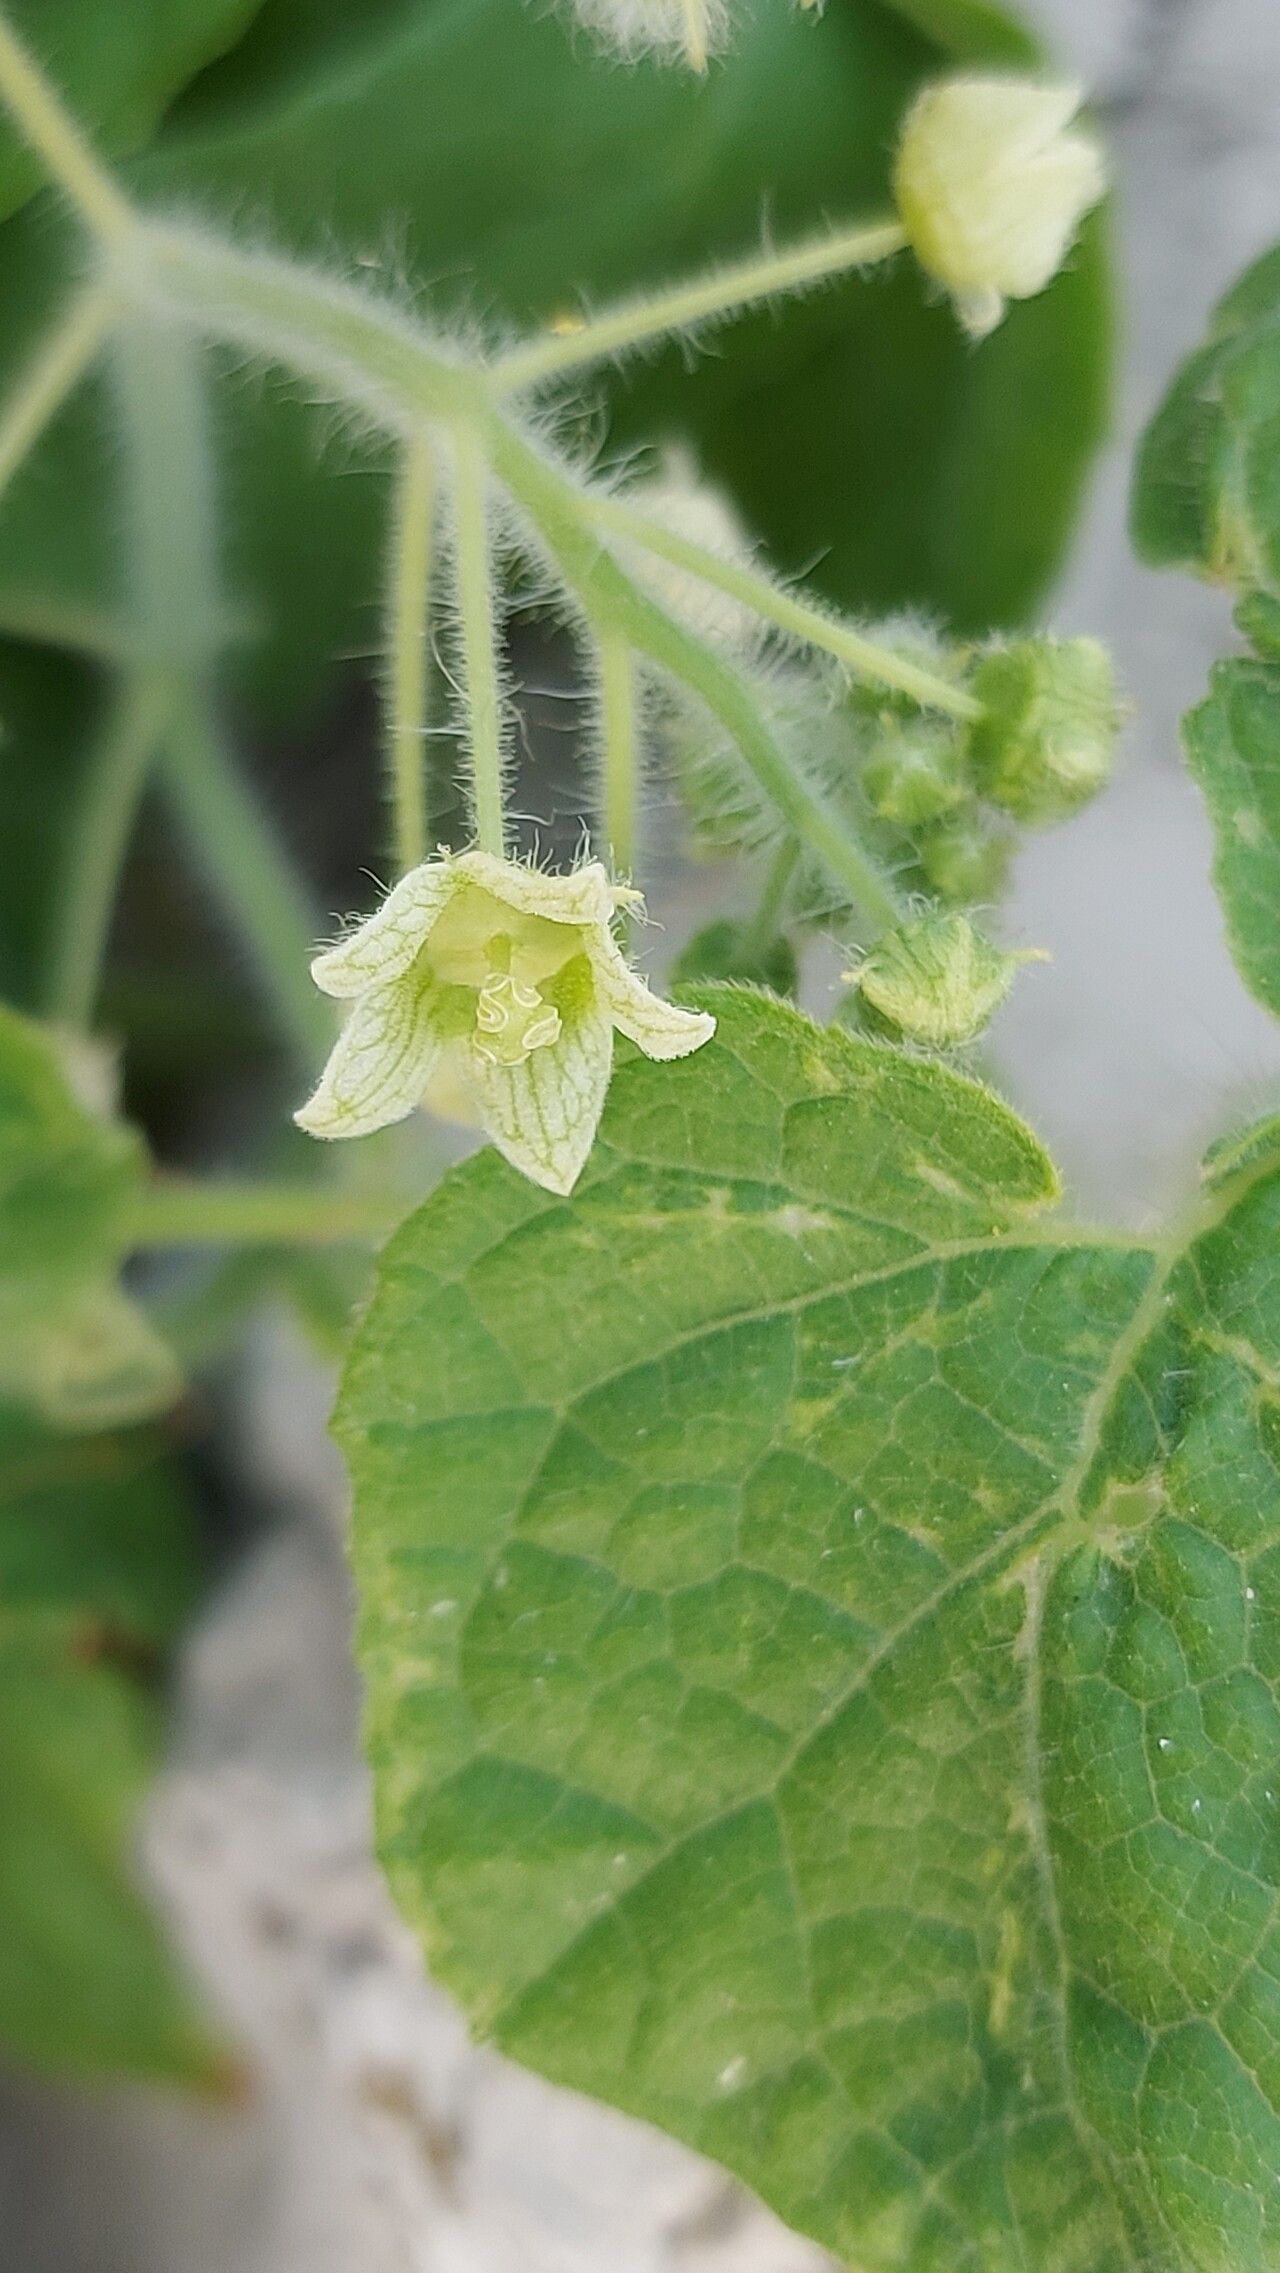
Hello, fellow garden enthusiasts! It’s so lovely to have you join me today. We’re going to dive into the wonderful world of Bryonia syriaca, a plant that, in my humble opinion, deserves a spot in more gardens. Its delicate tendrils and lovely, subtle beauty are incredibly charming. Propagating Bryonia is a truly rewarding experience, and I’m thrilled to share how you can multiply your own beauties. Don’t worry, it’s not as daunting as it might sound, and I’ll guide you through every step.
The Best Time to Start
For Bryonia, spring is really your golden ticket. This is when the plant is bursting with new growth after its winter rest. Starting your propagation efforts as the days get longer and warmer gives those new cuttings the best chance to establish themselves. You’re essentially catching the plant at its most vigorous point.
Supplies You’ll Need
Before we get our hands dirty, let’s gather our tools:
- Sharp pruning shears or a clean knife: For taking clean cuts.
- Potting mix: A well-draining mix is crucial. I like to use a blend of peat moss or coco coir, perlite, and a bit of compost.
- Small pots or trays: Clean containers are a must.
- Rooting hormone (optional but helpful): This can give your cuttings an extra boost.
- Plastic bags or a propagator: To keep humidity levels high.
- Watering can with a fine rose: For gentle watering.
- Labels: To keep track of what you’ve planted and when.
Propagation Methods
Bryonia is quite adaptable, and you’ll find success with a couple of straightforward methods.
Stem Cuttings: This is my go-to for Bryonia.
- Select Your Cuttings: Look for healthy, non-flowering stems that are at least 4-6 inches long. They should be firm, not floppy. You can often find these on new growth.
- Make the Cut: Using your sharp shears or knife, make a clean cut just below a leaf node. This is the little bump on the stem where a leaf emerges – that’s where the magic happens in terms of root development.
- Prepare the Cutting: Gently remove the lower leaves. You want to expose at least one or two leaf nodes near the base. This prevents leaves from rotting in the soil. If your cutting is very long, you can pinch off the very tip to encourage bushier growth later, but it’s not strictly necessary at this stage.
- Apply Rooting Hormone (Optional): If you’re using rooting hormone, dip the cut end into the powder. Tap off any excess.
- Plant the Cuttings: Fill your clean pots with your well-draining potting mix. Make a hole in the center with your finger or a pencil.
- Insert the Cuttings: Place the cut end of your Bryonia cutting into the hole, ensuring at least one or two leaf nodes are buried in the soil. Gently firm the soil around the stem.
- Water Gently: Give your cuttings a light watering to settle the soil.
Water Propagation: Some gardeners have success with this, though I find soil offers a bit more stability for Bryonia.
- Take a Cutting: Follow steps 1 and 2 above for stem cuttings.
- Remove Lower Leaves: Just as with soil propagation, remove all leaves that would be submerged in water.
- Place in Water: Put the cutting in a clean jar or glass filled with fresh water. Make sure no leaves are touching the water.
- Find a Bright Spot: Place the jar in a bright location, but out of direct sunlight. Change the water every few days to keep it fresh. Roots should start to appear in a few weeks. Once the roots are about an inch long, you can carefully transplant them into your potting mix.
The “Secret Sauce” (Pro Tips)
Here are a few little tricks I’ve learned over the years that can really help:
- Don’t let those lower leaves touch the water (or soil if they’re buried!). This is a recipe for rot. They will just decay and encourage fungal issues, which is the last thing you want for a new cutting.
- Humidity is your friend. Once you’ve potted your cuttings, cover the pots with a clear plastic bag or pop them in a propagator. This creates a mini-greenhouse, keeping the humidity high, which is essential for cuttings to root before they can take up water through their own roots. Just make sure to open the bag for a little bit each day for a few minutes to allow for air circulation and prevent mold.
- Bottom heat is a game-changer, especially in cooler springs. If you have a propagator with a heat mat, use it! A gentle warmth from below encourages root formation much faster and more reliably. If you don’t have a fancy setup, you can try placing your pots on a warm windowsill or even on top of a router – just be mindful of overheating!
Aftercare & Troubleshooting
Once you see signs of new growth, like tiny leaves emerging from the top or a gentle tug on the stem meeting resistance, you know roots have formed!
- Acclimatize Gradually: If you’ve used the plastic bag method, start by opening the bag for longer periods each day over a week before removing it entirely. This helps them adjust to normal room humidity.
- Watering: Continue to keep the soil consistently moist but not waterlogged. As the plant grows, you can gradually introduce it to slightly drier conditions between waterings, mimicking its natural preference.
- Repotting: Once your new Bryonia is showing good, healthy growth and has filled its initial pot, you can repot it into a slightly larger container.
The most common issue you might encounter is rot. This often happens if the soil is too wet, the air is stagnant, or if you had leaves in contact with the soil or water. If you see stems turning mushy and black, sadly, that cutting is likely lost. Don’t be disheartened, though! Just remove it and try again. Sometimes, a cutting just doesn’t take, and that’s part of the gardening adventure.
A Encouraging Closing
Propagating Bryonia syriaca is a lovely way to expand your gardening collection and share these charming plants with friends. Be patient, observe your cuttings closely, and celebrate every little success. Happy propagating, and may your gardens flourish!
Resource:
https://identify.plantnet.org/k-world-flora/species/Bryonia%20syriaca%20Boiss./data