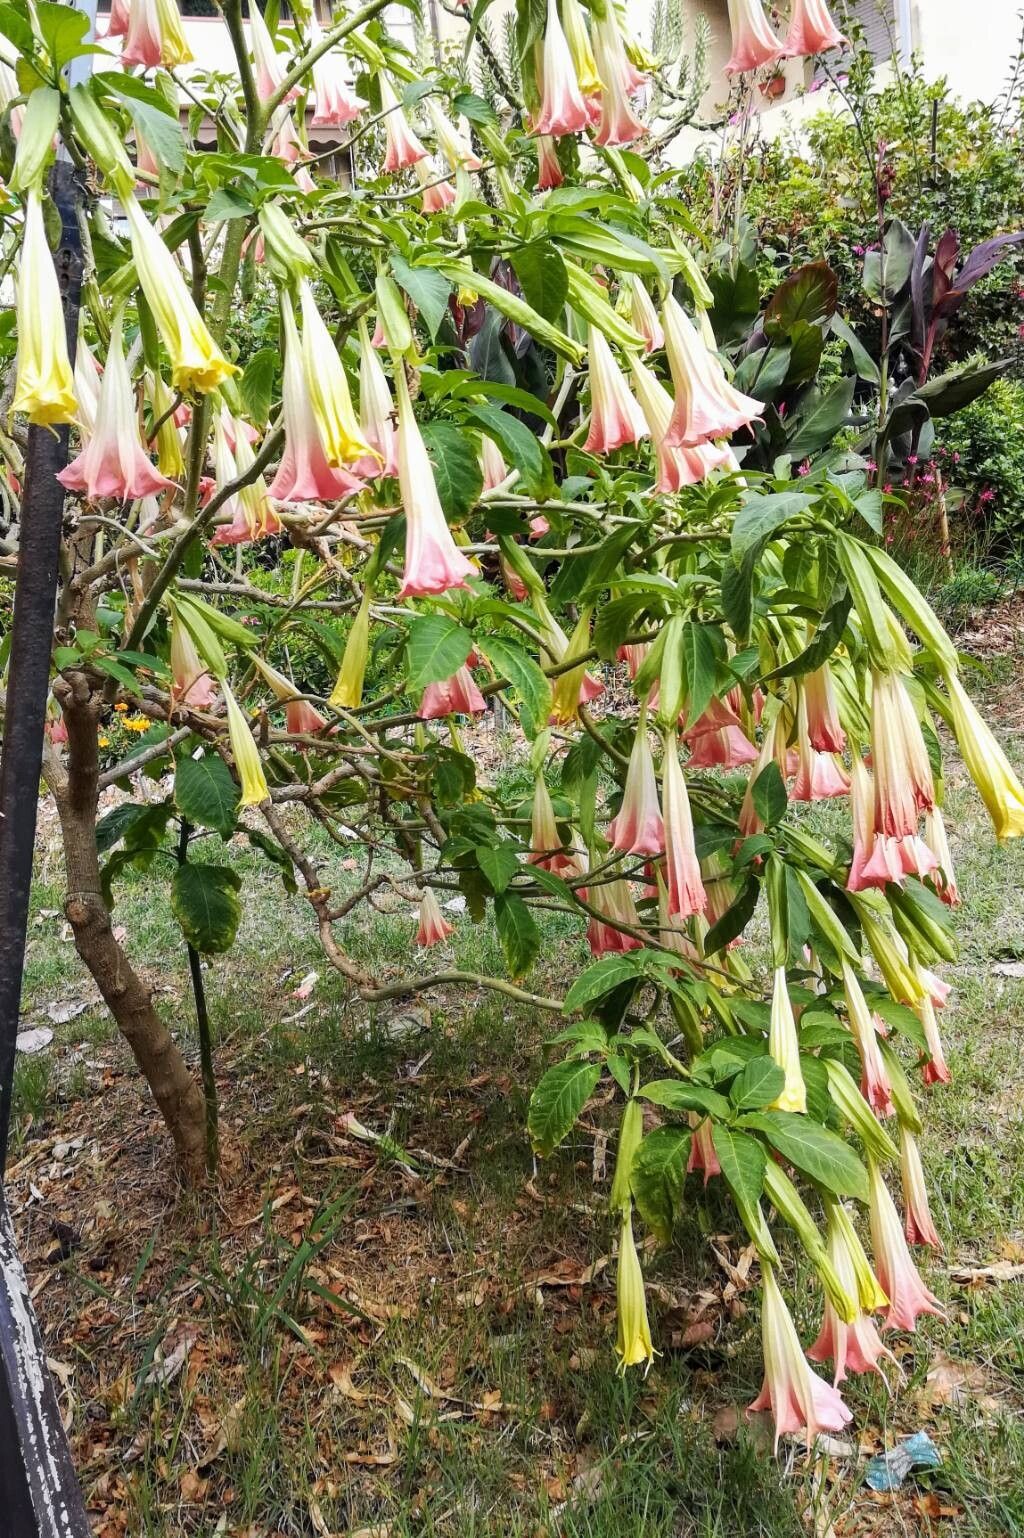
Oh, hello there! Come on in, grab a mug of your favorite brew. We’re going to talk about something truly magical today: propagating Brugmansia versicolor, or those glorious Angel’s Trumpets. If you’ve ever seen one in full bloom, those impossibly large, fragrant trumpet-shaped flowers cascading downwards, you know exactly why we’re so drawn to them. Getting more of these beauties to grace your garden is incredibly rewarding, and I’m here to walk you through it, step by step.
Now, for the good news: Brugmansia versicolor is actually quite forgiving when it comes to propagation. While some plants can be finicky, Angel’s Trumpets are generally generous. You can absolutely do this!
The Best Time to Start
When I think about getting Brugmansia going, I always lean into active growth periods. This means late spring and summer are your golden ticket. The plant is brimming with energy, pushing out new shoots, and that vigor translates beautifully to cuttings. Trying to do this in the dead of winter when everything is dormant is just setting yourself up for disappointment. Wait for that warm sunshine to really get things moving.
Supplies You’ll Need
Gathering your tools before you begin makes the whole process smoother. Here’s what I always have on hand:
- Sharp Pruning Shears or a Clean Knife: Crucial for making clean cuts to avoid damaging the stem. Sterilize them with alcohol before you start, please!
- Rooting Hormone: While not strictly essential for Brugmansia, it gives your cuttings a strong head start and significantly improves success rates. I prefer a powder or gel.
- Potting Mix: A well-draining mix is key. I often use a blend of equal parts peat moss or coco coir, perlite, and a little bit of compost. You can also buy pre-made “seed starting” or “cutting” mixes.
- Small Pots or Containers: Anything from small nursery pots to yogurt cups with drainage holes will work.
- Plastic Bags or a Propagation Dome: To create a humid environment for your cuttings. Old clear plastic bags over the pots work wonders.
- Water: For both the cuttings and to keep your soil moist.
- Optional: Bottom Heat Mat: This can speed up rooting significantly, especially if your propagating area is a bit cool.
Propagation Methods
Let’s dive into the most reliable ways to get more Angel’s Trumpets.
Stem Cuttings (My Favorite!)
This is my go-to method for Brugmansia. It’s efficient and yields great results.
- Select Your Cuttings: Look for healthy, semi-hardwood stems on your mature Brugmansia. These are stems that have grown this year and are starting to firm up but aren’t woody and old. You want pieces that are about 6-8 inches long.
- Make the Cut: Using your sterilized pruning shears, make a clean cut just below a leaf node (where a leaf attaches to the stem).
- Prepare the Cutting: Gently remove the lower leaves, leaving just one or two at the very top. This prevents excess leaf material from rotting in the soil and helps the cutting focus its energy on rooting.
- Apply Rooting Hormone: Dip the cut end of the stem into your rooting hormone, tapping off any excess. This stuff really gives them a boost.
- Plant Your Cuttings: Lightly moisten your potting mix. Make a pilot hole with a pencil or your finger, then insert the cutting, making sure the nodes where you removed leaves are buried. Firm the soil gently around the stem.
- Water and Cover: Water gently to settle the soil. Then, cover the pot with a clear plastic bag or a propagation dome to create a mini greenhouse. Make sure the leaves don’t touch the plastic!
- Placement: Place your pots in a bright location out of direct sunlight. A warm spot is ideal.
Water Propagation (Simple & Satisfying)
This is a fantastic way to see the roots grow!
- Take Cuttings: Same as above – choose strong, semi-hardwood stems, 6-8 inches long, and cut just below a leaf node.
- Prepare Cuttings: Remove all but the top 1-2 leaves. You can even trim larger leaves in half to reduce transpiration.
- Place in Water: Fill a clean jar or vase with fresh water. Place your cuttings in the water, making sure no leaves are submerged. Leaves in the water will rot and can kill your cutting.
- Change Water Regularly: Change the water every few days or whenever it starts to look cloudy. This keeps the environment clean and prevents bacterial growth.
- Location: Place the jar in a bright spot, but out of direct sun.
- Transplanting: Once you see healthy roots developing (usually after a few weeks), you can carefully transplant them into pots filled with your well-draining potting mix. Water them in well.
The “Secret Sauce” (Pro Tips)
After years of coaxing plants to grow, I’ve learned a few tricks that make a big difference.
- Don’t Let Those Leaves Touch the Water! I can’t stress this enough for water propagation. Any leaf decay in the water is a fast track to failure. Think of it as keeping your baby clean.
- Consider Bottom Heat: If you’re using the stem cutting method and your propagation area isn’t super warm, investing in a small heating mat can dramatically speed up root development. It mimics the natural warmth of spring soil and encourages those roots to form much faster.
- Be Patient with Multiple Cuttings: When you take a batch of cuttings, not all of them will take. That’s perfectly normal! I always take more cuttings than I think I’ll need, just to be sure. Some might root faster than others, so don’t give up on a slightly slower one too soon.
Aftercare & Troubleshooting
Once you see those little white roots peeking out of the drainage holes or promising new growth appears, you’ve successfully propagated!
- Gradual Acclimation: If your cuttings were under cover, start gradually acclimating them to normal humidity by opening the bag for a few hours each day, then removing it completely over a week or so. I also tease them out of direct sun for a little while longer.
- Watering: Water when the top inch of soil feels dry. Don’t let them sit in soggy soil, as this is a quick way to develop root rot.
- Fertilizing: Once your new plant is well-established and showing consistent new growth (a few weeks after transplanting or when you’ve removed the cover), you can start with a very dilute liquid fertilizer. Think about half-strength.
Now, what if things go wrong? The most common issue is rot. If your cutting turns mushy, black, or just wilts completely and doesn’t recover, it’s likely rot. This is usually caused by too much moisture, poor drainage, or lack of sanitation. If you see signs of rot, it’s usually best to discard the affected cutting and learn from it. Sometimes, a cutting might just fail to root. That’s okay! It happens to the best of us. Just clean up and try again with fresh material.
A Encouraging Closing
Growing new plants is one of the most satisfying parts of gardening. It takes a little patience, a bit of observation, and the willingness to try. Don’t be discouraged if your first batch isn’t perfect. Each attempt is a learning experience. Enjoy the process of nurturing these new little life forms, and soon you’ll have your very own Angel’s Trumpet family. Happy propagating!
Resource:
https://identify.plantnet.org/k-world-flora/species/Brugmansia%20versicolor%20Lagerh./data