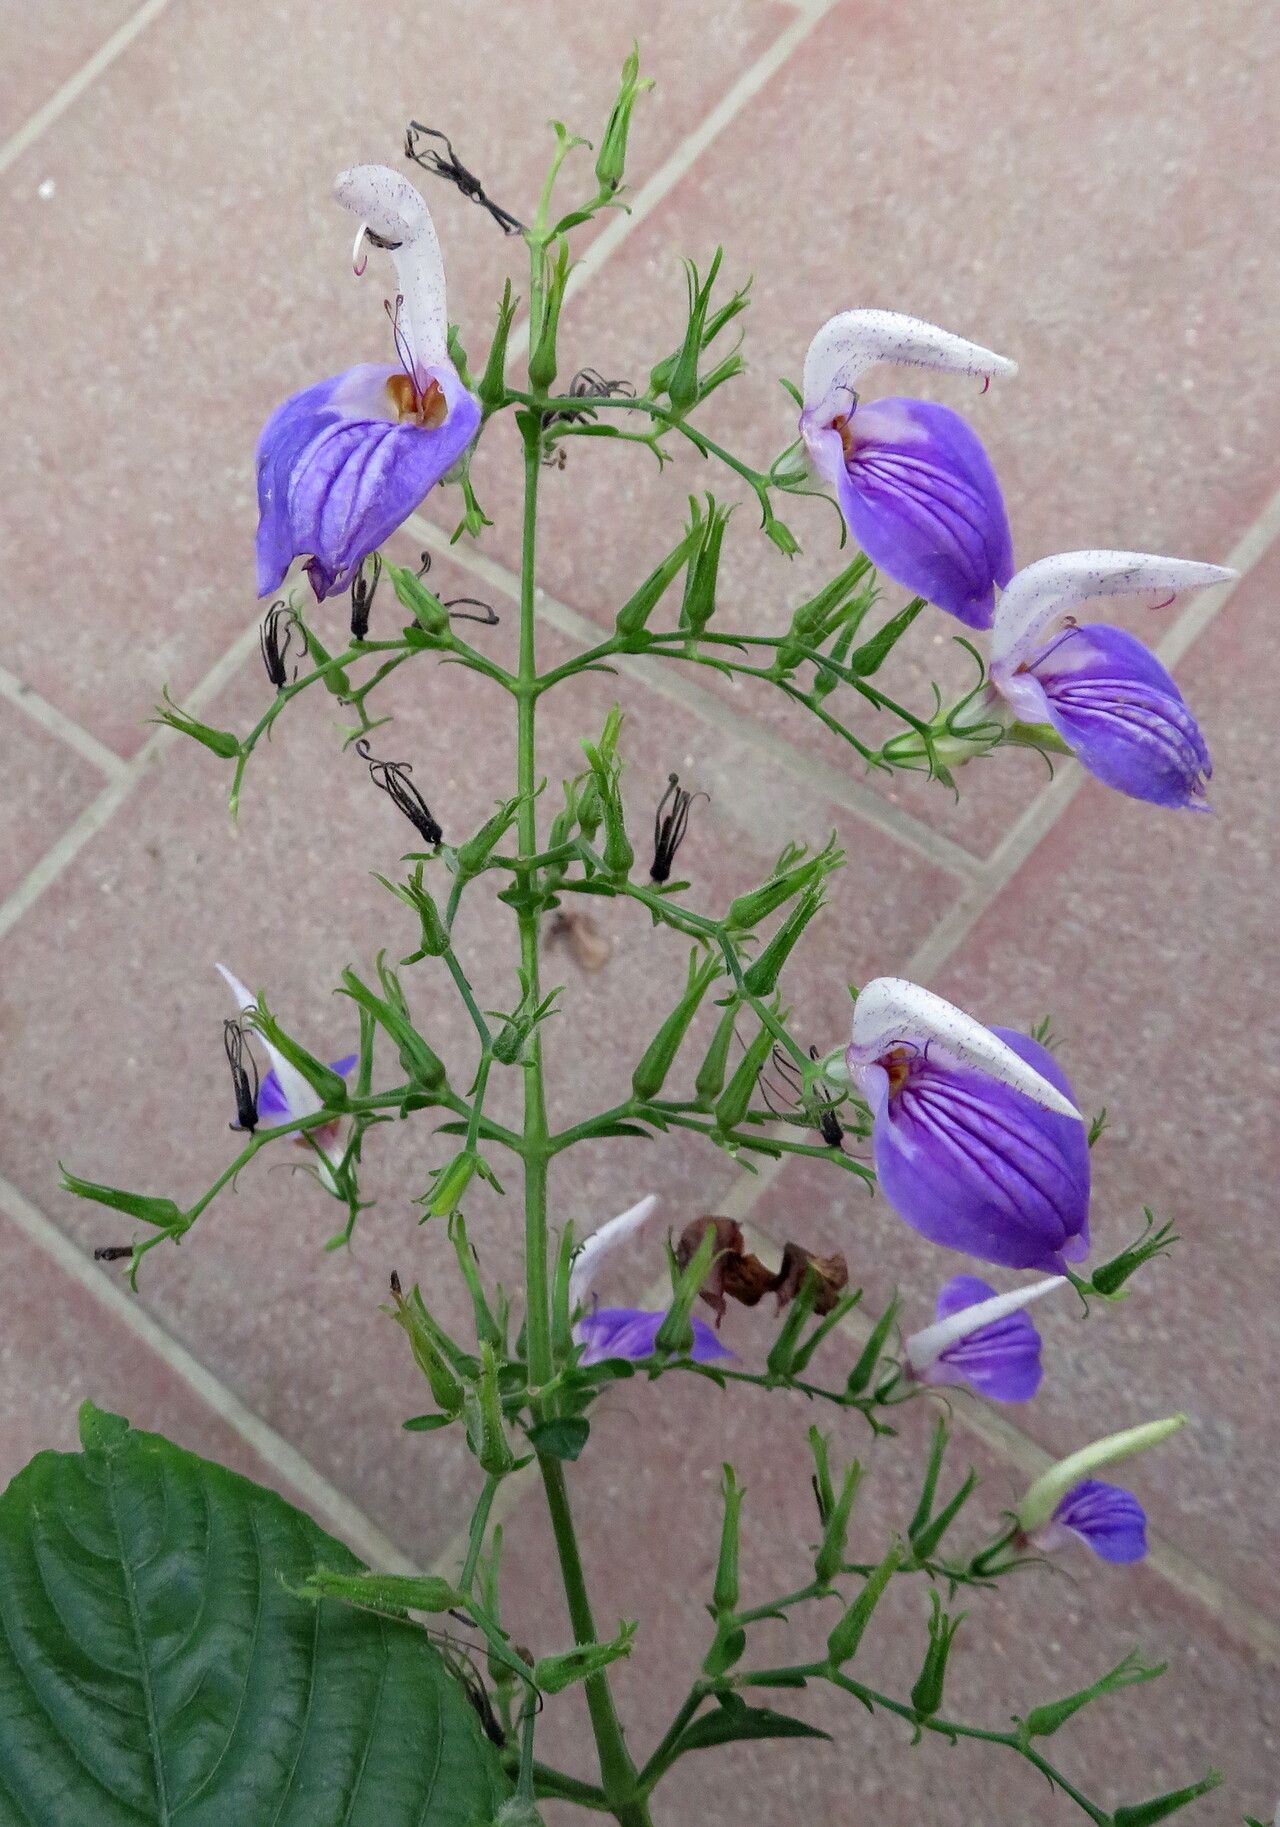
Hello fellow garden lovers! It’s so good to connect with you today. I’m absolutely buzzing to talk about a plant that’s brought so much joy to my own garden – Brillantaisia cicatricosa. You might know it by its common name, the “Black-Veined Jerusalem Sage” or perhaps just its striking velvety leaves with those deep, intricate veins. It’s a stunner, isn’t it? And the best part? You can easily bring more of this beauty into your life by propagating it yourself. Now, if you’re a beginner, don’t shy away. While it has some specific needs, with a little guidance, you’ll be a pro in no time!
When to Get Growing
For the absolute best success with Brillantaisia cicatricosa, I’ve found that spring and early summer are your golden windows. This is when the plant is actively growing after its winter rest, and the new growth is full of vigor. You’re looking for stems that are semi-hardwood – not brand new and floppy, but not old and woody either. Think of it like a flexible pencil, easy to bend without snapping.
What You’ll Need in Your Toolkit
Gathering your supplies beforehand makes the whole process smoother. Here’s what I usually have on hand:
- Sterile pots or trays: Small ones, about 4-inch diameter, work perfectly. Make sure they have good drainage holes!
- Well-draining potting mix: A good standard is a 2:1 mix of perlite and peat moss, or you can opt for a commercial seedling or propagation mix. You want something that dries out without becoming waterlogged.
- Sharp, clean pruners or a knife: For taking clean cuts. Sterilize them with rubbing alcohol between cuts to prevent disease spread.
- Rooting hormone (optional, but recommended): I like to use a powder. It really gives those cuttings a confidence boost!
- Plastic bags or a propagator: To create a humid microclimate.
- Watering can with a fine rose: For gentle watering.
Bringing New Life: Propagation Methods
Brillantaisia cicatricosa is a forgiving plant, and I’ve had great luck with the stem cutting method. It’s straightforward and efficient.
Stem Cuttings: My Go-To
- The Cut: Head out to your healthiest Brillantaisia. Look for those semi-hardwood stems I mentioned. Using your clean pruners, make a cut just below a leaf node (where a leaf attaches to the stem). You want cuttings that are about 4-6 inches long.
- Prep the Cutting: Gently remove the lower leaves from your cutting, leaving just two or three at the top. This reduces water loss through transpiration. If your leaves are very large, you can even slice them in half horizontally.
- Dip and Plant: If you’re using rooting hormone, dip the cut end of the stem into it, tapping off any excess. Then, insert the cutting into your prepared potting mix. Make a little hole with a pencil first to avoid rubbing off the hormone. Firm the soil gently around the base of the cutting.
- Create Humidity: Water your potting mix thoroughly but gently. Pop a plastic bag over the pot, or place it inside a propagator. This creates that humid environment cuttings crave. You can use stakes to keep the plastic from touching the leaves.
- Placement: Find a bright spot, but out of direct sunlight. A warm windowsill is ideal.
Water Propagation: A Peek at the Progress
While I prefer soil for Brillantaisia for long-term planting, you can start them in water.
- Follow steps 1 and 2 from the stem cutting method.
- Place the cuttings in a jar or vase filled with clean water.
- Crucially, make sure no leaves are submerged in the water. Leaves in the water will just rot and foul the water, hindering root development.
- Change the water every few days to keep it fresh.
- Once you see tiny roots forming, usually after a few weeks, you can pot them up in soil. Be gentle, as water roots can be a bit more delicate.
The “Secret Sauce” from My Garden to Yours
Over the years, I’ve learned a few tricks that really boost my propagation success.
- Bottom Heat is Your Friend: If you have a heated propagator or even a seedling heat mat, using bottom heat can dramatically speed up root formation. It keeps the soil temperature consistently warm, encouraging those roots to grow.
- Don’t Be Afraid to Mist: While the plastic bag provides overall humidity, giving the leaves a light misting with water every couple of days can also help keep them turgid and happy. Just don’t let water sit on the leaves for too long, especially in cooler conditions.
- The “Snap Test”: After about 4-6 weeks, you can gently tug on a cutting. If you feel resistance, it means roots have formed! If it pulls out easily, it hasn’t rooted yet, so don’t despair; keep it going.
Aftercare and What to Watch For
Once you see those lovely little roots poking out the bottom of the pot, or if you’ve transferred from water, it’s time for the next stage.
- Gradual Acclimation: If you used a plastic bag or propagator, gradually remove it over a few days. This helps the new plant adjust to normal humidity levels.
- Watering: Keep the soil consistently moist but not soggy. You’ll get a feel for it. Water when the top inch of soil feels dry to the touch.
- Light: Continue to provide bright, indirect light. As the plant gets more established, you can slowly introduce it to more direct sun, but avoid harsh midday sun, which can scorch the new growth.
Now, what if things go wrong? The most common issue is rot. This usually happens if the potting mix is too wet and doesn’t have enough air circulation. You might see the stem turning mushy or black at the soil line. If you see this, sadly, that cutting is likely lost. Prevent it by ensuring good drainage and not overwatering. Another sign of failure is if the leaves simply wither and die without any signs of rooting. This can be due to a lack of humidity, poor light, or using a stem that wasn’t quite ready.
Happy Growing!
Propagating plants is such a rewarding journey. There’s a special kind of magic in taking a piece of a plant and nurturing it into something entirely new. Don’t be discouraged if your first attempt isn’t perfect. Every gardener, myself included, has had their share of cuttings that didn’t make it. Be patient with your Brillantaisia, give it good care, and enjoy the process. You’ll be rewarded with more of those gorgeous, velvety leaves to admire! Happy propagating!
Resource:
https://identify.plantnet.org/k-world-flora/species/Brillantaisia%20cicatricosa%20Lindau/data