Oh, hello there! Pull up a chair and let’s chat about a little plant that’s really captured my heart over the years: Brachystephanus mannii. If you’ve seen its glossy leaves and charming blooms, you know exactly why it’s a winner. And the best part? Growing more of them is a truly satisfying endeavor.
The Magic of More Brachystephanus mannii
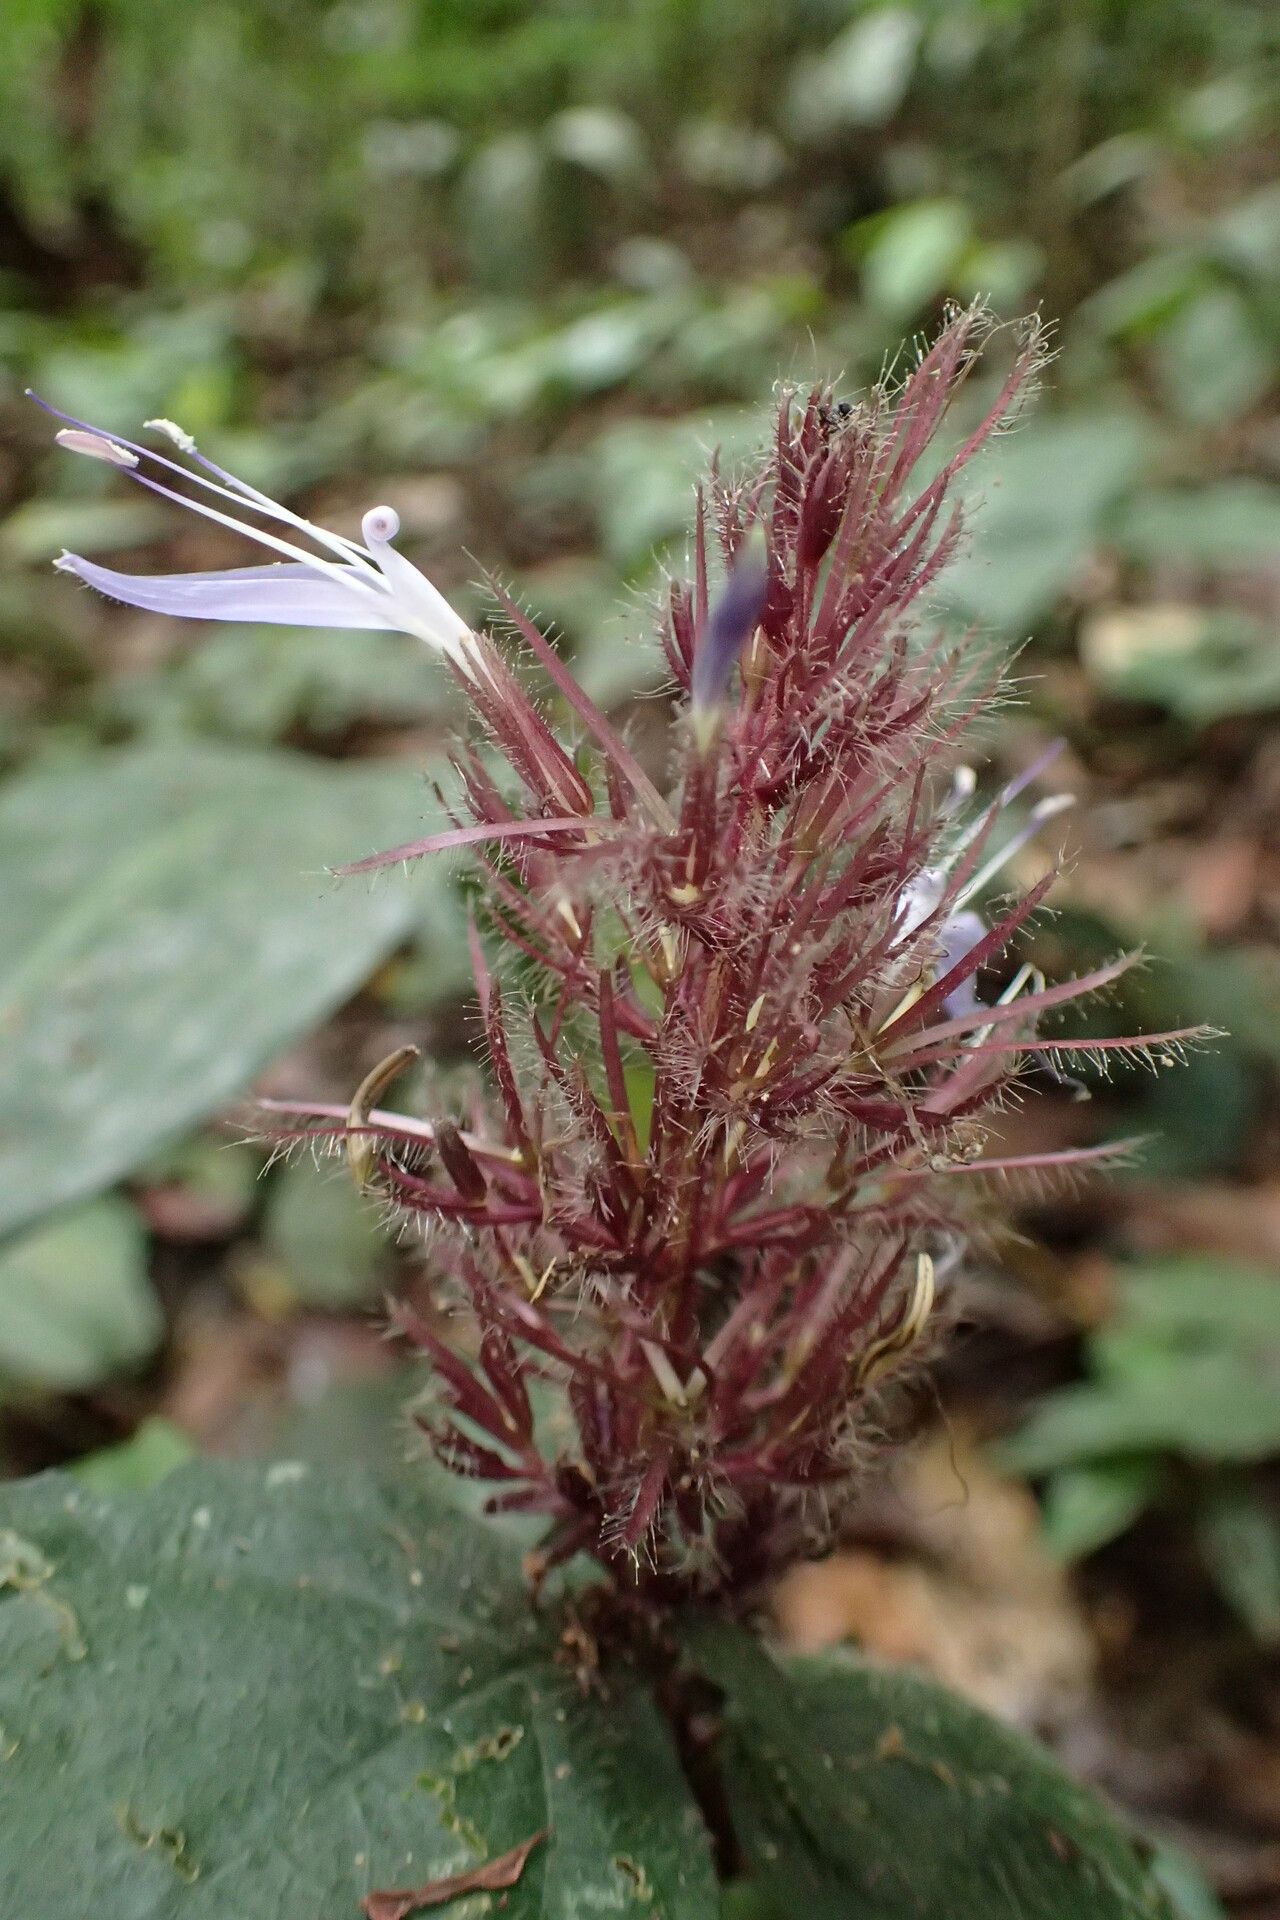
This plant, often called the “African Tinsel Plant” for its pretty flower sprays, brings a lovely touch of the tropics into our homes. Its lush foliage is wonderful all year round, and when those little blooms appear, it’s just delightful. Propagating it means you can fill your space, share with friends, or even start a whole new collection. Now, is it tricky? I’d say it’s approachable, even for folks just starting out with propagation. With a little care, you’ll be rewarded.
When to Get Your Hands Dirty
The sweet spot for propagating Brachystephanus mannii is usually during its active growing season. Think spring and early summer. This is when the plant has plenty of energy to put into new growth and root development. Waiting until new shoots have emerged after a period of rest is key. You want healthy, vigorous material to work with, not something that’s stressed or dormant.
What You’ll Reach For
Gathering your supplies beforehand makes the whole process smoother, right? Here’s what I usually have on hand:
- Sharp Pruning Shears or a Craft Knife: Clean cuts are crucial for healthy healing.
- A Good Potting Mix: I like a well-draining mix – think equal parts perlite, peat moss, and a bit of coarse sand. Some commercial seed starting mixes work wonders too.
- Small Pots or Seed Trays: For your new little plants to get started.
- Rooting Hormone (Optional but Recommended): A powdered or liquid hormone can give your cuttings a helpful boost.
- Plastic Bags or a Propagator Lid: To create a humid environment.
- Watering Can with a Fine Rose: Gentle watering is a must.
Bringing New Life: Stem Cuttings
This is my go-to method for Brachystephanus mannii, and I find it the most successful.
- Select Your Cuttings: Look for healthy, non-flowering stems. You want pieces that are about 4-6 inches long. Take them from newer growth, which generally roots faster.
- Make the Cut: Use your sharp shears to make a clean cut just below a leaf node. This is where new roots are most likely to form. Remove the lower leaves, leaving just a few at the top.
- Apply Rooting Hormone (If Using): Dip the cut end of the stem into your rooting hormone, tapping off any excess.
- Plant Your Cuttings: Gently insert the treated end into your prepared potting mix. Make sure at least one leaf node is buried beneath the surface. Firm the soil gently around the cutting.
- Create a Humid Environment: Water the soil thoroughly but avoid making it soggy. Then, cover the pot with a clear plastic bag or a propagator lid to keep the humidity high. You can also use stakes to keep the plastic from touching the leaves.
- Find its Spot: Place the pot in a bright location with indirect light. Avoid direct sun, which can scorch the leaves.
The “Secret Sauce”: My Insider Tips
Over the years, I’ve picked up a few tricks that seem to make all the difference.
- Bottom Heat is Your Friend: If you have a seedling heat mat, pop your pot on it. Warm soil encourages root development much faster than cool soil. It’s like giving your cuttings a cozy little spa treatment.
- Don’t Overwater, Even a Little: This is probably the biggest mistake new propagators make. Soggy soil is a fast track to rot. The goal is consistently moist, not waterlogged. I often give mine a good water and then don’t touch it again until the top of the soil feels dry.
- Patience with Leaf Nodes: Sometimes, new growth will emerge from the top of the cutting before roots appear underground. Don’t get too excited just yet! The real test is a gentle tug. If there’s resistance, you’ve got roots.
Aftercare and What to Watch For
Once you see signs of new growth, especially tiny leaves emerging from the top or sides, you know your cuttings are happy.
- Acclimatize Gradually: If you used a plastic bag, start by opening it for a few hours each day to help the new plant get used to normal humidity levels.
- Gentle Watering: Continue to water when the top inch of soil feels dry.
- First Fertilizing: Wait until you have a decent amount of new growth before introducing a diluted liquid fertilizer.
Now, what if things don’t go as planned? The most common issue is stem rot. If your cutting turns mushy and black at the soil line, it’s likely gone. This usually means too much moisture and not enough air circulation. Don’t be discouraged! Just clean up your pot, start fresh with a new cutting, and remember those tips about watering.
Keep Nurturing
Propagating plants is a journey about patience and learning. Each cutting is a little experiment, and even the most experienced gardeners have their failures. But the success is so sweet! Enjoy the process of watching those tiny roots form and new leaves unfurl. You’re bringing more beauty into the world, one Brachystephanus mannii at a time. Happy growing!
Resource:
https://identify.plantnet.org/k-world-flora/species/Brachystephanus%20mannii%20C.B.Clarke/data