Hey there, fellow plant lovers!
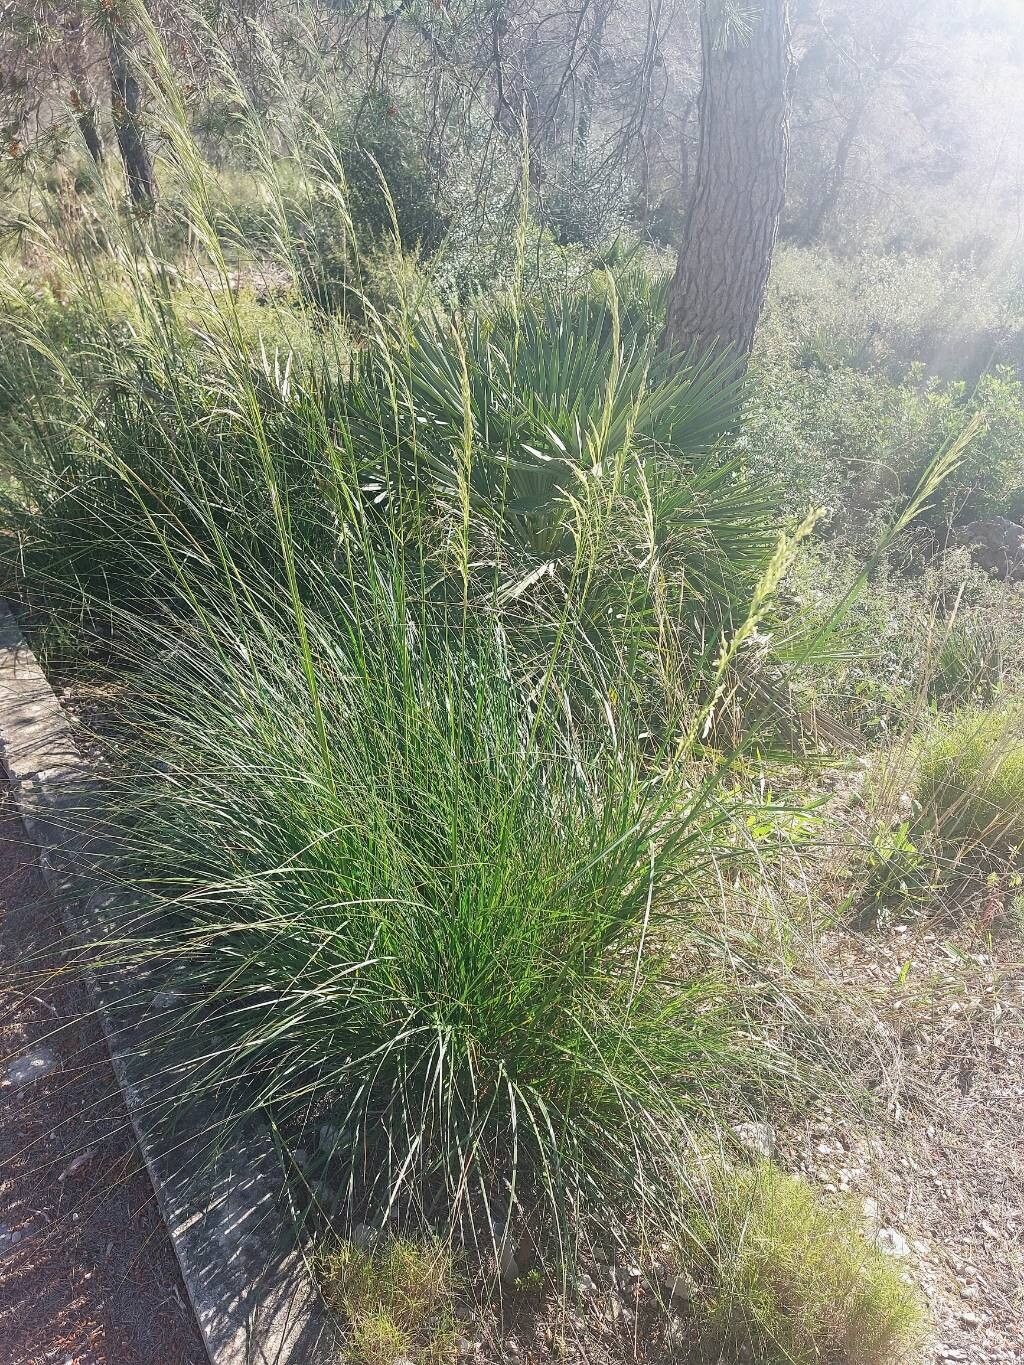
There’s something truly special about coaxing new life from an existing plant. It’s a little bit of magic, and a whole lot of satisfaction. Today, we’re going to talk about a plant that might not be on everyone’s radar yet, but trust me, it’s a gem: Brachypodium phoenicoides, often known as Mediterranean False Brome.
Why I Love Brachypodium phoenicoides (And Why You Will Too!)
This ornamental grass is just gorgeous. It forms lovely mounds of graceful, arching foliage that catch the light beautifully. It’s tough, drought-tolerant once established, and adds such wonderful texture and movement to a garden border. Plus, watching those tiny seedlings or new divisions unfurl their first leaves? Pure joy!
Now, about getting started. For many gardeners, propagating Brachypodium phoenicoides is a delight because it’s quite forgiving. I’d say it’s a good project for beginners. You don’t need years of experience to get great results.
When to Get Your Hands Dirty: The Best Time to Start
The sweet spot for propagating Brachypodium phoenicoides is typically in the late spring or early summer. This is when the plant is actively growing after its winter rest. You’ll have plenty of energy in the plant to support the formation of new roots. Waiting until the weather is consistently warm is key.
Your Propagation Toolkit
Before we dive into the methods, let’s get our essentials together. You’ll want:
- Sharp, clean pruning shears or a knife: For making clean cuts.
- Rooting hormone (optional but helpful): A powder or gel that encourages root development.
- A well-draining potting mix: I like a blend of peat moss, perlite, and a little compost. Or you can find specific seed-starting mixes.
- Small pots or seed trays: With drainage holes, of course!
- Spray bottle: For misting.
- Clear plastic bags or a propagation dome: To create a humid environment.
- A small trowel or dibber: For making planting holes.
Let’s Get Propagating! Your Options
There are two main ways I find success with Brachypodium phoenicoides, and both are pretty straightforward.
Method 1: Division – The Easiest Way
This is my favorite method for Brachypodium phoenicoides because the plant naturally clumps and is very forgiving.
- Dig Up Your Plant: In late spring or early summer, carefully dig up your established clump of Brachypodium phoenicoides. Gently shake off excess soil so you can see the root structure.
- Separate Gently: You can usually gently pull apart sections of the clump with your hands. If it’s a bit stubborn, use a clean knife or trowel to cut through the roots. Ensure each section has some healthy roots and at least a few shoots.
- Pot Them Up: Fill your small pots with your well-draining mix. Make a small hole in the center of each pot.
- Plant Your Divisions: Place one division into each hole, ensuring the roots are spread out a bit. Backfill with soil, firming gently around the base.
- Water Well: Water thoroughly after planting to settle the soil.
Method 2: Stem Cuttings (or Culm Cuttings)
This method takes a bit more patience, but it’s incredibly rewarding to see a whole new plant emerge from a stem.
- Take Your Cuttings: Choose healthy, non-flowering stems from your plant. Using your clean shears, cut stems that are about 4-6 inches long. Make the cut just below a leaf node (where a leaf attaches to the stem).
- Prepare the Cuttings: Remove the lower leaves from the cutting, leaving just a few at the top. This prevents them from rotting when in contact with moisture. If the stems have any seed heads, remove them.
- Dip in Rooting Hormone (Optional): If you’re using rooting hormone, dip the cut end of each stem into the powder or gel, tapping off any excess.
- Sow the Cuttings: Fill your seed tray or small pots with your potting mix. Using a dibber or your finger, create small holes about 1-2 inches deep.
- Insert Cuttings: Place each cutting into a hole, making sure the nodes where you removed leaves are buried in the soil. Firm the soil gently around the base of each cutting.
- Water and Cover: Water the potting mix lightly. Then, cover the pots or tray with a clear plastic bag or a propagation dome to create a humid environment. Poke a few small holes in the bag for ventilation.
The “Secret Sauce” – My Insider Tips
Over the years, I’ve learned a few tricks that seem to give my propagations an extra boost.
- Bottom Heat is Your Friend: For stem cuttings, a little warmth from below can really speed up root formation. A simple seedling heat mat placed under your trays is fantastic. It encourages those roots to sprout without drying out the foliage.
- Don’t Drown Your Cuttings: When starting stem cuttings, the soil should be consistently moist, but never soggy. Soggy soil is the fastest way to invite rot, and nobody wants that! If you see water pooling, drain it off.
- Listen to Your Plant: If your Brachypodium phoenicoides is looking particularly vigorous, it might be the perfect time to try propagating it. Healthy, happy plants are always the best donors for new babies!
Aftercare and What to Watch For
Once your divisions are planted or your cuttings show signs of rooting (you might see new growth or a slight tug on the cutting will show resistance), it’s time for a little pampering.
- Gradual Acclimation: For cuttings started in a humid environment, gradually increase ventilation by opening the plastic bag or dome a little each day over a week. This helps them adjust to normal humidity.
- Light and Water: Place your new plants in a bright spot with indirect sunlight. Water them when the top inch of soil feels dry.
- Troubleshooting: The most common sign of failure is rot. If your cuttings turn mushy and black, or your divisions start to wilt and show no sign of recovery, it’s likely rot due to overwatering or poor drainage. If you see this, it’s best to discard the affected material and start again, ensuring better drainage and less water next time.
Happy Growing!
There you have it! Propagating Brachypodium phoenicoides is a straightforward and very rewarding endeavor. Be patient, enjoy the process, and celebrate each tiny bit of new growth. Happy gardening, everyone!
Resource: