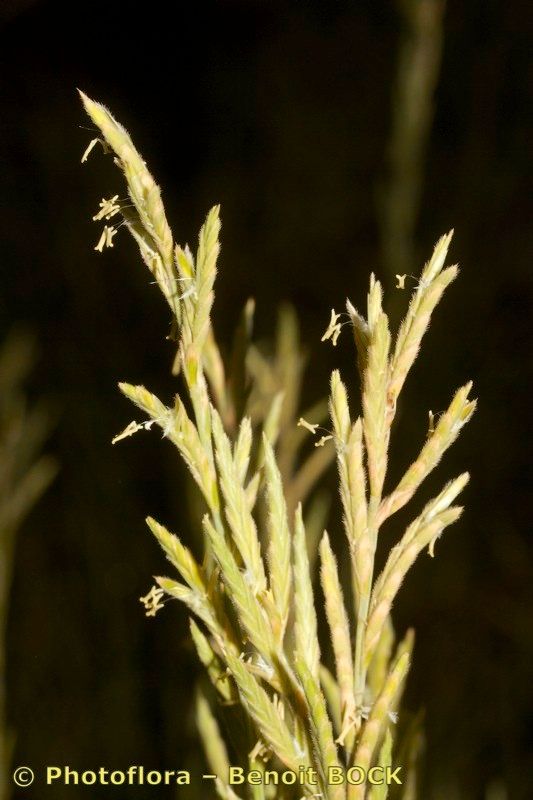
Well hello there, fellow plant lover! I’m so glad you’ve stopped by. Today, we’re diving into the wonderfully rewarding world of propagating Brachypodium atlanticum. You know, that lovely, arching grass we sometimes see gracing rocky slopes or coastal gardens? Its delicate beauty, with those fine, often bluish-green blades catching the breeze, is just captivating. Plus, there’s a special kind of joy in nurturing a new life from a piece of an established beauty. It’s a little like sharing a secret with the plant itself.
Now, as for beginners, I’d say Brachypodium atlanticum is a moderately easy plant to get started with. It’s not quite as foolproof as, say, a spider plant, but with a little attention, you’ll find success.
The Best Time to Start
For the highest success rates, I always aim to propagate Brachypodium atlanticum in late spring or early summer, just as the plant is really hitting its stride. You want to catch it when it’s actively growing and has plenty of energy to put into developing new roots. Early morning, after the dew has dried but before the heat of the day really sets in, is often a good time to take cuttings.
Supplies You’ll Need
Gathering your supplies beforehand makes the whole process much smoother. Here’s what I usually have on hand:
- Sharp, clean pruning shears or a sharp knife: We want clean cuts to prevent disease.
- Small pots or seed trays: Ensure they have good drainage holes.
- Well-draining potting mix: A blend of horticultural grit, perlite, and a good quality potting soil works wonders. You can also buy specialized seed-starting mixes.
- Rooting hormone (optional but helpful): Especially for cuttings, this can speed things up.
- A spray bottle: For keeping things consistently moist.
- A clear plastic bag or cloche: To create a humid environment for cuttings.
- Bottom heat source (optional): A gentle heating mat can really encourage root development.
Propagation Methods
Let’s get our hands dirty! Brachypodium atlanticum is primarily propagated through division, but I’ve had good luck with stem cuttings too, especially with younger growth.
Division
This is really my go-to method for this grass. It’s gentle and effective.
- Dig carefully: Gently dig up the entire plant from its pot or garden bed. Try not to disturb the roots too much.
- Inspect the root ball: Look for natural divisions within the root system. You’ll often see where the plant has naturally split into smaller clumps.
- Gently tease apart: With your hands or a clean trowel, carefully separate the plant into smaller sections. Each section should have a decent amount of roots and some leafy shoots. Don’t worry if a few roots break; it’s part of the process.
- Replant immediately: Pot up your new divisions into prepared pots. Make sure the crown (where the leaves emerge from the roots) is at soil level.
- Water well: Give them a good drink to settle the soil around the roots.
Stem Cuttings
This method is a bit more involved but can be very rewarding.
- Select healthy stems: Look for non-flowering stems that are a few inches long. They should be firm but not woody.
- Make the cut: Using your clean shears or knife, make a cut just below a leaf node. This is where new roots will most likely form.
- Prepare the cutting: Gently strip off the lower leaves. If using rooting hormone, dip the cut end into it now.
- Pot it up: Insert the cut end into a pot filled with your well-draining potting mix. Make sure at least one leaf node is buried beneath the surface.
- Create humidity: Lightly mist the cutting and the soil. Then, cover the pot with a clear plastic bag or a cloche to create a tiny greenhouse effect. Make sure the plastic doesn’t touch the leaves too much.
- Provide gentle warmth (optional): If you have a heating mat, place the pot on it. This really speeds up the root development.
The “Secret Sauce” (Pro Tips)
Here are a couple of things I’ve learned over the years that make a real difference:
- Don’t overwater, but don’t let it dry out: This is a delicate balance. For cuttings, keeping the soil consistently moist but not soggy is crucial. If the soil looks dry, give it a light misting. For divisions, water them in well and then let the top inch of soil dry out between waterings.
- Fresh air is good, eventually: Once your cuttings show signs of new growth (which might take a few weeks!), gradually acclimate them to normal air by opening the bag or cloche for longer periods each day. You don’t want to shock them.
Aftercare & Troubleshooting
Once you see new growth emerging from your divisions or cuttings, that’s a fantastic sign that roots are forming!
- For divisions: Continue watering as you would an established plant. You can slowly start feeding them with a diluted liquid fertilizer once you see sturdy new growth.
- For cuttings: As they become more established, you can remove them from the humidity dome. Continue to keep the soil consistently moist. Once they’ve developed a good root system (you might see roots peeking out of the drainage holes), you can transplant them into slightly larger pots.
Now, the most common issue you might encounter is rot. This usually happens from too much moisture and not enough air circulation. If you see yellowing leaves that then turn mushy and brown, or if a cutting just seems to be collapsing, it’s likely rot. If this happens, remove the affected part immediately and try to improve air circulation. Sometimes, a bit of a fresh start with new cuttings is the best approach.
A Encouraging Closing
Propagating plants, especially those as graceful as Brachypodium atlanticum, is a journey of patience and observation. Don’t get discouraged if your first attempt isn’t a roaring success. Every gardener has their share of learning experiences! Enjoy the process, celebrate the little victories, and before you know it, you’ll have more of this beautiful grass to share. Happy planting!
Resource:
https://identify.plantnet.org/k-world-flora/species/Brachypodium%20atlanticum%20Dobignard/data