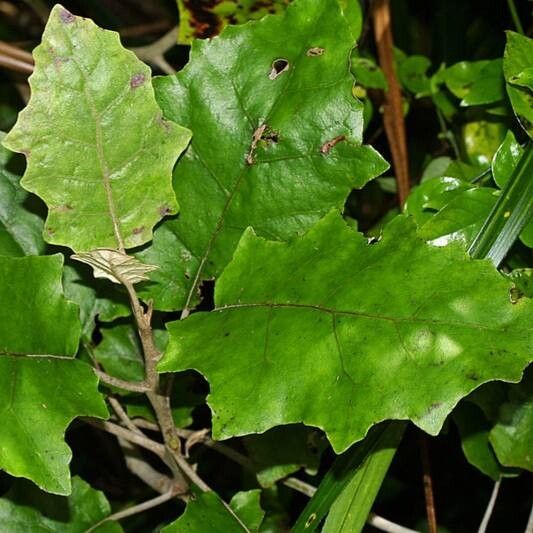
Hey there, fellow plant lovers! Today, I want to chat about a real gem for many gardens: Brachyglottis repanda. You might know it as Daisy Tree or Senecio ‘Waltersblaze’ – it’s got this wonderful, silver-backed foliage that offers a lovely contrast to deeper greens. Plus, its bright yellow, daisy-like flowers in spring? Pure magic!
Now, if you’re thinking about adding more of this beauty to your landscape or sharing it with friends, propagating Brachyglottis repanda is a fantastic idea. For beginners, I’d say it’s quite accessible. With a little patience and the right approach, you’ll be well on your way to creating new plants.
The Best Time to Start
My top tip for success? Take cuttings in late spring or early summer. This is when the plant is actively growing, and new, reasonably firm stems are readily available. They have the vigor needed to root quickly. You can also try in early autumn, but spring growth is usually more reliable for me.
Supplies You’ll Need
Before we get our hands dirty, let’s gather our tools:
- Sharp pruning shears or a clean knife: For making neat cuts.
- Rooting hormone (optional but recommended): A powder or gel can give your cuttings a good start.
- A well-draining potting mix: I like a blend of perlite, peat moss, and a bit of compost. You can also use a commercial seed-starting mix.
- Small pots or trays: Clean and with drainage holes, of course.
- A plastic bag or a propagator lid: To create a humid environment.
- A spray bottle: For misting.
- Gravel or capillary matting (optional): For bottom watering.
Propagation Methods
Let’s get down to business! Stem cuttings are my go-to for Brachyglottis repanda.
Stem Cuttings
- Select your stem: Look for healthy, semi-hardwood stems. These are stems that are no longer floppy and green but haven’t fully turned woody either. Aim for stems that are about 4-6 inches long.
- Make the cut: Using your clean shears or knife, make a clean cut just below a leaf node (where a leaf attaches to the stem).
- Prepare the cutting: Gently remove the lower leaves, leaving just the top two or three. This prevents them from rotting when buried. If you’re using rooting hormone, dip the cut end into the powder or gel, tapping off any excess.
- Plant your cutting: Fill your pots with your potting mix and moisten it. Make a hole in the soil with your finger or a pencil. Insert the cutting into the hole, ensuring the leaf nodes are below the soil surface. Gently firm the soil around the base.
- Create humidity: Water the soil lightly. Then, cover the pot with a plastic bag, securing it around the rim with a rubber band, or place it in a propagator with a lid. This creates a mini-greenhouse effect, keeping the cuttings from drying out.
The “Secret Sauce” (Pro Tips)
Here are a couple of things I’ve learned over the years that can really boost your success rate:
- Don’t let the leaves touch the soil: I’ve found that even with the lower leaves removed, if any of the remaining leaves accidentally rest on the surface of the potting mix in the pot, they are more prone to rotting. Just be mindful as you position your cuttings.
- Bottom heat makes a difference: If you have one, placing your pots on a heated propagator mat can dramatically speed up the rooting process. It encourages root development from below, giving your cuttings that extra push they need, especially if the ambient temperature isn’t as warm as you’d like.
Aftercare & Troubleshooting
Once your cuttings are potted, place them in a bright spot, but out of direct, scorching sun. Keep the soil consistently moist but not waterlogged. You can mist the leaves occasionally, too. With good conditions, you should start to see signs of rooting in about 3-6 weeks. You’ll know they’re ready to transplant when you feel a bit of resistance when you gently tug on them, or when you see new leaf or stem growth.
The most common issue is rot. If a cutting looks mushy, black, and generally unwell, it’s likely due to too much moisture and not enough air circulation. If you spot rot, unfortunately, that cutting is probably lost. Prevention is key here – well-draining soil and avoiding overwatering are your best friends.
A Encouraging Closing
Propagating plants is such a rewarding part of gardening. It’s a wonderful way to learn about plant life cycles and to fill your garden with more of what you love. Don’t be discouraged if every single cutting doesn’t make it – that’s perfectly normal! Just keep at it, be patient, and enjoy the journey of nurturing these new little lives from a slip of a branch. Happy growing!
Resource: