Oh, hello there, fellow plant enthusiast! I’m so glad you’ve stopped by. Today, we’re going to dive into the delightful world of propagating Bonnaya antipoda. I’ve spent a lot of happy hours with this little gem over the years, and let me tell you, watching a tiny piece of a plant transform into a whole new one is one of gardening’s greatest joys.
Why Bonnaya antipoda is a Propagator’s Dream (and Yours Too!)
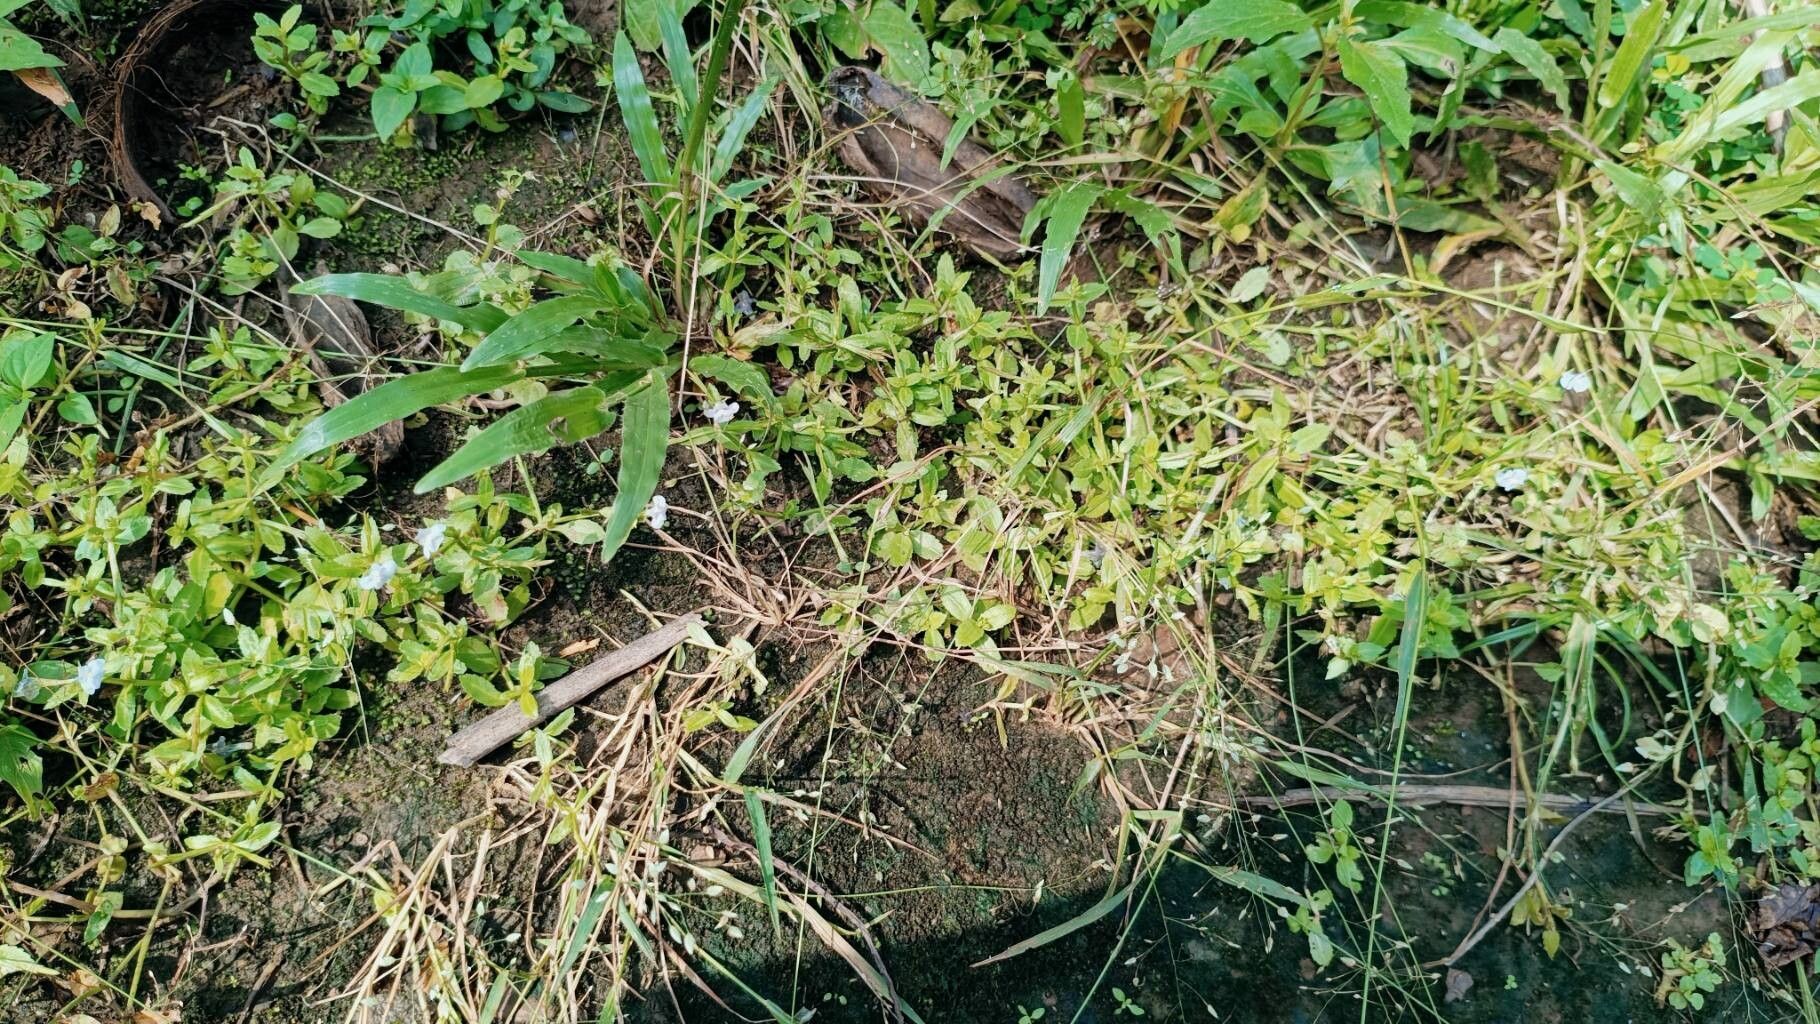
Bonnaya antipoda, often called creeping fig or creeping thyme, has this wonderful, mat-forming habit that just spills over pots and edges beautifully. Its tiny, delicate leaves create such a lush carpet of green. And the best part? Propagating it is genuinely quite easy, even for those of you just starting out on your plant parent journey. It’s incredibly forgiving, which makes it a perfect plant to test your propagation skills on. You’ll be sharing little pieces of your success with friends in no time!
When to Get Your Hands Dirty
For the absolute best chance of success with Bonnaya antipoda, I always recommend starting in late spring or early summer. This is when the plant is in its most active growth phase. It’s got plenty of energy to spare, which means those cuttings will be raring to go and develop roots faster. Think of it as giving them the best head start you possibly can.
Your Propagation Toolkit
Here’s what you’ll want to gather before you begin. Don’t worry, it’s nothing too fancy!
- Sharp Pruning Shears or Scissors: Cleanliness is key here, so make sure they’re freshly sterilized.
- A Good Quality Potting Mix: Something that drains well is crucial. A mix of peat moss, perlite, and a bit of standard potting soil works wonders. I often add a touch of orchid bark for extra aeration.
- Small Pots or Trays: Whatever you’ll be planting your cuttings in. Clean them thoroughly!
- Rooting Hormone (Optional but Recommended): While Bonnaya antipoda roots easily, a little dab of rooting hormone can really speed things up and increase your success rate.
- A Spray Bottle: For misting, keeping things humid.
- Plastic Bags or a Propagator Lid: To create a mini-greenhouse effect.
Getting Those Little Beauties Started: My Favorite Methods
Bonnaya antipoda is wonderfully versatile, and a couple of methods really shine for this plant.
1. Stem Cuttings: The Classic Approach
This is my go-to method for Bonnaya antipoda. It’s straightforward and yields fantastic results.
- Select a Healthy Stem: Look for a piece of stem that’s about 3-4 inches long and has plenty of healthy leaves. Avoid anything that looks leggy or discolored.
- Make the Cut: Using your clean pruning shears, make a clean cut just below a leaf node (where a leaf attaches to the stem). This is where the magic happens, the point from which new roots will emerge.
- Prepare the Cutting: Gently remove the lower leaves from the stem, leaving just a few at the very top. This prevents them from rotting when buried in the soil.
- Apply Rooting Hormone (Optional): Dip the cut end into your rooting hormone powder, tapping off any excess.
- Plant Your Cutting: Fill your small pot with your well-draining potting mix. Make a small hole in the center with your finger or a pencil.
- Insert the Cutting: Gently place the prepared cutting into the hole, making sure the leaf nodes are buried in the soil. Firm the soil gently around the stem to keep it upright.
- Water Lightly: Give the soil a light watering. You want it moist, but not soggy.
- Create Humidity: Place the pot inside a clear plastic bag, or cover it with a propagator lid. This traps moisture and creates a humid environment perfect for root development. Stake it up so the bag doesn’t touch the leaves.
2. Water Propagation: The Fun, Visual Method
If you like to watch the roots grow, this is a fun one.
- Take the Cutting: Follow steps 1-3 from the stem cutting method.
- Place in Water: Get a small jar or glass of clean water. Place your stem cutting in it, ensuring that no leaves are submerged. Only the stem should be in the water. You can use toothpicks to suspend the stem if needed.
- Find a Bright Spot: Place the jar in a bright location, out of direct sunlight.
- Change Water Regularly: Change the water every few days to keep it fresh and prevent bacterial growth.
- Watch for Roots: You should start to see tiny white roots emerge from the leaf nodes within a couple of weeks.
- Transplant: Once the roots are about an inch long, carefully transplant the cutting into your potting mix as described in the stem cutting method.
The “Secret Sauce” for Extra Success
Now, for a couple of little tricks I’ve picked up over the years that really make a difference.
- Bottom Heat is Your Friend: If you’re prone to cooler temperatures or want to speed things up, placing your pots on a seedling heat mat can be a game-changer. It encourages root development from below, and Bonnaya antipoda absolutely loves it. About 70-75°F (21-24°C) is perfect.
- Don’t Distribute Too Many Energies: When taking cuttings, it’s tempting to grab every long piece you see. However, try to select stems that are not flowering. The energy going into blooms can detract from root formation. Focus on vigorously growing green shoots!
Aftercare and When Things Go Wrong
Once your cuttings have started to root (you might see new leaf growth or feel a gentle tug when you lightly pull), it’s time to transition them to a little more independence.
- Gradually Acclimate: If you used a plastic bag or propagator lid, start by opening it for a few hours each day, then gradually increase the time until you can remove it entirely. This prevents shock from sudden changes in humidity.
- Watering: Water when the top inch of soil feels dry. Don’t overwater! This is the quickest way to invite trouble.
- Light: Keep them in bright, indirect light. Too much direct sun can scorch those tender new leaves.
Troubleshooting: The most common enemy here is rot. If your stem turns mushy, black, or starts to disintegrate, it’s likely rot. This is usually caused by overwatering or poor air circulation. If you catch it early, you might be able to salvage a healthy piece of the stem and try again, but often, it’s best to discard the affected cutting and start fresh. Yellowing leaves can sometimes indicate too much or too little water, or sometimes just the plant adjusting. Observe your cuttings closely.
Happy Propagating!
See? Not so daunting, is it? The most important ingredient in all of this is patience and a bit of faith. Some cuttings will take off like rockets, while others might need a little more time to show you what they can do. Just enjoy the process, tend to your little green babies with love, and celebrate every little root you discover. You’ve got this, and I’m cheering you on!
Resource:
https://identify.plantnet.org/k-world-flora/species/Bonnaya%20antipoda%20(L.)%20Druce/data