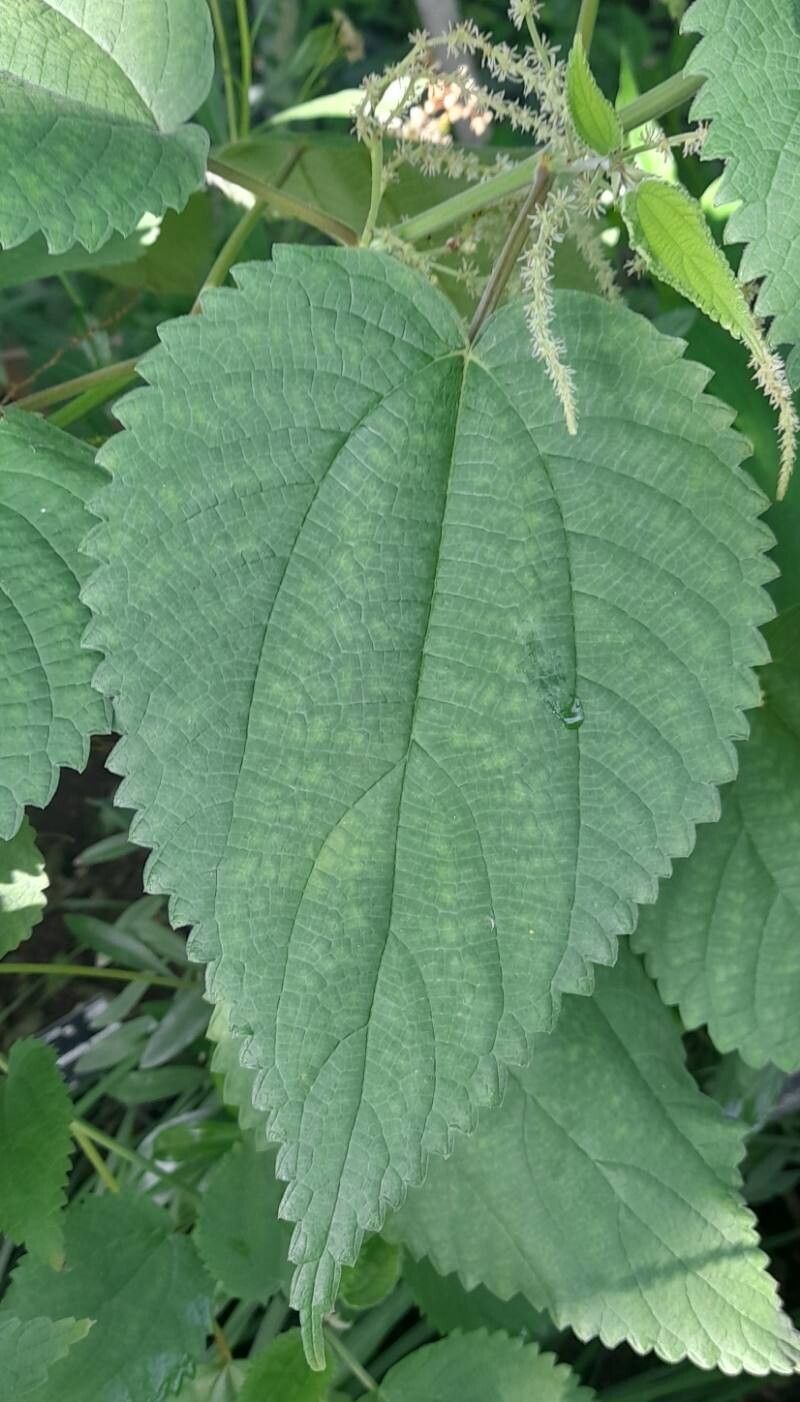
Hello there, fellow garden enthusiasts! It’s so lovely to share a little pot of something special with you today. We’re going to talk about a plant that brings a wonderful architectural presence and delicate beauty to any green space: Boehmeria grandis. This fantastic plant, often called “False Nettle” or “Laplap,” is a real star, especially for its lush foliage and airy, almost ethereal flower spikes that catch the light just so.
If you’ve ever admired this beauty in a friend’s garden or at a nursery, you might be wondering how to get more of it for yourself. And you’re in luck! Propagating Boehmeria grandis is a truly rewarding experience, and I’m here to guide you through it. While it’s not the absolute easiest plant to start from scratch for a complete beginner, it’s certainly very doable with a little care and the right approach. Think of it as a delightful stepping stone – challenging enough to feel like an accomplishment, but not so tricky that it’ll discourage you.
The Best Time to Start
For the highest chance of success, I always recommend taking cuttings when the plant is actively growing. That usually means late spring through to mid-summer. You want to select stems that are not too woody but also not brand new, tender growth. Think of it as the sweet spot – firm, but still flexible. This is when the plant has plenty of energy to put into forming new roots.
Supplies You’ll Need
Gathering your tools beforehand makes the whole process smoother. Here’s what I generally have on hand:
- Sharp, clean pruning shears or a sharp knife: For making clean cuts.
- Small pots or seed trays: With drainage holes, of course!
- A good potting mix: I often use a mix of equal parts seed-starting mix, perlite, and coco coir. This provides excellent drainage and aeration, which is crucial.
- Rooting hormone (optional but recommended): A powder or gel formulation can give your cuttings a helpful boost.
- A spray bottle: For misting.
- A clear plastic bag or propagator lid: To create a humid environment.
- A well-draining pot for the mother plant: To ensure healthy growth before you take cuttings.
Propagation Methods: Stem Cuttings
Stem cuttings are my go-to method for Boehmeria grandis. It’s straightforward and usually gives excellent results.
- Take Your Cuttings: Using your clean pruning shears or knife, select a healthy stem from the mother plant. Aim for a cutting about 4-6 inches long. Make your cut just below a leaf node (where a leaf attaches to the stem).
- Prepare the Cuttings: Gently remove the lower leaves from the cutting, leaving just a few at the top. If the leaves are very large, you can even cut them in half horizontally to reduce water loss.
- Apply Rooting Hormone (Optional): Dip the cut end of the stem into your rooting hormone, tapping off any excess.
- Plant Your Cuttings: Fill your small pots with your prepared potting mix. Make a small hole with your finger or a pencil, then gently insert the cut end of the stem into the hole. Firm the soil gently around the base of the cutting.
- Water and Cover: Water the soil lightly until it’s moist but not waterlogged. Then, cover the pot with a clear plastic bag or a propagator lid to maintain high humidity.
The “Secret Sauce” (Pro Tips)
Here are a few little tricks I’ve picked up over the years that really make a difference:
- Don’t Let the Leaves Touch the Water (If Water Propagating): While I focus on soil propagation here, if you do try water, ensure the leaves aren’t submerged. Decaying leaves can rot the cutting before roots have a chance to form.
- Bottom Heat is Your Friend: If you have the option, providing gentle bottom heat (through a propagation mat or placing pots on top of a lightly warmed appliance) can significantly speed up root formation. It mimics the conditions the plant loves when it’s really getting going in the spring.
- Watch for Signs of Life, Not Just Roots: Even before you see visible roots peeking out the bottom of the pot, look for new leaf growth at the top of the cutting. This is a sure sign that your cutting has taken, even if the roots haven’t fully developed yet.
Aftercare & Troubleshooting
Once your cuttings are planted and covered, place them in a bright spot out of direct sunlight. Keep the soil consistently moist but not soggy. Misting the leaves every few days with your spray bottle will help keep them happy.
You should start to see signs of rooting within 3-6 weeks. You’ll know they’ve rooted well when you see new growth and feel a gentle resistance when you lightly tug on the stem.
Common issues to watch out for include rot, which usually presents as a dark, mushy stem base. This is often caused by overwatering, poor drainage, or not enough air circulation. If you see this, sadly, that cutting is likely lost. To prevent it, ensure you’re using a well-draining mix and avoid letting the soil sit constantly waterlogged. Another sign of failure is a wilting cutting that never bounces back even with adequate moisture – this might mean it just didn’t quite get enough energy to establish itself.
A Encouraging Closing
The world of gardening is all about patience and observation, and propagating Boehmeria grandis is no different. Don’t be discouraged if every single cutting doesn’t make it. Each attempt is a learning opportunity, and with these tips, you’re well on your way to multiplying this magnificent plant. Enjoy the process of watching these tiny beginnings grow into something beautiful. Happy gardening, everyone!
Resource: