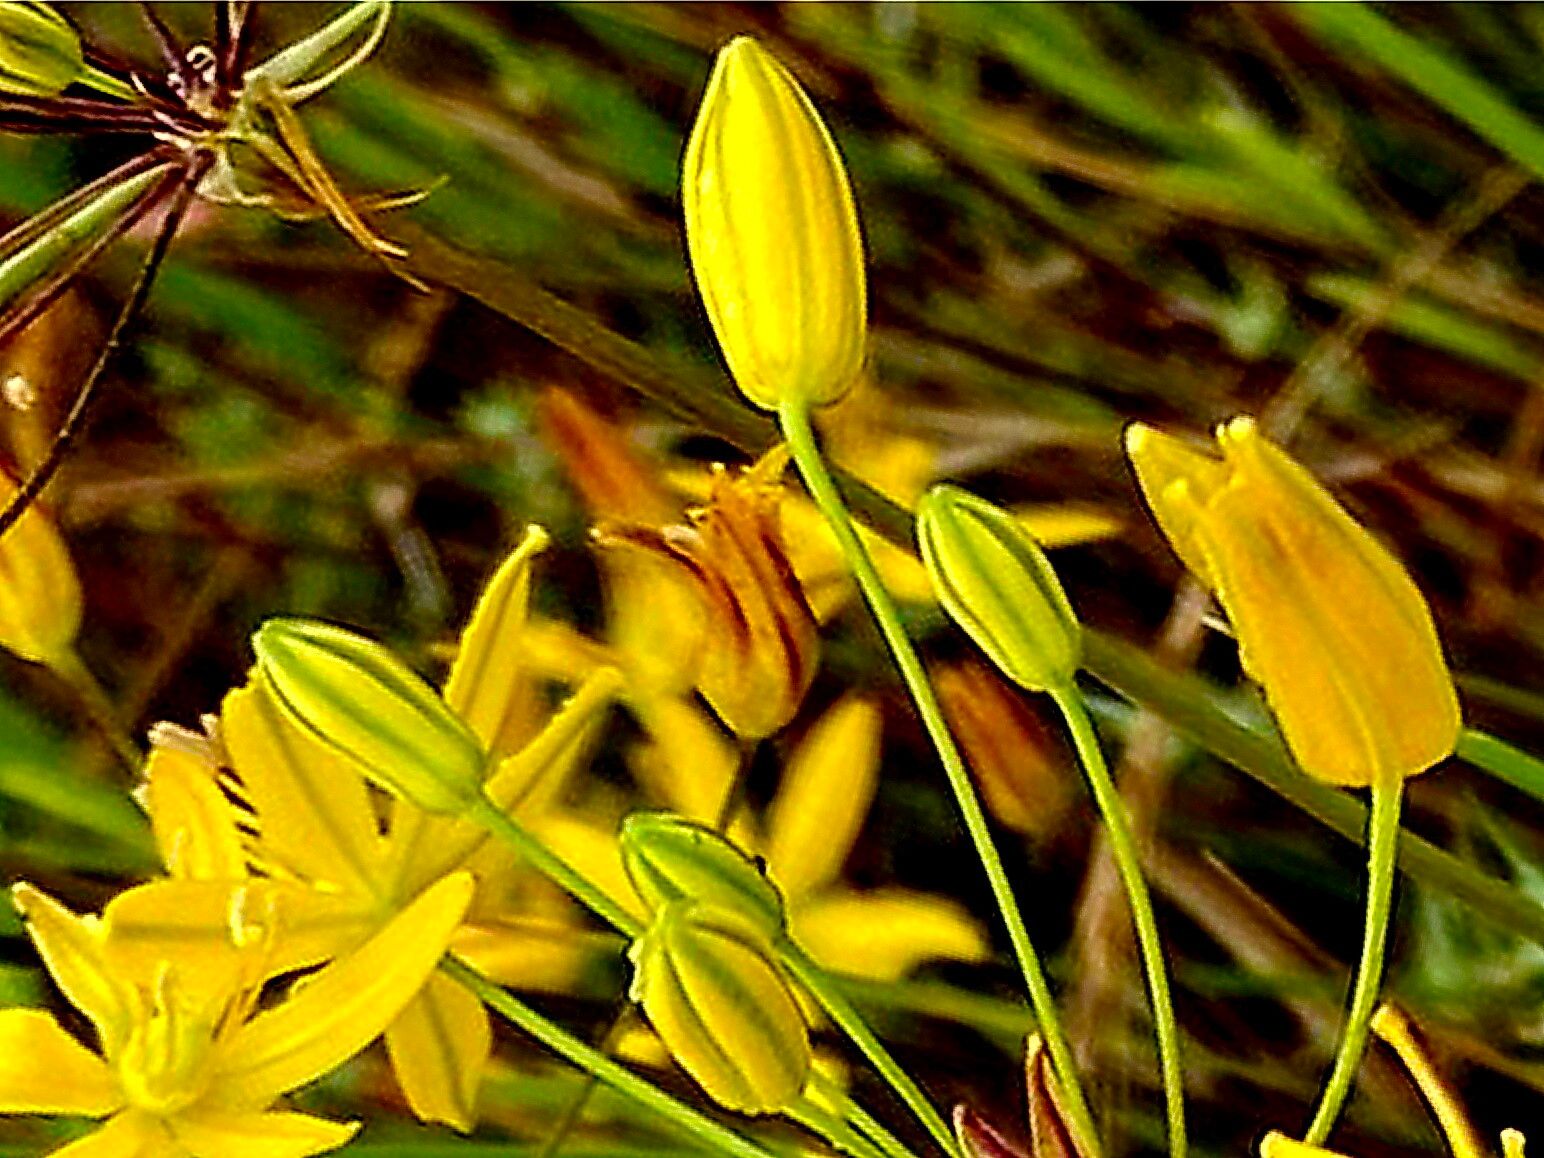
Oh, hello there! It’s so lovely to have you join me in the garden today. We’re going to talk about one of my favorite wildflowers, Bloomeria crocea, often called the “Golden Stars” or “Crocus of the Sierras.” Aren’t those names just delightful? Their bright, cheerful yellow flowers, peeking out from grassy foliage, bring such a burst of sunshine to any spot. And the best part? Sharing this beauty is incredibly rewarding, and propagating them is a wonderful way to fill your garden, or give gifts of living prettiness! For beginners, I’d say Bloomeria crocea is moderately easy. It’s not as foolproof as, say, a spider plant, but with a little care and attention, you’ll be successful.
The Best Time to Start
The most successful time to propagate Bloomeria crocea is right after flowering has finished, typically in late spring to early summer. This is when the plant is naturally winding down its active growth and preparing for a period of rest. You’ll often see the foliage starting to yellow and die back around this time. This is actually a good sign! It means the energy is shifting downward, towards the bulb and its potential offsets.
Supplies You’ll Need
To get our Bloomeria crocea babies started, gather these handy helpers:
- Well-draining potting mix: I like a mix of equal parts peat moss, perlite, and compost. For bulbs, good drainage is absolutely key!
- Small pots or trays: Clean terracotta pots are wonderful because they breathe.
- Sharp trowel or small spade: For gently separating bulbs.
- Rooting hormone (optional but recommended): A powder or gel can give those little roots a good head start.
- Watering can with a fine rose: To water gently without disturbing the soil.
- Labels and a permanent marker: To keep track of what you’ve planted and when.
- Gloves: Your hands will thank you!
Propagation Methods
Bloomeria crocea primarily reproduces from corms and cormels, which are essentially small bulbs and baby bulbs. Think of them as nature’s way of making more plants!
1. Corm Division (Bulb Splitting)
This is the most common and successful method for Bloomeria crocea.
- Step 1: Excavate Gently. When the foliage has died back, you can carefully dig up the parent clump. Use your trowel to loosen the soil around the plant, and then gently lift the entire clump. Try not to damage the bulbs.
- Step 2: Clean and Inspect. Gently brush away excess soil. You’ll see the main bulb, and around its base, you should find smaller structures – these are the cormels. They often look like tiny teardrops attached by a thin thread.
- Step 3: Separate with Care. With clean hands (or a small, sharp knife if they are very tightly attached), carefully separate the cormels from the parent bulb. Be gentle; you don’t want to break them off too roughly. The larger corms might already have smaller bulbs attached. If they seem easy to separate, go ahead. If not, you can often plant larger clumps together.
- Step 4: Plant Your New Babies. Fill your small pots with your well-draining mix. Make a little indentation in the soil. Plant the cormels and small bulbs about 1-2 inches deep, with the pointed end (if you can discern one) facing up. If using rooting hormone, dip the base of the cormel into the hormone before planting.
- Step 5: Water Lightly. Water the soil gently until it’s moist but not soggy.
The “Secret Sauce” (Pro Tips)
Here are a couple of things I’ve learned over the years that really make a difference:
- Let them dry out slightly. While you want to keep the soil in your propagating pots consistently lightly moist, don’t drown them! Bloomeria crocea bulbs don’t like being waterlogged, especially before they’ve established roots. Allow the very top layer of soil to dry out between waterings.
- Patience with the parent bulb. If you’re dividing larger, established corms, don’t be afraid to leave some smaller cormels attached to the main bulb. Often, they will grow stronger this way. You can always separate them in future years if they become crowded.
Aftercare & Troubleshooting
Once your cormels are planted, keep them in a bright, indirect light location.
- Watering: Water sparingly. The goal is moist, not wet. You should see signs of growth within a few weeks to a couple of months, especially as the weather warms up. Don’t be discouraged if it takes a while; these little guys can be slow starters.
- Dormancy: You might not see much action for a while, and that’s okay. Bloomeria crocea will go through a dormant period where the foliage dies back. Let it do its thing. You can then store the pots in a cool, dry place until the next growing season, or continue to water very lightly if they are in a place where they won’t freeze.
- Troubleshooting: The most common problem is rot. If you see your cormels turning mushy and black, it’s a sign of too much moisture. Unfortunately, once rot sets in, it’s hard to save them. This is why that excellent drainage is so crucial! Another sign of trouble can be if you see no growth at all after a long period. This could mean the cormel wasn’t viable, or it needs more time.
A Encouraging Closing
Propagating Bloomeria crocea is a beautiful exercise in patience. You’re nurturing potential, coaxing new life from tiny corms. Don’t get discouraged if not every single one takes. Celebrate the ones that do sprout, and enjoy the thrill of watching your own Golden Stars unfurl! It’s a magical process, and I can’t wait to hear about your successes. Happy gardening!
Resource:
https://identify.plantnet.org/k-world-flora/species/Bloomeria%20crocea%20(Torr.)%20Coville/data