Oh, hello there! Come on in, pull up a chair. I’ve got a fresh pot of coffee brewing, and I’m excited to chat about one of my absolute favorite plants: Bistorta vacciniifolia, or as I affectionately call it, the “Cranberry Knotweed.”
A Little Gem Worth Spreading
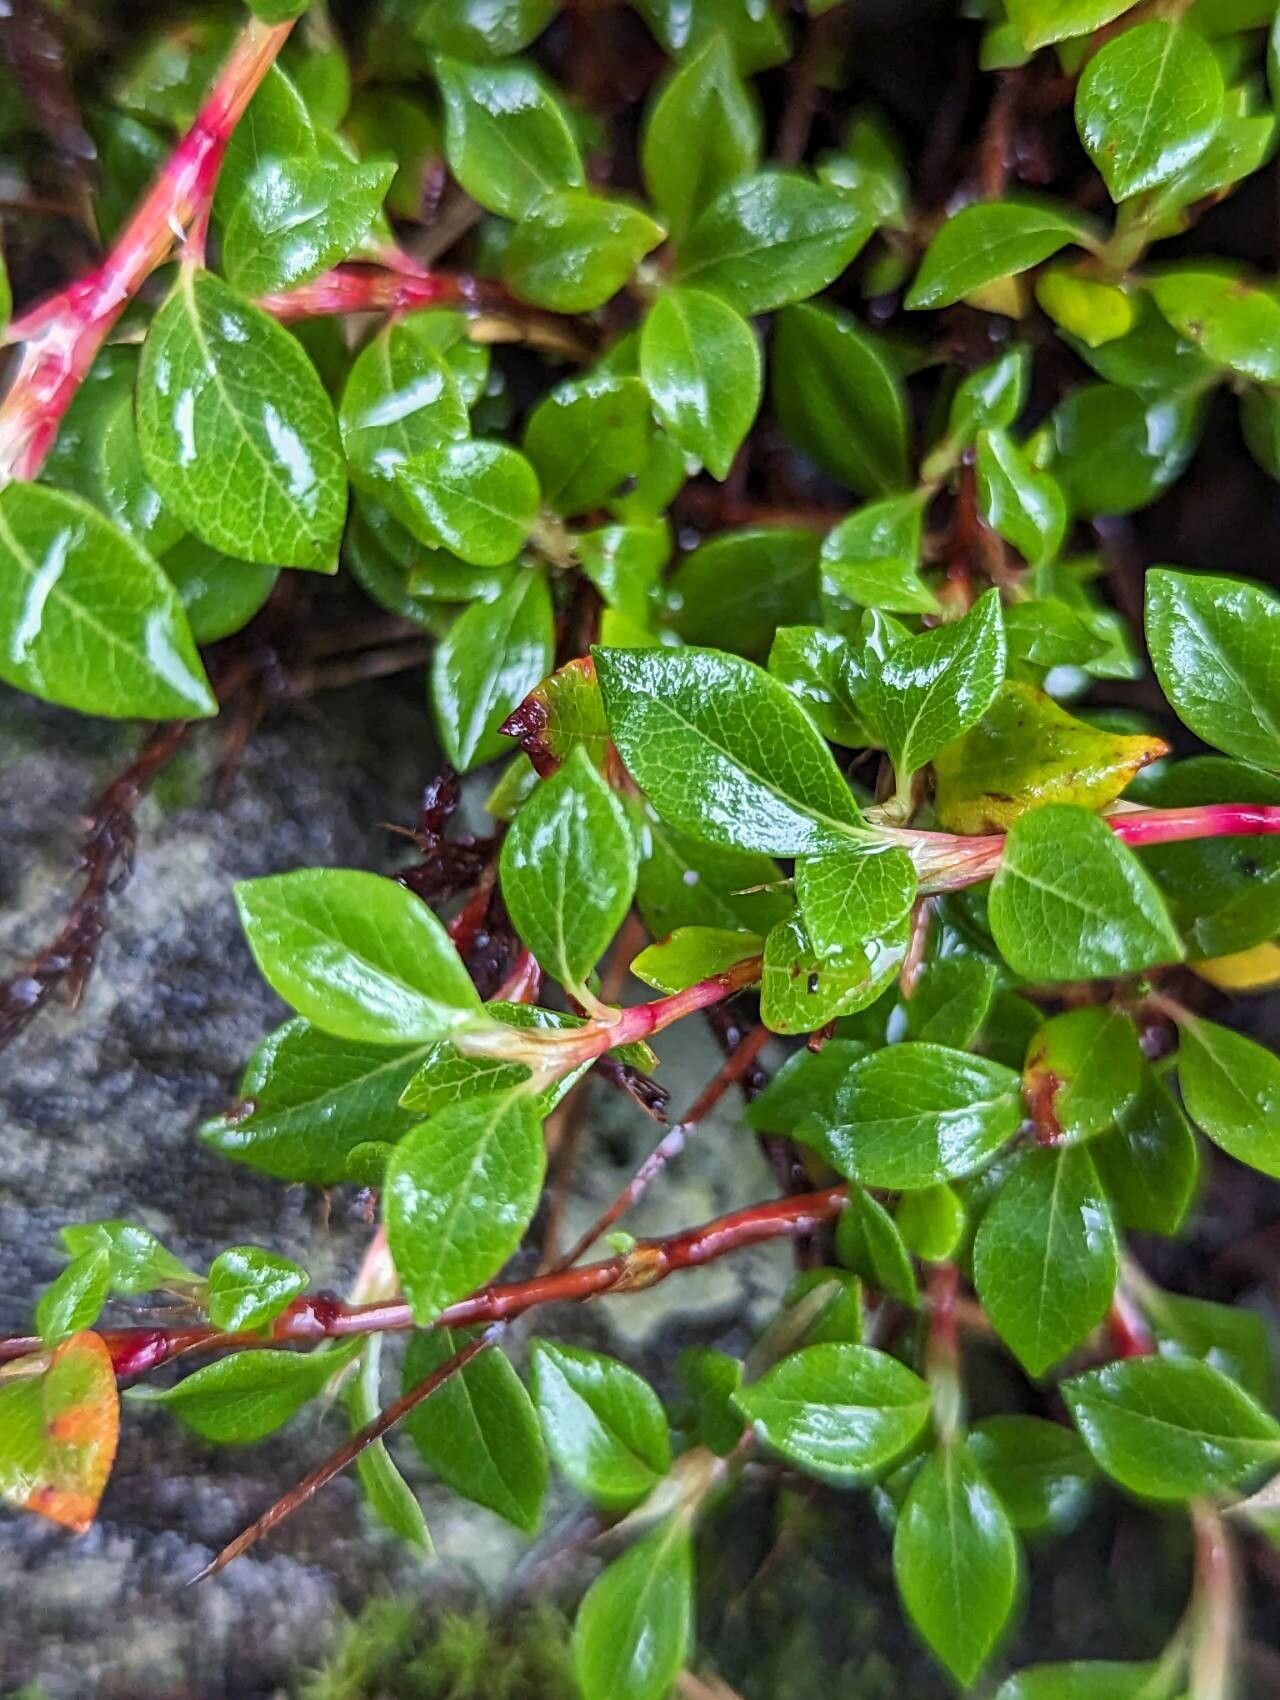
You know, I think what draws so many of us to Bistorta vacciniifolia is its charm. It’s this wonderful, low-growing carpet of glossy, vibrant green leaves, studded with these utterly delightful, rosy pink flower spikes in late summer and fall. It’s a real workhorse in the garden, a fantastic groundcover that keeps weeds at bay and adds such a beautiful splash of color when other plants are starting to fade. And the best part? It’s surprisingly easy to share! Propagating it from existing plants is a rewarding way to fill in bare spots, start a new bed, or even gift these little beauties to fellow garden enthusiasts. For beginners, I’d say this plant is definitely on the “approachable” side of propagation. You don’t need a degree in botany for this one, just a little patience and a few simple tools.
When to Get Your Hands Dirty
The sweet spot for propagating Bistorta vacciniifolia is really late spring to early summer. This is when the plant is actively growing and has plenty of energy to put into developing new roots. Waiting until after the main flowering flush, say late summer or early fall, also works well, but I find the spring propagation gets a bit of a head start. The key is to work with healthy, vigorous growth.
Your Propagation Toolkit
Gathering your supplies beforehand makes the whole process much smoother. Here’s what you’ll want to have on hand:
- Sharp Pruning Shears or a Craft Knife: Clean cuts are crucial for healthy propagation.
- Small Pots or Trays: Clean pots are a must to avoid introducing diseases.
- Well-Draining Potting Mix: A good starting point is a mix of perlite and peat moss, or a commercial seedling mix. I often add a bit of coarse sand for extra drainage.
- Rooting Hormone (Optional but helpful): This is a powder or gel that encourages root development.
- A Watering Can or Spray Bottle: For gentle watering.
- Labels: To remember what you planted and when.
- A Sunny, Protected Spot: For your newly potted cuttings or divisions.
Bringing New Life to Your Garden
There are a couple of ways we can go about this, and both are quite straightforward.
Stem Cuttings: A Classic Approach
This is my go-to method for multiplying Bistorta plants.
- Select Your Stems: Look for healthy, non-flowering stems that are about 3-4 inches long. You want stems that are somewhat firm but not woody. Pinching off any existing flower buds is a good idea.
- Make the Cut: Using your clean shears or knife, make a clean cut just below a leaf node. A leaf node is where a leaf attaches to the stem.
- Prepare the Cutting: Gently remove the lower leaves from the cutting, leaving just the top couple of leaves. This prevents them from rotting in the soil.
- Dip in Rooting Hormone (if using): Lightly dip the cut end of the stem into your rooting hormone powder or gel. Tap off any excess.
- Plant Your Cuttings: Fill your small pots with your prepared potting mix. Make a small hole in the center with your finger or a pencil. Insert the cut end of the stem into the hole, ensuring the lowest leaf node is buried. Gently firm the soil around the stem.
- Water Gently: Water the pot thoroughly but gently. You want the soil to be moist, not waterlogged. A good spray from your bottle works well here.
- Create a Humid Environment: To help the cuttings along, a little humidity is great. You can achieve this by placing a clear plastic bag loosely over the pot or tray, or by using a clear propagator lid. Make sure the plastic doesn’t touch the leaves.
Division: The “Instant Gratification” Method
If you have a more mature clump of Bistorta vacciniifolia, division is wonderfully effective.
- Gently Excavate: Carefully dig up the entire plant, trying to disturb the roots as little as possible.
- Assess the Root Ball: Shake off some of the excess soil to reveal the root system. You’ll see where the plant has naturally branched out.
- Divide the Clump: Using your hands, or a clean trowel or knife if the roots are dense, carefully separate the clump into smaller sections. Each section should have a good amount of healthy roots and some leafy shoots.
- Replant Immediately: Prepare your planting holes in their new location or in pots filled with well-draining soil. Plant the divisions at the same depth as they were originally growing.
- Water Thoroughly: Water the newly planted divisions well to help settle the soil.
The “Secret Sauce” from My Garden to Yours
Over the years, I’ve picked up a few tricks that seem to make all the difference.
- Think “Bottom Heat” (for cuttings): If you’re propagating from stem cuttings and want to give them an extra boost, placing your pots on a heat mat designed for seedlings can really speed up root development. It mimics the warmth of spring soil beautifully.
- The “Damp, Not Drenched” Rule: For both cuttings and divisions, it’s crucial to strike a balance with watering. Too dry, and they’ll wither. Too wet, and they’ll rot. Consistently moist soil is the goal, especially in those first few weeks.
- Don’t Rush the Roots: When you think your cuttings might be rooted, give them a very gentle tug. If you feel resistance, you’re on the right track! However, I often wait until I see new leaf growth before I even consider transplanting them to their own pots. New growth is a sure sign that roots are forming and supporting the plant.
Aftercare and What to Watch For
Once your cuttings have developed a good root system (you’ll feel resistance when you gently tug) or your divisions have settled in, they’ll need a little ongoing care.
- Watering: Continue to water regularly, especially during dry spells, but allow the top inch of soil to dry out between waterings.
- Sunlight: Provide bright, indirect light. Once they’re more established and have stronger root systems, they can handle more direct sun, but be cautious of scorching them when they’re young.
- Fertilizing: Hold off on heavy feeding for a while. A diluted liquid fertilizer, applied once or twice during the growing season, is plenty.
Now, what if things aren’t going as planned? The most common issue you might encounter is rot. If your cuttings turn mushy and black, or if your divisions look limp and unhealthy, it’s usually a sign of too much moisture or a lack of air circulation. Ensure good drainage, and if you’re using the plastic bag method for cuttings, make sure to open the bag for a bit each day to allow for some air exchange. Don’t be discouraged if a few don’t make it – that’s just part of the learning curve!
Keep Growing, Keep Enjoying
Propagating Bistorta vacciniifolia is a truly rewarding experience. It’s a chance to connect with your plants on a deeper level, to witness new life emerge from something as simple as a stem or a divided clump. Be patient with the process – nature has her own timeline. Take joy in the little victories, learn from any setbacks, and most importantly, enjoy the journey of nurturing these beautiful plants. Happy gardening!
Resource: