Oh, hello there! Come on in and grab a cup of tea. Today, we’re going to talk about a gem in the garden that you might not have encountered yet, but trust me, it’s worth getting to know: Biscutella incana.
Why You’ll Love Propagating Biscutella Incana
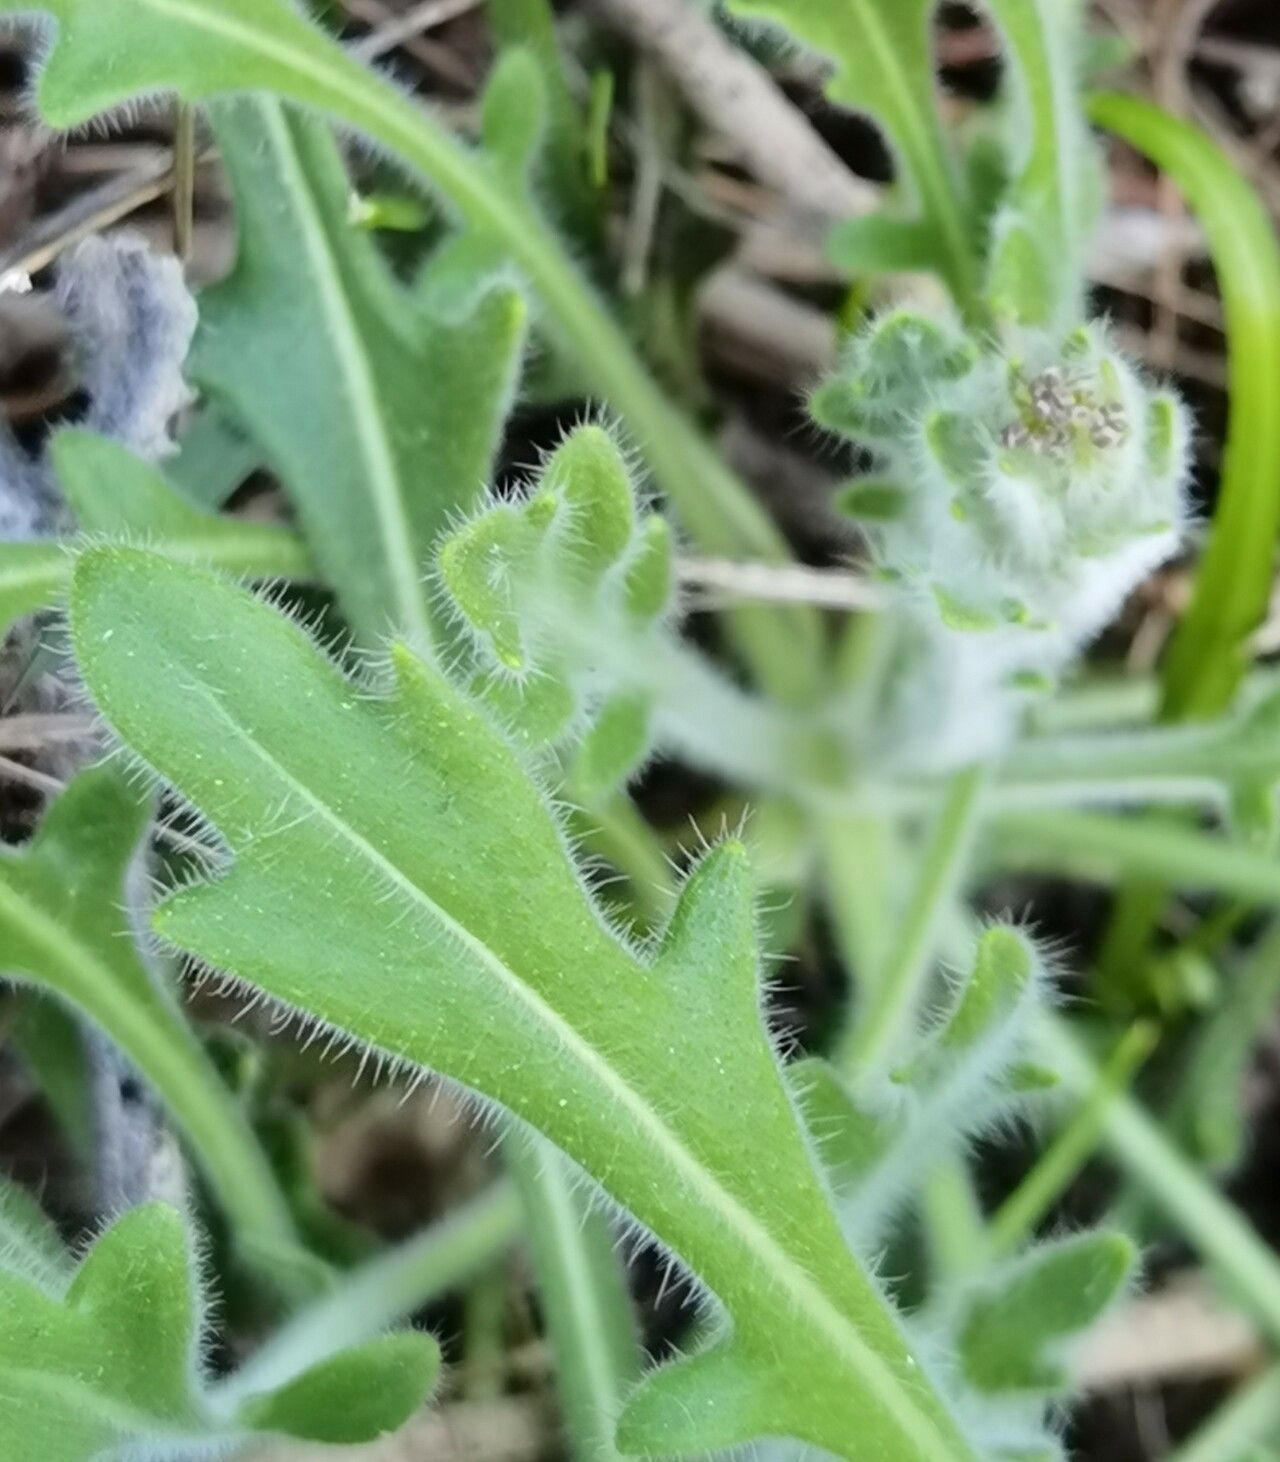
This delightful plant, often called the “Mint-leaved Daisy” or simply “Buckwheat,” has such charm. Its delicate, silvery-green foliage looks lovely even when it’s not in bloom, and then, oh boy, the flowers! They are a cloud of tiny, creamy-white blossoms that seem to twinkle in the sunlight. Propagating it, for me, is incredibly rewarding. It’s a chance to share this beauty with friends or to fill in gaps in my own garden, all from a little piece of a plant I already cherish. For those just starting out with propagation, Biscutella incana can be a moderately easy plant to work with. It’s not as challenging as some of the fussier varieties, but a little attention to detail will go a long way.
When to Get Your Hands Dirty
The sweet spot for propagating Biscutella incana is really late spring to early summer. This is when the plant is actively growing, and the new shoots are firm but not yet woody. You want to catch that enthusiastic energy. Trying to do it too early, when things are still waking up, or too late in the fall, when the plant is winding down, will just make things harder on yourself.
Gather Your Gardening Goodies
To make this process smooth sailing, here’s what you’ll want to have on hand:
- Sharp Pruning Shears or a Clean Knife: For making clean cuts. This is super important to prevent crushing the stems.
- Potting Mix: A well-draining, sterile potting mix is key. I like to use a blend of equal parts peat moss or coco coir and perlite or vermiculite. You can also buy specific seedling or propagation mixes.
- Small Pots or Seed Trays: Clean pots are a must. Small ones are perfect for starting out. You can even use yogurt cups with drainage holes poked in them!
- Rooting Hormone (Optional but Recommended): While Biscutella incana can root without it, a rooting hormone powder or gel really speeds things up and increases your success rate. Look for one with IBA (indole-3-butyric acid).
- Plastic Bag or Clear Lid: To create a mini-greenhouse effect and keep humidity high.
- Watering Can with a Fine Rose: For gentle watering.
- Label Stakes: To remind yourself what you’ve planted and when!
How to Grow New Biscutella Incana Plants
For Biscutella incana, taking stem cuttings is my go-to method. It’s reliable and gives you the best chance of success with a mature plant.
- Taking the Cuttings: Head out to your Biscutella incana and find some healthy, non-flowering stems. Look for new growth that’s about 4-6 inches long. Using your clean shears or knife, make a cut just below a leaf node. A leaf node is that little bump on the stem where leaves emerge. This is where the magic happens, where roots are most likely to form.
- Preparing the Cuttings: Gently remove the lower leaves from the cutting, leaving only the top two or three sets. This prevents them from rotting when they’re in the soil. If your cuttings are particularly long, you can even cut the remaining leaves in half to reduce water loss.
- Applying Rooting Hormone: Dip the cut end of each stem into your rooting hormone. Coat about an inch of the stem. Tap off any excess.
- Planting the Cuttings: Fill your small pots or trays with the prepared potting mix. Moisten it slightly. Then, using a pencil or your finger, make a little hole in the soil. Gently insert the base of the cutting into the hole. Press the soil gently around the stem to ensure good contact.
- Creating the Humid Environment: Water the cuttings gently. Then, place the pots inside a clear plastic bag, sealing it loosely, or cover them with a clear plastic lid. This creates a humid environment that encourages rooting by preventing the cuttings from drying out. Set the pots in a bright location out of direct sunlight.
The “Secret Sauce” for Success
Here are a few little tricks I’ve picked up over the years that really make a difference:
- Don’t Drown Your Cuttings: When you water, make sure the soil is moist, not soggy. Soggy soil is a fast track to rot. If you’re using the plastic bag method, check the soil regularly. If you see condensation dripping excessively, open the bag for a few hours to let it air out a bit.
- Bottom Heat is Your Friend: If you have a propagation mat or even a heat-generating radiator (just be careful!), placing your pots on it can significantly speed up root formation. It mimics the warmth of spring soil and gives those roots a real boost.
- Give Them Space: Don’t overcrowd your pots. Each cutting needs a little breathing room to develop healthily. If you’re using a seed tray, make sure there’s adequate spacing between them.
Aftercare and When Things Go Wrong
Once you’ve got your cuttings planted, it’s time for a little patience. Keep them in that bright, indirect light. Mist them periodically if the soil starts to dry out completely – remember, you want them consistently moist but not waterlogged.
You’ll know your Biscutella incana is happy and has rooted when you see new growth appearing at the tip of the cutting. You can also give a very gentle tug on the cutting. If you feel resistance, it’s a good sign that roots are forming! Usually, this takes anywhere from 3 to 6 weeks, depending on the conditions.
Now, what about when things don’t go as planned? The most common issue is rot. If your cuttings look mushy, blackened, or smell unpleasant, they’ve likely succumbed to rot. This usually happens from overwatering or poor air circulation. Don’t despair! Just discard the rotted cuttings and try again, paying closer attention to watering and humidity. Sometimes, a cutting might just shrivel up and die. This can happen if it dried out too much or if it just wasn’t a viable piece. Pick out the failed ones so they don’t impact the healthy ones.
Happy Gardening!
Propagating plants is such a wonderful way to connect with nature and expand your garden bounty. It takes a bit of practice, and there will be times when things don’t work out perfectly, but that’s all part of the fun. Be patient with your little Biscutella incana cuttings, give them a little love and attention, and before you know it, you’ll have a whole new collection of these charming plants to enjoy. Happy propagating!
Resource:
https://identify.plantnet.org/k-world-flora/species/Biscutella%20incana%20Ten./data