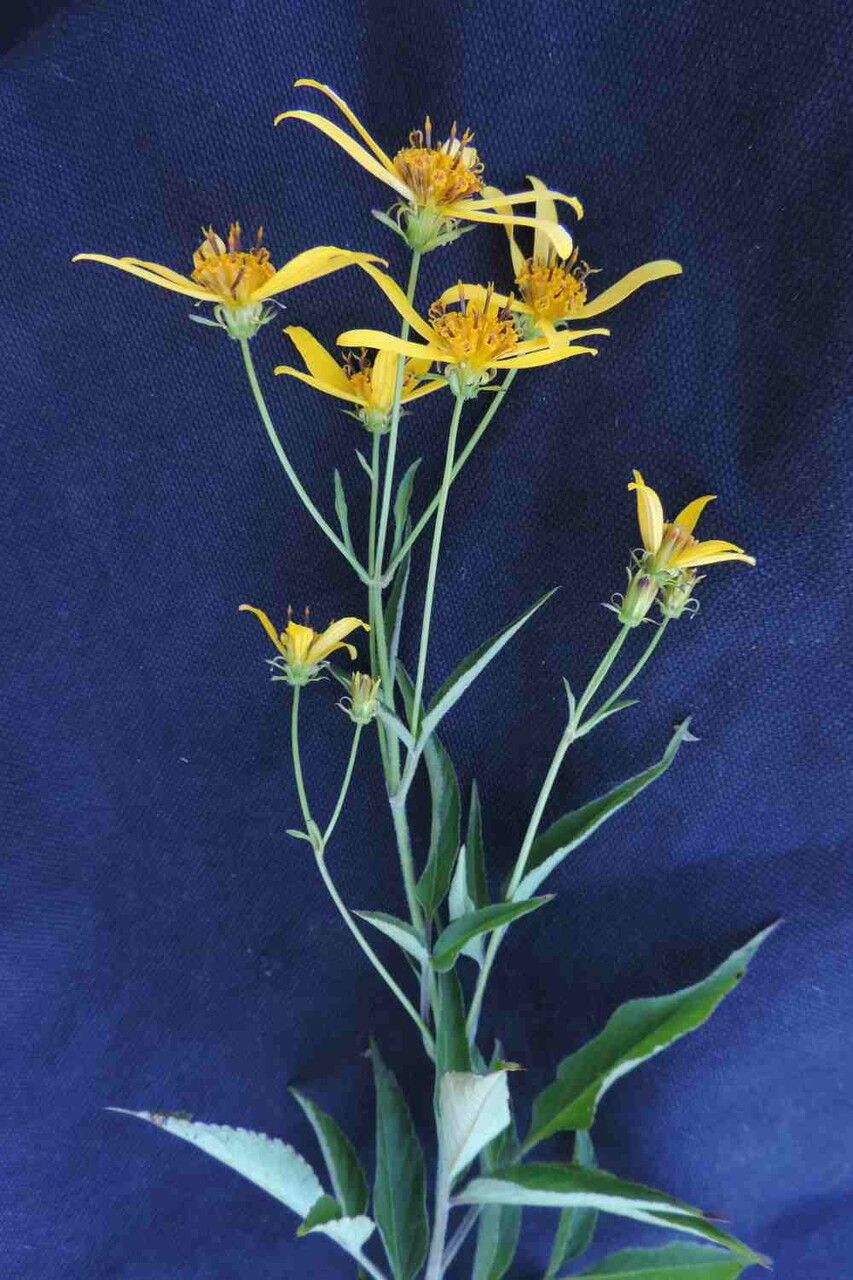
Hey there, fellow plant lovers! Have you ever admired those cheerful, sunny Bidens segetum blooms and wished you could have more of them gracing your garden? I know I have! These little gems, with their bright daisy-like flowers, bring so much joy and color. And the best part? Propagating them is surprisingly straightforward, making it a fantastic project for gardeners of all levels, even absolute beginners. Think of it as multiplying your happiness, one little plant at a time.
The Best Time to Start
My absolute favorite time to get started with Bidens propagation is in the late spring or early summer. This is when the plant is actively growing and full of vigor. You are essentially tapping into its prime energy reserves, which gives new cuttings a fantastic head start in developing strong roots. Aim for when the weather is consistently warm, but before the intense heat of midsummer arrives.
Supplies You’ll Need
Here’s what you’ll want to have on hand to make your propagation project a success:
- Sharp pruning shears or a clean knife: For taking nice, clean cuttings.
- Potting mix: A light, well-draining mix is key. I like to use a blend of peat moss, perlite, and a bit of compost.
- Small pots or seed trays: Whatever you have that can hold your cuttings comfortably. Make sure they have drainage holes!
- Rooting hormone (optional but recommended): This really gives your cuttings a boost.
- Plastic bags or a propagator: To create a humid environment.
- Watering can or spray bottle: For gentle watering.
- Soft labels: To jot down the date and variety.
Propagation Methods
Bidens segetum is wonderfully versatile, but my go-to method, and the one I find most reliable, is stem cuttings.
- Select Your Cuttings: Look for healthy, non-flowering stems on your established Bidens plant. You want stems that are about 4-6 inches long. Gently snip them from the base of the plant using your clean shears.
- Prepare the Cuttings: Remove the lower leaves from your cuttings. This is super important because any leaves submerged in water or soil will just rot. Leave a few leaves at the top to help the cutting photosynthesize.
- Ready for Rooting: If you’re using rooting hormone, dip the cut end of each stem into the powder. Give it a gentle tap to shake off any excess.
- Planting Time: Fill your small pots with your prepared potting mix. Make a small hole in the center of the soil with your finger or a pencil. Gently insert the cut end of your Bidens cutting into the hole.
- Firm the Soil: Gently firm the soil around the base of the cutting to ensure good contact.
- Water and Cover: Water the soil thoroughly but gently. Then, cover the pot with a plastic bag or place it in a propagator. This creates that essential humid microclimate for the cuttings. You can secure the bag with a rubber band.
The “Secret Sauce” (Pro Tips)
Here are a couple of little tricks I’ve learned over the years that really make a difference:
- Keep it Clean: Not just your tools, but the environment. A bit of slime or mold is the enemy of happy cuttings. Make sure your pots are clean and the soil isn’t soggy.
- Bottom Heat is Your Friend: If you can, place your pots on a gentle heating mat. This encourages root development from below, giving your cuttings that extra push they need. It mimics the warmth of spring soil wonderfully.
Aftercare & Troubleshooting
Once your cuttings are planted and covered, the real waiting game begins! Keep them in a bright spot, but out of direct, harsh sunlight. Check them every few days. You want the soil to remain consistently moist but not waterlogged. Mist the leaves occasionally if they look a bit sad, especially if your “greenhouse” isn’t super humid.
You’ll know your cuttings are happy when you start to see new growth appearing at the top. This usually happens within 2-4 weeks, though sometimes it takes a bit longer. Once you see signs of root development – usually evidenced by new leaves or a gentle tug on the cutting revealing some resistance – it’s time to gradually introduce them to the outside air. Remove the plastic cover for increasing periods each day over a week.
The most common issue you’ll face is rot. If you see your cutting turning black and mushy, it’s usually a sign of too much moisture and not enough airflow. Don’t be discouraged! Just try again with a fresh cutting and ensure your soil is well-draining and you’re not overwatering.
A Little Encouragement
Propagating Bidens segetum is such a satisfying way to expand your garden and share your passion with others. Be patient with your little cuttings. Nature works on its own timeline, and watching those tiny roots form is a truly magical part of the gardening journey. Happy propagating!
Resource:
https://identify.plantnet.org/k-world-flora/species/Bidens%20segetum%20Mart.%20ex%20Colla/data