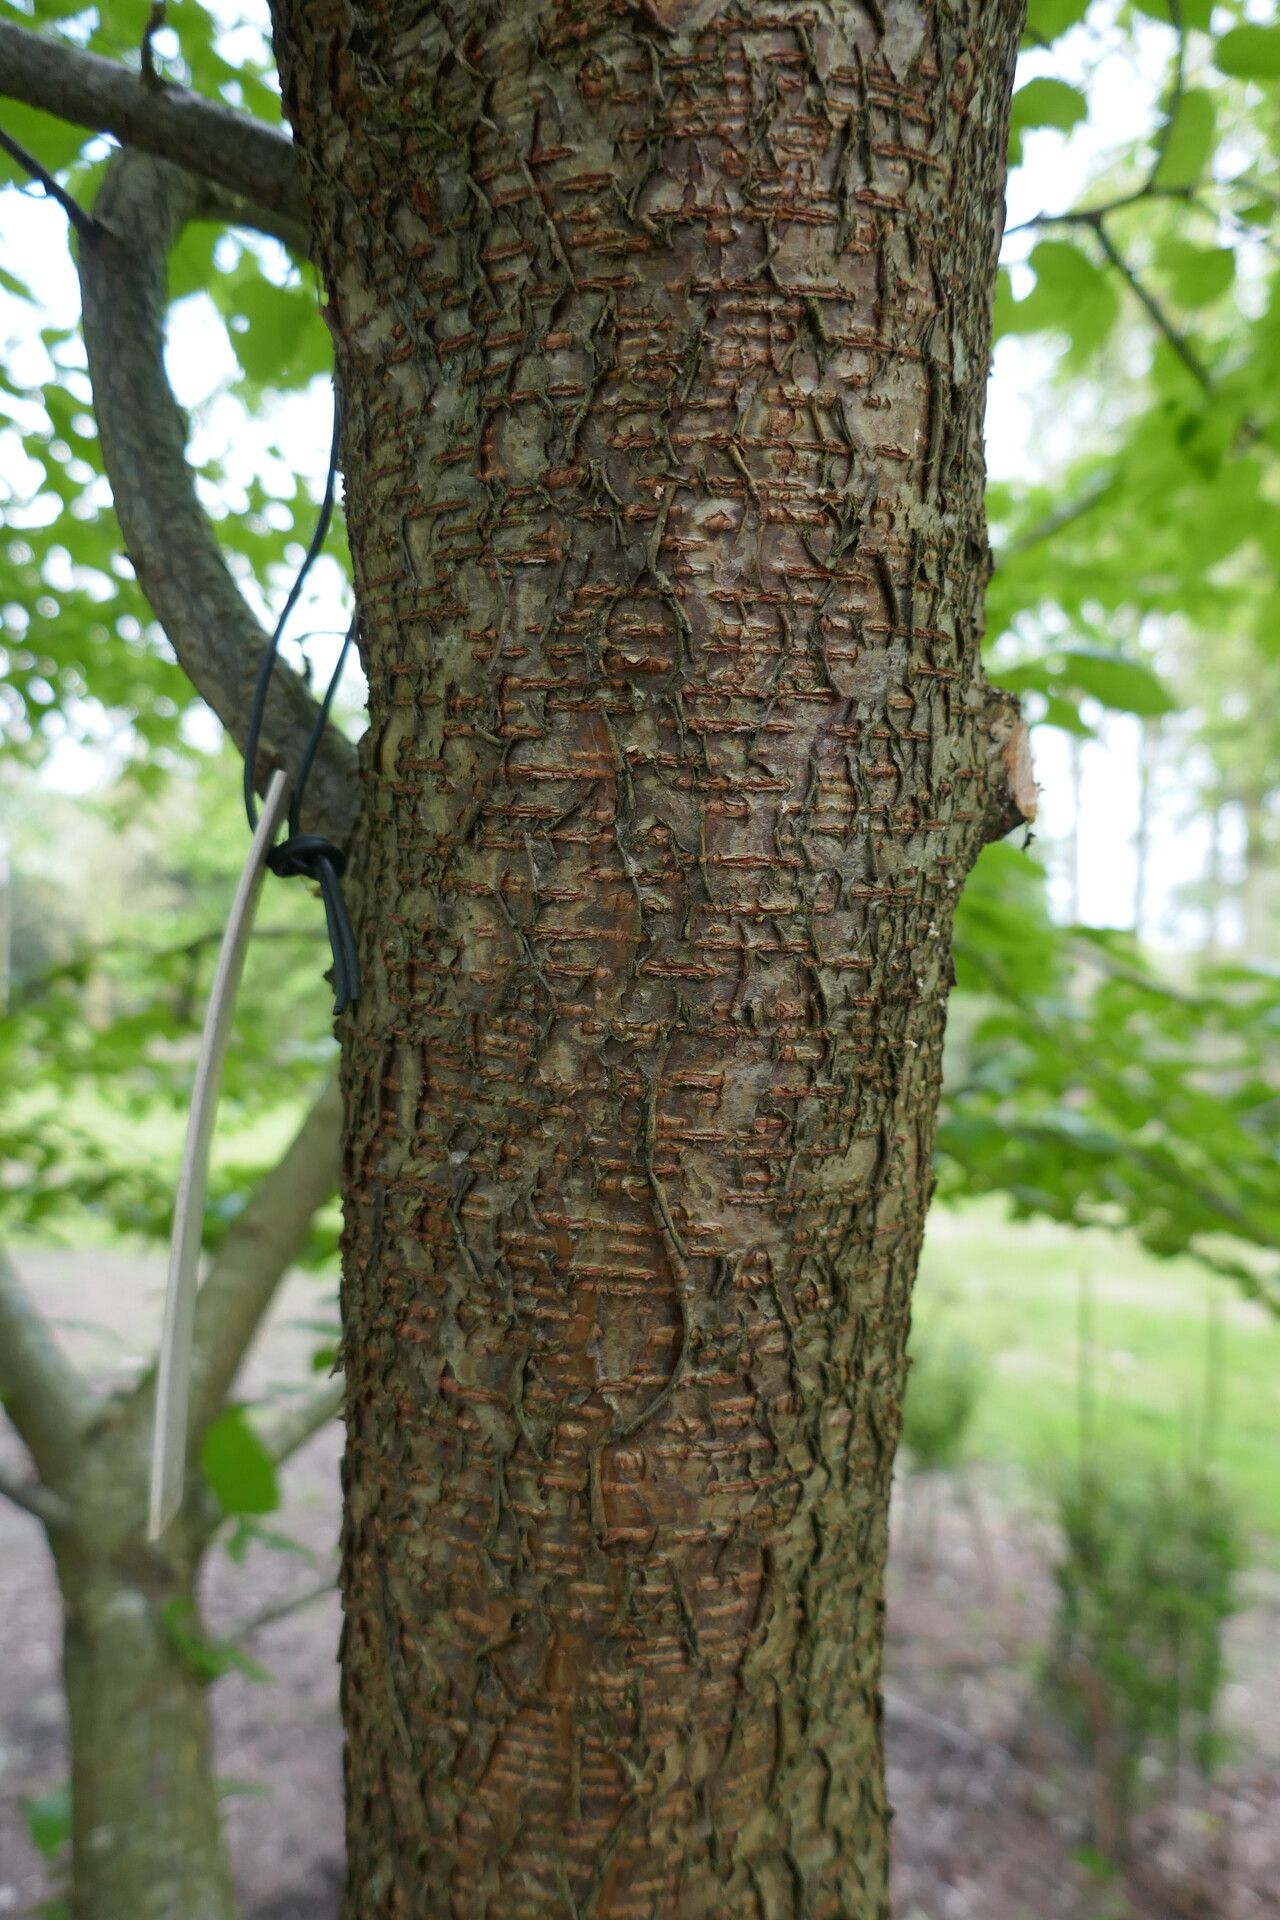
Ah, the Japanese Cherry Birch, Betula grossa. What a beauty! I’ve always admired its smooth, cherry-red bark, especially in winter when everything else is bare. It brings such a unique texture and warmth to the garden. And the satisfaction of growing one from scratch? Truly special.
Now, let’s talk about propagation. Is Betula grossa a beginner’s dream or a bit of a challenge? Honestly, it leans towards moderately challenging. It’s not as straightforward as a common perennial, but with a little patience and the right approach, you can absolutely succeed. It’s a project that rewards careful attention, and that’s part of the fun, isn’t it?
The Best Time to Start
For Betula grossa, my favorite time to try propagating is in late spring to early summer. This is when the plant has had a good growing season, its energy is high, and the wood is typically in that perfect semi-hardwood stage. You’re looking for stems that are a little firm, but still have some flexibility. Think of it as snapping a fresh twig – it bends a bit before breaking. This is your sweet spot.
Supplies You’ll Need
Gathering your tools beforehand makes the whole process smoother. Here’s what I always have on hand:
- Sharp, clean pruning shears or a knife: Crucial for making clean cuts that reduce damage and disease risk.
- Rooting hormone powder or gel: This is your secret weapon. It significantly boosts the chances of successful root development. Look for one formulated for woody plants.
- A good potting mix: I like a well-draining blend. A mix of peat moss, perlite, and a bit of coarse sand works wonders. You want to avoid anything too heavy that holds excess moisture.
- Small pots or a propagation tray: Clean pots are essential. I usually opt for 4- to 6-inch pots.
- Plastic bags or humidity domes: To create a humid microclimate around your cuttings.
- Labels and a permanent marker: You’ll thank yourself later for labeling your cuttings!
- Watering can with a fine spray nozzle: Gentle watering is key.
Propagation Methods
While you could try division in the fall or early spring, I find that stem cuttings give me the best results with Betula grossa. Here’s how I do it:
- Select your source: Choose healthy, vigorous stems from your Betula grossa plant. Look for those semi-hardwood ones I mentioned earlier, about pencil-thick.
- Take your cuttings: Using your sharp pruners, cut sections of stem that are about 6 to 8 inches long. Make your cut just below a leaf node (where a leaf attaches to the stem). This is where most of the rooting hormones are concentrated.
- Prepare the cuttings: Strip off the lower leaves, leaving only the top two or three at the very tip. This prevents them from rotting in the soil. If the remaining leaves are very large, you can even cut them in half horizontally to reduce water loss through transpiration.
- Apply rooting hormone: Dip the cut end of the stem into your rooting hormone. Gently tap off any excess.
- Plant your cuttings: Fill your pots with your prepared potting mix. Make a hole in the center of the mix with a pencil or your finger. Insert the treated end of the cutting into the hole, ensuring the hormone-coated part is buried. Firm the soil gently around the stem.
- Water gently: Give your cuttings a light watering with your fine spray nozzle until the soil is evenly moist but not waterlogged.
- Create humidity: Cover the pot with a clear plastic bag (you can use stakes to keep it from touching the leaves) or place it inside a propagation dome. This traps moisture and keeps the cuttings from drying out too quickly.
The “Secret Sauce” (Pro Tips)
Now for a couple of things I’ve learned over the years that really make a difference:
- My go-to is bottom heat. If you have a seedling heat mat (even a simple one), placing your propagation tray or pots on top provides gentle warmth to the base of the cuttings. This encourages root development much faster and more reliably than ambient room temperature alone.
- Air circulation is surprisingly important. Even though we want to create humidity, don’t seal them in there forever! I’ll vent the plastic bag or dome for a few minutes each day, or whenever I water, just to let some fresh air in and prevent fungal issues. This balance between humidity and airflow is key.
Aftercare & Troubleshooting
Once your cuttings have started to root – you’ll usually see new leaf growth after a few weeks or months – it’s time to transition them.
- Transition slowly: Gradually remove the plastic bag or dome over a week or two. This allows the young plant to acclimate to the lower humidity of your home.
- Keep them moist but not soggy: Continue to water gently, ensuring the soil stays consistently moist. Avoid letting them dry out completely, as those delicate new roots are very vulnerable.
- Watch for signs of rot: The biggest enemy is overwatering and poor drainage, which leads to rot. If you see stems turning black and mushy at the soil line, it’s likely rot. Unfortunately, this is often irreversible. To combat this, ensure you use that well-draining soil mix and don’t water unless the top inch of soil feels dry.
A Encouraging Closing
Growing a Betula grossa from a cutting is a journey, and like any good journey, it requires patience and a bit of intuition. Don’t be discouraged if not every cutting takes. The process itself – tending to them, watching for signs of life – is incredibly rewarding. Celebrate each tiny success, and know that with each attempt, you’re learning and growing right alongside your new birch trees. Happy propagating!
Resource:
https://identify.plantnet.org/k-world-flora/species/Betula%20grossa%20Siebold%20&%20Zucc./data