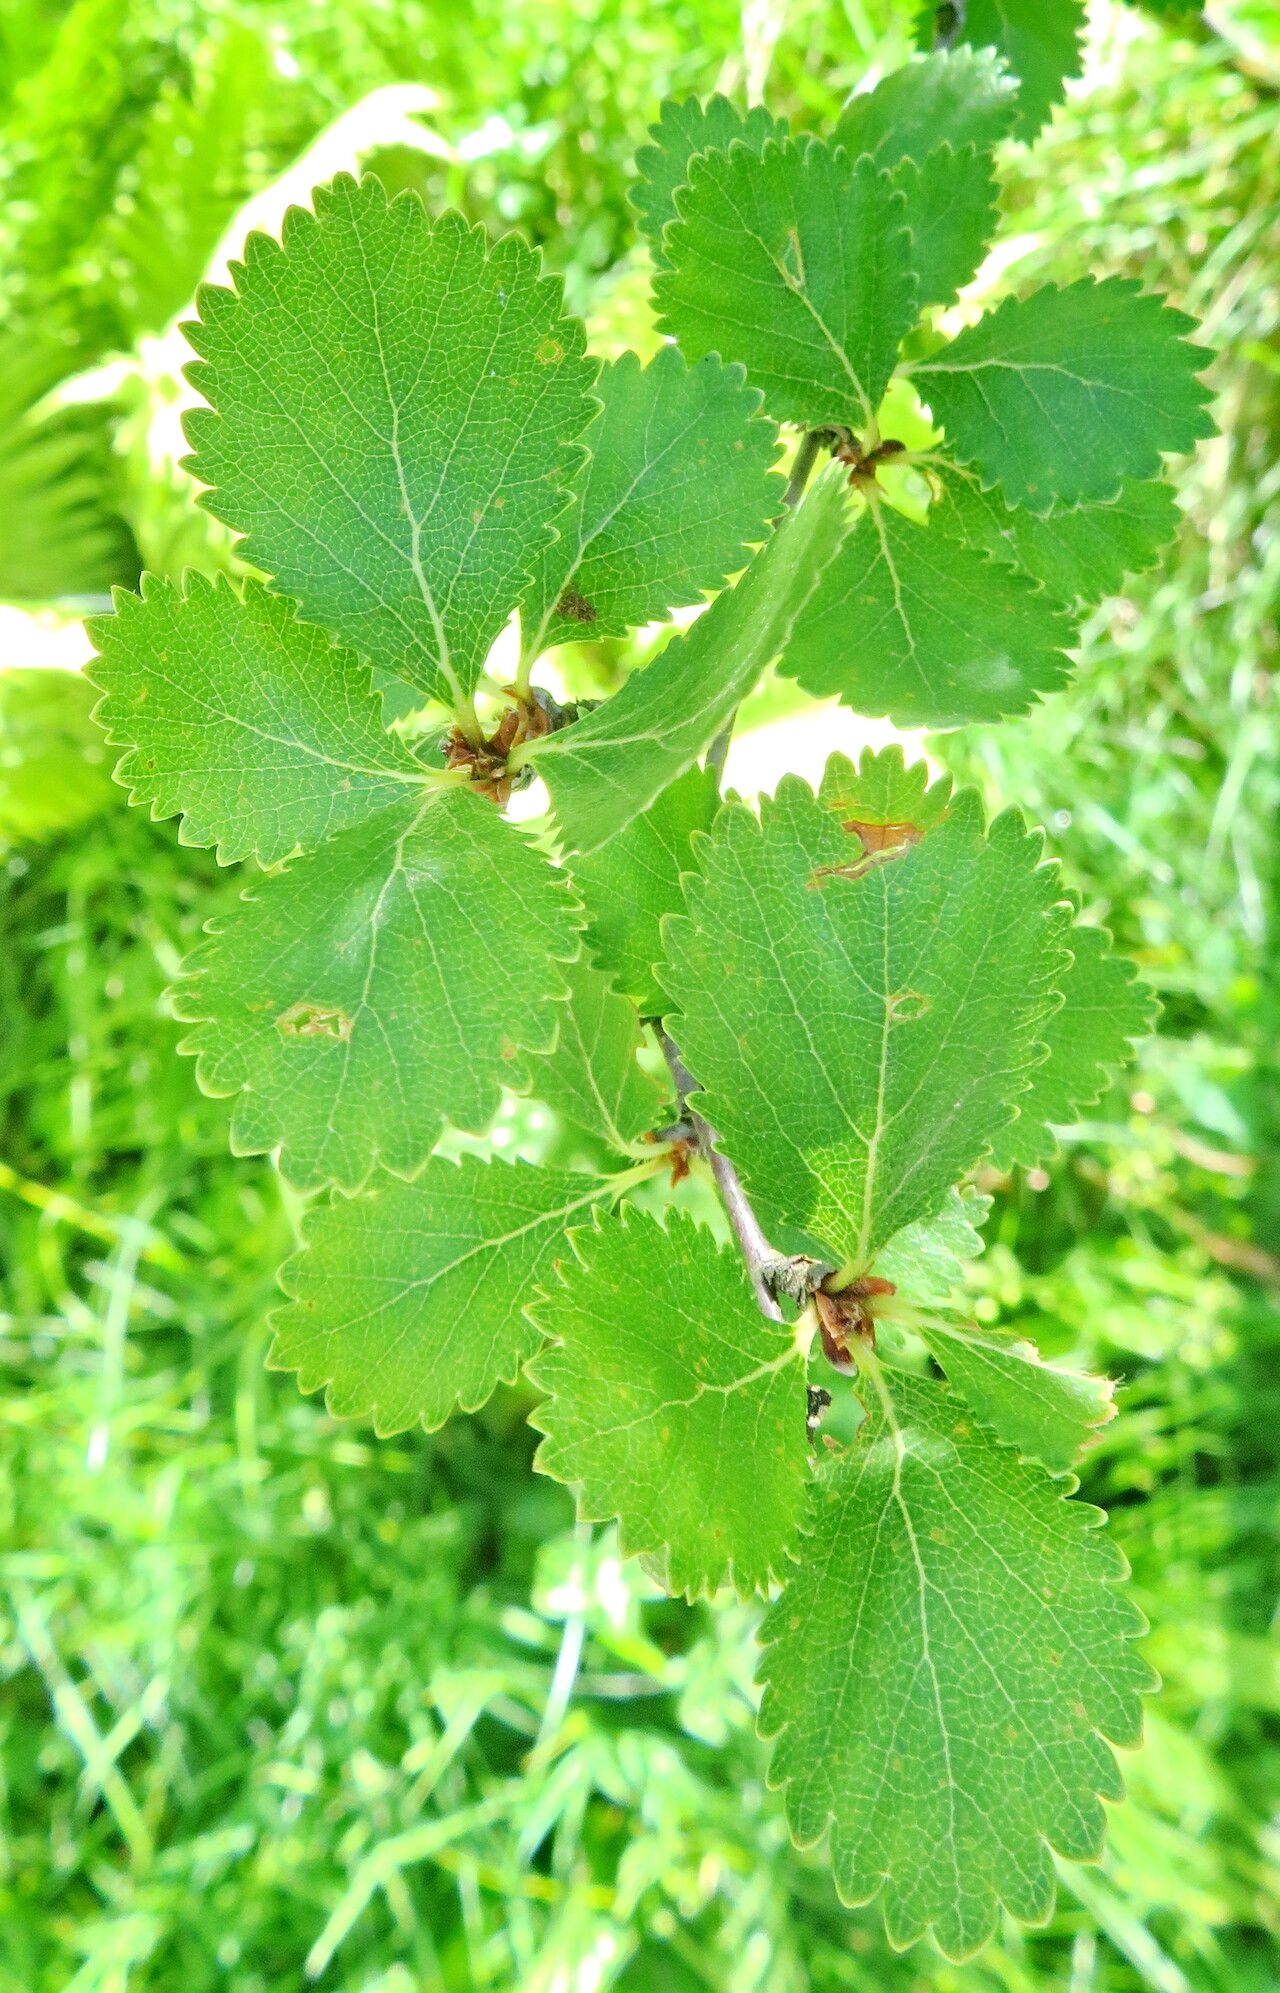
Hello fellow garden enthusiasts! Sometimes, the most charming plants are the ones we can easily share or expand our own collections with. Today, I want to talk about a little gem I’ve grown to love: Betula glandulosa, or resin birch. This tough little shrub, with its delightful little leaves and often interesting form, brings a touch of wild beauty to any landscape, especially rock gardens or smaller spaces. Propagating it myself has been incredibly rewarding, giving me a deeper connection to these resilient plants. Now, if you’re new to plant propagation, resin birch can be a wee bit fiddly, but don’t let that deter you! With a little patience and the right approach, you’ll be well on your way.
The Best Time to Start
For the highest success rate with Betula glandulosa, I’ve found that taking softwood or semi-hardwood cuttings in late spring to early summer is your best bet. This is when the new growth is flexible and still pliable, but has had a chance to mature a bit. Think of it as capturing that perfect moment of youthful vigor before it becomes too tough.
Supplies You’ll Need
To get started, you’ll want a few things on hand:
- Sharp, clean pruning shears or a sharp knife: Essential for making clean cuts.
- Rooting hormone powder or gel: This will give your cuttings a significant boost.
- A propagator or a clear plastic bag: To create a humid environment.
- Small pots or trays: For your cuttings.
- A well-draining potting mix: I like to use a blend of equal parts perlite and peat moss, or seed-starting mix.
- A saucer or tray: To catch excess water.
- Optional: Bottom heat mat: For that extra bit of encouragement.
Propagation Methods
While division is possible with larger specimens, stem cuttings are generally the most successful and widely used method for resin birch. Here’s how I do it:
- Take Your Cuttings: Select healthy, new shoots that are about 4-6 inches long. Use your sharp pruning shears or knife to make a clean cut just below a leaf node (where a leaf attaches to the stem).
- Prepare the Cutting: Gently remove the lower leaves, leaving only a few at the very top. This prevents them from rotting when they’re in the soil or water. You can optionally dip the cut end into water to help the rooting hormone adhere better.
- Apply Rooting Hormone: Dip the cut end of the stem into your chosen rooting hormone. Tap off any excess.
- Plant Your Cuttings: Fill your small pots or trays with your well-draining potting mix. Make a small hole in the center of the mix with your finger or a pencil. Insert the cut end of the Betula glandulosa cutting into the hole, ensuring the hormone-coated part is in contact with the soil. Gently firm the soil around the cutting.
- Mist and Cover: Lightly mist the cuttings to settle the soil and provide initial moisture. Then, place the pots into a propagator or cover them with a clear plastic bag. This creates a mini greenhouse effect, keeping the humidity high, which is crucial for preventing the cuttings from drying out. If using a plastic bag, gently prop it up with stakes so it doesn’t touch the leaves.
The “Secret Sauce” (Pro Tips)
Here are a few insider tricks that have made all the difference for me when propagating birch:
- The “Wiggle Test” before rooting hormone: After you take your cutting, give the tip a very gentle wiggle. If it feels quite stiff and woody, it might be a bit too mature. You’re looking for that satisfying flex – not too soft, not too rigid.
- Think “Humid, Not Soggy”: While we want high humidity, you don’t want the potting mix to be waterlogged. If you see water pooling excessively in the saucer, empty it. Overwatering at this stage is a fast track to rot.
- Bottom Heat is Your Friend: If you can, place your propagator or tray on a bottom heat mat. This gentle warmth encourages root development from below, significantly speeding up the process and increasing your chances of success.
Aftercare & Troubleshooting
Once your cuttings are potted, place them in a bright spot but out of direct, harsh sunlight. Keep the soil consistently moist – not soaking wet, but never completely dry. You’ll know your cuttings are starting to root when you see new leaf growth or gently tugging on a cutting and feel resistance. This usually takes anywhere from 4 to 8 weeks, sometimes longer depending on conditions.
The most common issue you’ll face is rot. If your cutting turns black and mushy, it’s likely succumbed to rot. This is usually due to too much moisture and poor air circulation. If you notice this, remove the affected cutting immediately to prevent it from spreading. Another sign of trouble is wilting that doesn’t recover after misting; this often means the cutting has dried out too much.
A Encouraging Closing
Propagating Betula glandulosa is a journey, and like any good gardening project, it requires a dash of patience. Don’t be discouraged if your first attempt isn’t a roaring success – we’ve all been there! Celebrate each bit of new growth, and learn from any setbacks. There’s immense satisfaction in nurturing a tiny cutting into a thriving plant. Happy propagating, and enjoy the abundance!
Resource:
https://identify.plantnet.org/k-world-flora/species/Betula%20glandulosa%20Michx./data