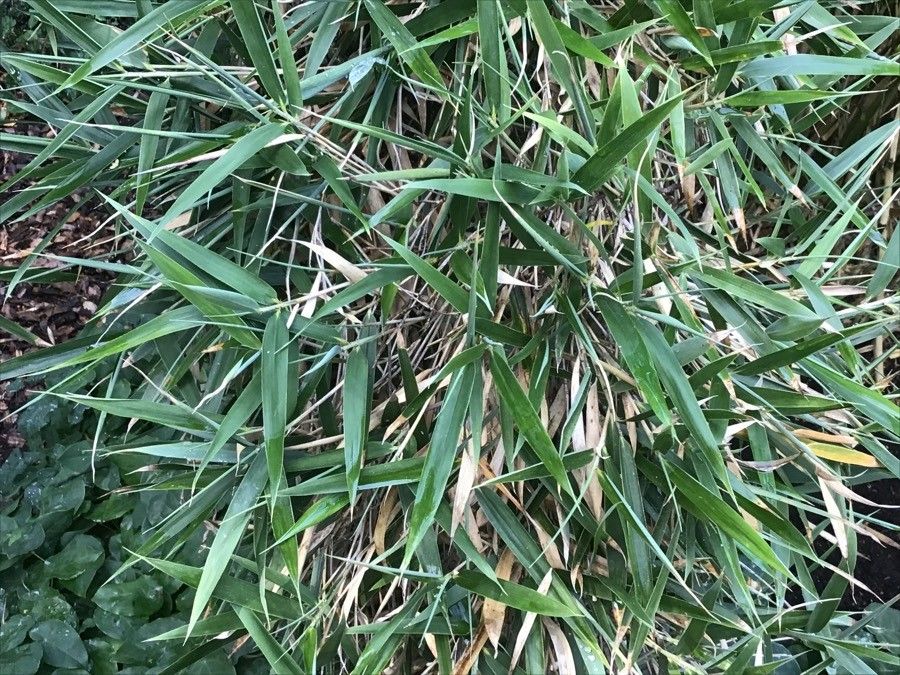
Oh, hello there! So, you’ve fallen in love with Bergbambos tessellata, haven’t you? I don’t blame you one bit. There’s something so captivating about its intricate patterns and lush foliage. It really does bring a touch of the wild and wonderful right into our homes. And the joy of creating more of these beauties from a single plant? Well, that’s a gardener’s high, if you ask me!
Now, I’ll be upfront: Bergbambos tessellata can be a little bit particular, but don’t let that deter you. With a few key pointers, even beginners can experience the thrill of successful propagation. Think of it as learning a new dance with your plant – it just takes a little practice.
The Best Time to Start
When it comes to coaxing new life from your Bergbambos, spring and early summer are your golden windows. This is when the plant is actively growing and has the stored energy to put into developing new roots. Look for new, healthy growth on your established plant – those are the shoots you want to work with. Avoid trying to propagate from old, woody stems or during the plant’s resting period in winter.
Supplies You’ll Need
Gathering your tools beforehand makes the whole process smoother. Here’s what I always have on hand:
- Sharp, clean pruning shears or a sharp knife: For making precise cuts.
- A well-draining potting mix: I usually mix equal parts peat moss or coco coir with perlite or coarse sand. You want it to dry out, but not completely.
- Small pots or seed trays: Clean ones are essential to prevent disease.
- Rooting hormone (optional but helpful): This encourages faster root development. Look for one specifically for stem cuttings.
- Plastic bags or a propagator: To create a humid environment.
- A spray bottle with water: For misting.
- A small stake or skewer: To help make planting holes.
Propagation Methods
For Bergbambos tessellata, stem cuttings are generally the most reliable and rewarding method. It’s like taking a little sleeping baby from the parent plant and helping it grow.
STEM CUTTINGS:
- Select Your Cuttings: With your clean shears, take cuttings from healthy, active stems. Aim for pieces that are about 4-6 inches long. Make sure each cutting has at least two or three sets of leaves. Take them from just below a leaf node – that’s the spot where a leaf attaches to the stem, and where roots love to emerge.
- Prepare the Cuttings: Gently remove the lower leaves from the cutting, leaving just the top two or three leaves. This prevents them from rotting in the soil.
- Apply Rooting Hormone (if using): Dip the cut end of the stem into the rooting hormone powder, tapping off any excess. This isn’t strictly necessary, but it can give your cuttings a real boost.
- Plant Your Cuttings: Make a hole in your prepared potting mix with your skewer or finger. Gently insert the cut end of the stem into the hole, ensuring the nodes where you removed leaves are buried. Firm the soil gently around the cutting.
- Create Humidity: Water the soil lightly, then cover the pot with a clear plastic bag or place it in a propagator. You want to create a mini greenhouse effect to keep the humidity high. Make sure the leaves aren’t touching the sides of the bag if possible.
- Find a Warm Spot: Place the pots in a bright location, but out of direct sunlight. Direct sun will scorch your delicate cuttings.
The “Secret Sauce” (Pro Tips)
You know, after all these years, you pick up a few tricks that aren’t always written in the books. These are the little things that have made all the difference for me.
- Bottom Heat is Your Friend: If you have it, placing your pots on a gentle heat mat can significantly speed up root formation. It mimics the warmth of spring soil and really encourages those roots to stretch out.
- Don’t Drown Them: While they need humidity, overwatering is the quickest way to kill a cutting. Let the top inch of soil dry out slightly between waterings. If the leaves look droopy, it’s usually a sign they need water, not that they’re drowning.
- Patience is a Virtue (and a Fertilizer): Sometimes, it takes a cutting longer than you expect to show signs of life. Don’t give up too soon! Keep them in their humid environment and let them do their thing. I’ve had cuttings surprise me after weeks of seeming inactivity.
Aftercare & Troubleshooting
Once you start to see new leaf growth emerging from your cuttings, that’s a fantastic sign! It means roots have formed and the plant is settling in.
Gradually acclimatize your new plants to normal room humidity by opening the plastic bag or propagator vents a little more each day over a week. Once they’re looking robust, you can transplant them into their own small pots. Continue to water them when the top inch of soil feels dry.
The most common issue you’ll face is rot. This usually happens from too much moisture and poor air circulation. If you see a cutting turning black and mushy, sadly, it’s likely gone. Remove it immediately to prevent it from affecting other cuttings. It’s a bummer, but that’s part of the learning curve! Don’t be discouraged if you lose a few – just try again with fresh cuttings.
A Encouraging Closing
Propagating Bergbambos tessellata is a journey, and like any good journey, it’s full of little discoveries. Be patient with yourself and your new plant babies. Enjoy the process of nurturing them, and before you know it, you’ll have a whole collection of these captivating beauties to share (or keep all to yourself – I understand!). Happy gardening!
Resource: