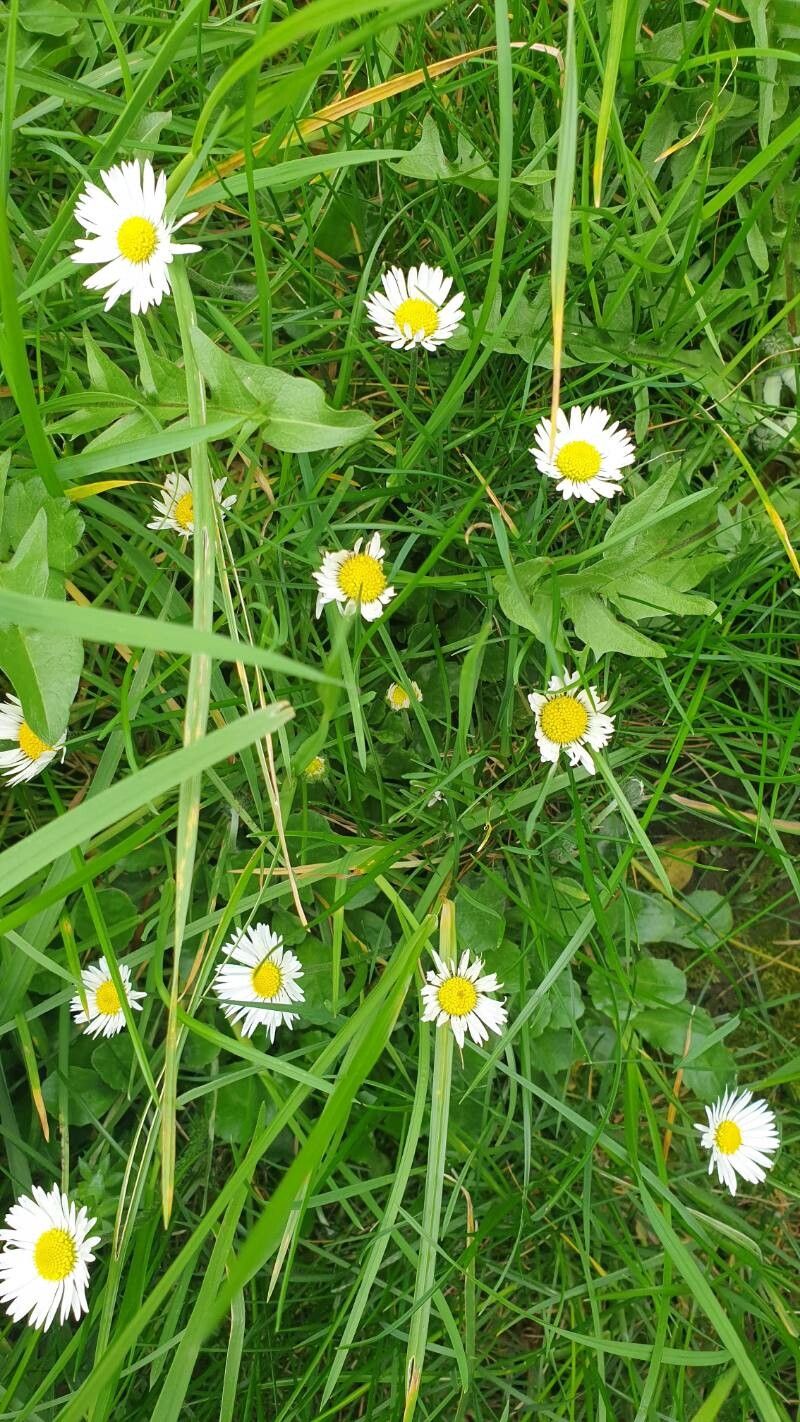
Oh, hello there! So glad you’ve stopped by. Today, we’re diving into the delightful world of Bellis annua, or as many of us affectionately call them, the little Annual Daisies. These cheerful little blooms are such a fantastic addition to any garden. They pop up with such innocent charm, bringing swathes of white and sometimes rosy petals to even the shadiest corners. The best part? They’re quite forgiving, which makes them a lovely plant for beginners looking to expand their gardening skills. Propagating them is incredibly rewarding; it’s like multiplying pure joy!
The Best Time to Start
For Bellis annua, the sweet spot for propagation is usually in early spring, right as the plant is waking up and starting its main growth spurt. You can also have success with them in late summer or early autumn, allowing the new cuttings plenty of time to establish before the cooler weather truly sets in. Keep an eye on your established plants – when you see new, vigorous shoots appearing, that’s your cue!
Supplies You’ll Need
Gathering your supplies beforehand makes the whole process so much smoother. Here’s what you’ll want to have on hand:
- Sharp pruning shears or a clean craft knife: For making clean cuts.
- Well-draining potting mix: I like a peat-free mix blended with a bit of perlite for aeration.
- Small pots or trays: Clean ones, of course!
- Rooting hormone (optional but helpful): A powder or gel can give your cuttings a nice boost.
- A spray bottle: For keeping things consistently moist.
- Plastic bags or a propagator lid: To create a humid environment.
Propagation Methods
Bellis annua is wonderfully versatile. The easiest and most common way I propagate them is through division.
Propagating by Division:
- Gently excavate: In the early spring or fall, carefully dig up an established Bellis annua clump. You don’t want to damage the roots too much.
- Inspect the roots: Gently shake off excess soil. You’ll likely see the plant has developed multiple crowns or shoots from its base.
- Make the break: With clean hands or a trowel, gently pull or cut apart the plant into sections. Each section should have its own roots and at least one healthy shoot. Don’t worry if it’s not a perfect separation; just aim for viable pieces.
- Replant immediately: Plant your newly divided sections into their own pots filled with your fresh, well-draining potting mix. Water them in well.
Another method that works, especially if you’re interested in starting from seed or if your established plants are getting a bit leggy, is collecting seeds.
Propagating from Seed:
- Allow flowers to mature: Let some of your spent Bellis annua flowers go to seed. You’ll notice the petals will wither, and a small, dry seed head will form in the center.
- Collect the seeds: Once dry, you can tap the seed heads over a paper plate to collect the tiny seeds. You can also gently rub them between your fingers. Store them in a dry, cool place in a small paper envelope until you’re ready to sow.
- Sow in spring: In early spring, I like to sow Bellis annua seeds directly into pots filled with potting mix. Gently press the seeds onto the surface of the soil; they don’t need to be buried deeply.
- Water and wait: Mist the soil gently with your spray bottle and cover the pots with a clear plastic bag or propagator lid. Place them in a bright spot, but out of direct, scorching sun.
The “Secret Sauce” (Pro Tips)
Here are a few things I’ve learned over the years that really make a difference.
- Don’t overcrowd your divisions: Give each new division a little breathing room in its pot. This prevents competition for resources and reduces the risk of fungal issues.
- Bottom heat is your friend (for cuttings if you do them): If you decide to try taking stem cuttings (though division is much easier for this plant), placing your pots on a heat mat can significantly speed up root development. Bellis annua just loves a bit of warmth from below to get things going.
- Watch the moisture like a hawk: While you want the soil to be consistently moist, you absolutely don’t want it soggy. Soggy soil is the fastest way to rot off tender new roots. I often let the very surface of the soil dry out just slightly between waterings.
Aftercare & Troubleshooting
Once your divisions or seedlings start to show new growth, it’s a good sign that roots are forming!
- Gradual acclimatization: If you used a plastic bag or propagator lid, gradually begin to remove it over a few days. This helps the young plants adjust to the normal humidity of your home or greenhouse, preventing shock.
- Bright, indirect light: Continue to provide bright, indirect light. Direct sun can be too harsh for delicate new growth.
- Watering: Water when the top inch of soil feels dry to the touch. Avoid overwatering.
- Troubleshooting: The most common issue you might face is rot, which is usually a sign of too much moisture. If you see wilting that isn’t due to dryness, or a mushy stem base, it’s likely rot. Sadly, these plants are often difficult to save once rot sets in, so prevention through proper watering is key. You might also see pests like aphids; a strong spray of water can often dislodge them.
A Little Encouragement
Growing new plants is always an adventure, and Bellis annua offers a wonderful, low-stress way to experience it. Be patient with your little sprouts and divisions. Nature works in her own time, and the reward of seeing these cheerful daisies multiply under your care is truly something special. Happy propagating!
Resource:
https://identify.plantnet.org/k-world-flora/species/Bellis%20annua%20L./data