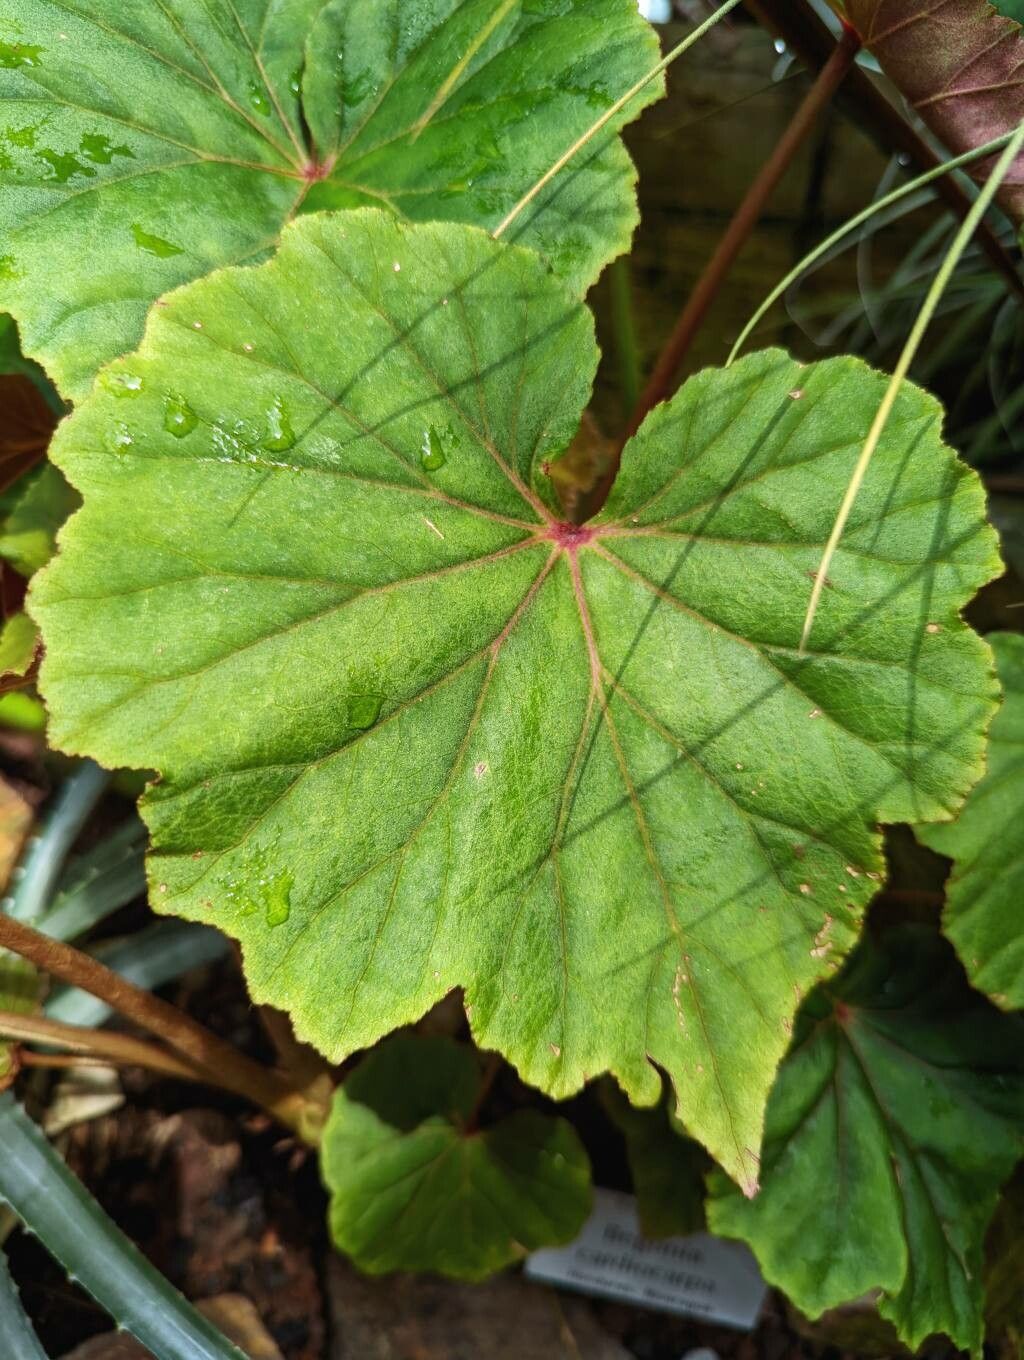
Hey there, fellow plant lovers! Let’s talk about one of my absolute favorites: Begonia cardiocarpa. If you’re drawn to plants with unique, heart-shaped leaves and a bit of a wild, cascading charm, you’re going to adore this one. And the best part? Propagating it is incredibly satisfying. You’ll get to watch new life sprout from a tiny piece, expanding your green family and sharing the joy with friends. Now, is it a beginner-friendly plant? While it’s not incredibly difficult, it does appreciate a little understanding. I’d say it’s best suited for those who have a little bit of plant parenting experience under their belt, or really ambitious beginners willing to pay close attention!
The Best Time to Start
When it comes to getting new Begonia cardiocarpa off to a great start, spring and early summer are your golden windows. This is when the plant is actively growing, meaning it has more energy to push out roots and establish itself. You’ll also want to start with healthy, vigorous stems that are reaching towards the light. Avoid taking cuttings from a plant that’s stressed or just finished flowering, as it might not have the best reserves.
Supplies You’ll Need
Here’s what I like to have on hand to make the propagation process smooth sailing:
- Sharp, clean pruning shears or a sharp knife: Sanitation is key to preventing disease!
- A well-draining potting mix: I usually go for a mix of equal parts peat moss or coco coir, perlite, and orchid bark. This mimics the airy, slightly acidic environment they love.
- Clean pots or propagation trays: Small ones are perfect for starting out.
- Rooting hormone (optional but recommended): A good quality powder or gel can really speed things up.
- Small watering can or spray bottle: For gentle watering.
- Clear plastic bag or mini greenhouse lid: To create a humid environment.
Propagation Methods: My Go-To Techniques
Begonia cardiocarpa is a trooper and can be propagated in a few ways, but my favorites are stem cuttings and water propagation.
Stem Cuttings
This is my most reliable method for Begonia cardiocarpa.
- Take your cuttings: Using your clean shears, select a healthy stem. You want a piece that’s about 4-6 inches long and has at least two or three nodes (those little bumps where leaves emerge). Make your cut just below a node.
- Prepare the cutting: Gently remove the lower leaves, leaving just one or two at the top. This prevents them from rotting in the soil. If your leaves are very large, you can even cut them in half to reduce water loss.
- Dip in rooting hormone (optional): If you’re using it, dip the cut end into the rooting hormone, shaking off any excess.
- Plant your cutting: Fill your small pot with your prepared potting mix. Make a small hole with your finger or a pencil and gently insert the cut end of the stem. Firm the soil gently around it.
- Water and cover: Water the soil thoroughly but gently. Then, cover the pot with a clear plastic bag or place it in a mini greenhouse. This creates that crucial humid environment.
Water Propagation
This is a more visual method and can be super rewarding to watch.
- Take your cuttings: Same as above, take healthy stem pieces about 4-6 inches long, with at least one node. Remove the lower leaves.
- Place in water: Fill a clean glass or jar with room temperature water. Place your cuttings in the water, ensuring the node(s) are submerged but the leaves are not touching the water.
- Find a good spot: Place the container in bright, indirect light.
- Change the water: Change the water every few days or whenever it starts to look cloudy.
The “Secret Sauce” (Pro Tips)
Here are a few things I’ve learned over the years that make a big difference:
- Don’t let those leaves touch the water! In water propagation, any submerged leaf is an invitation for rot. Keep them high and dry!
- Bottom heat is your friend. If you can, place your pots on a gentle heat mat. This little bit of warmth encourages root development much faster. It really is like a cozy blanket for your cuttings!
- Patience with the soil mix. Don’t overwater the soil. It should be consistently moist, like a wrung-out sponge, not soggy. Too much water is the fastest way to invite fungal issues.
Aftercare & Troubleshooting
Once you start seeing roots forming (you can gently tug on the cutting in soil to feel resistance, or check the water-propagated ones for good root growth), it’s time for a little extra care.
- For soil-grown cuttings: Once you see new leaf growth, you know you have roots! You can gradually remove the plastic cover, letting them acclimate to lower humidity over a few days. Continue to water when the top inch of soil feels dry.
- For water-propagated cuttings: When the roots are about an inch or two long, it’s time to pot them up into your well-draining potting mix. Treat them just like the soil-grown cuttings from here on out.
The most common sign of trouble is rot. If your cutting is mushy, black, or just not looking happy, it’s likely too much moisture. If you’re water propagating and see rot, trim off the affected part and change the water more frequently. For soil, ensure your mix is airy and you’re not overwatering. Sometimes, a cutting just won’t take, and that’s okay! Don’t get discouraged.
A Final Thought
Growing new plants is such a rewarding journey. Be patient with your Begonia cardiocarpa cuttings. Sometimes it takes a little longer than you expect, but the thrill of seeing those first tiny roots or new leaves emerge is absolutely worth it. Happy propagating, and enjoy watching your green collection grow!
Resource:
https://identify.plantnet.org/k-world-flora/species/Begonia%20cardiocarpa%20Liebm./data