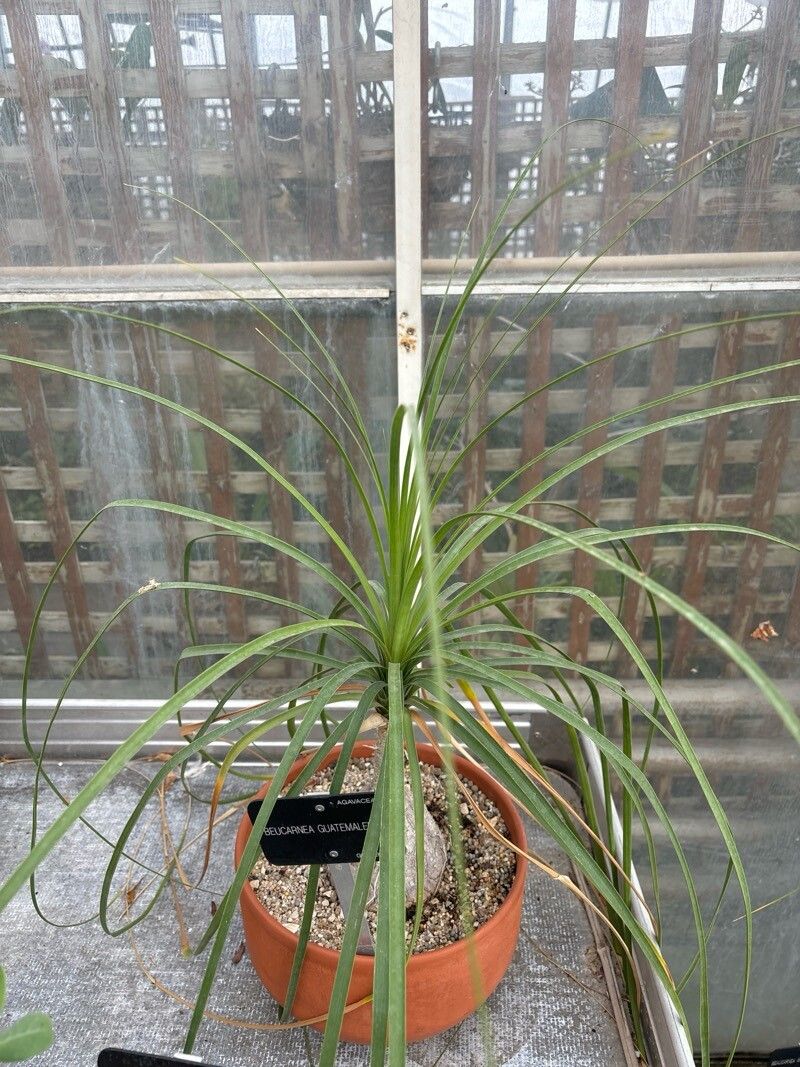
Hey there, fellow plant lovers! If you’ve ever admired those wonderfully quirky Beaucarnea guatemalensis, with their elephantine bases and cascading foliage, you’re not alone. I’ve spent decades coaxing these beauties to thrive, and let me tell you, propagating them yourself is pure magic. It’s like growing your own little bonsai with a personality! While they might seem a bit exotic, don’t let that intimidate you. With a little care and patience, you can absolutely succeed, even if you’re just dipping your toes into the world of plant propagation.
The Best Time to Start
For Beaucarnea guatemalensis, the sweet spot for propagation is definitely during the active growing season. Think late spring through summer. This is when the plant has the most energy to put into producing roots and new growth. Trying to do it when the plant is a bit sleepy in cooler months is just setting yourself up for disappointment.
Supplies You’ll Need
Here’s what you’ll want to have on hand before you get started:
- Sharp Pruning Shears or a Clean Knife: For making clean cuts.
- Rooting Hormone (Optional but Recommended): Especially for cuttings, this gives them a little boost. Look for one that’s suitable for succulents.
- Well-Draining Potting Mix: A cactus and succulent mix is ideal. You can also make your own by combining perlite, coarse sand, and a bit of peat moss.
- Small Pots or Propagation Trays: With drainage holes, of course!
- Gloves: Some people find sap irritating.
- A Spray Bottle: For misting.
- Clear Plastic Bag or Dome: To create a mini-greenhouse effect for cuttings.
Propagation Methods
Beaucarneas are usually best propagated from stem cuttings or by division. Let’s dive into each one.
Stem Cuttings
This is a fantastic way to get a new plant from a mature one.
- Choose Your Cutting: Look for a healthy stem on your mature plant. You want a section that’s not too woody but has a nice bit of growth. Aim for a cutting that’s at least 4-6 inches long.
- Make the Cut: Using your sharp shears or knife, make a clean, angled cut just below a leaf node.
- Let it Callus: This is super important for Beaucarneas! The sap can be a bit sticky, and you want to prevent rot. Let the cut end dry and callus over for at least 2-3 days, or even up to a week, in a bright, dry spot. It should feel dry to the touch.
- Apply Rooting Hormone (Optional): Once callused, dip the cut end into rooting hormone, tapping off any excess.
- Planting: Fill your small pot with your well-draining mix. Make a small hole in the center with a pencil or your finger. Gently insert the callused end of your cutting into the hole.
- Secure and Mist: Firm the soil gently around the cutting. Lightly mist the soil surface.
- Create a Humid Environment: Cover the pot with a clear plastic bag, securing it around the rim with a rubber band, or use a propagator lid. This traps humidity, which the cutting needs to encourage rooting.
Division
If your Beaucarnea has started to produce offsets (those little baby plants that sprout from the base), division is a great method.
- Remove from Pot: Carefully take your mature Beaucarnea out of its pot.
- Examine the Roots: Gently loosen the soil around the base to see where the offsets are attached.
- Separate: Using a clean, sharp knife or your hands, carefully separate the offset from the parent plant. Try to get some roots attached to the offset if possible. If the offset doesn’t have any roots, don’t worry, it can still root on its own.
- Let it Callus: Just like with the cuttings, if you had to make a cut to separate it, allow the wound to callus over for a day or two in a dry spot.
- Plant: Pot the offset into its own small pot filled with draining mix.
The “Secret Sauce” (Pro Tips)
Here are a couple of tricks I’ve learned over the years that really make a difference:
- Don’t Overwater Cuttings: This is probably the most common mistake. The callused cutting needs moisture to root, but too much water will lead to rot before it even has a chance to grow. The goal is evenly moist, not soggy. Let the top inch of soil dry out between waterings.
- Bottom Heat is Your Friend! While not strictly essential, placing your pots on a gentle seedling heat mat can significantly speed up the rooting process. It mimics the warmth of summer soil and gives those roots a real encouragement to get going.
Aftercare & Troubleshooting
Once you see new growth emerging, or feel resistance when gently tugging on the cutting (a sign of roots!), it’s time to adjust the care.
- Acclimate: Gradually introduce your new plant to less humid conditions. For cuttings, start by opening the plastic bag or propagator lid for a few hours each day.
- Light: Give your new Beaucarnea bright, indirect light. Direct sun can be a bit harsh for tiny new plants.
- Watering: Water when the top inch or two of soil feels dry. Err on the side of underwatering rather than overwatering.
- Troubleshooting: Rot is the Enemy! The biggest sign of trouble is if your cutting or division starts to soften, turn mushy, or develop black spots at the base. This usually means it’s gotten too wet and is rotting. If you see this, pull it out, cut away any rotted parts, let it callous again, and try again in fresh, dry soil. Another sign of no progress is if it stays totally limp for weeks on end – it might not have rooted.
Happy Growing!
Propagating Beaucarnea guatemalensis is a journey, and like any good garden venture, it requires patience. Don’t get discouraged if your first attempt isn’t a roaring success. Each plant is a little bit different, and so am I! Learn from what happens, adjust your approach, and most importantly, enjoy the process of watching a new life emerge. You’ve got this!
Resource:
https://identify.plantnet.org/k-world-flora/species/Beaucarnea%20guatemalensis%20Rose/data