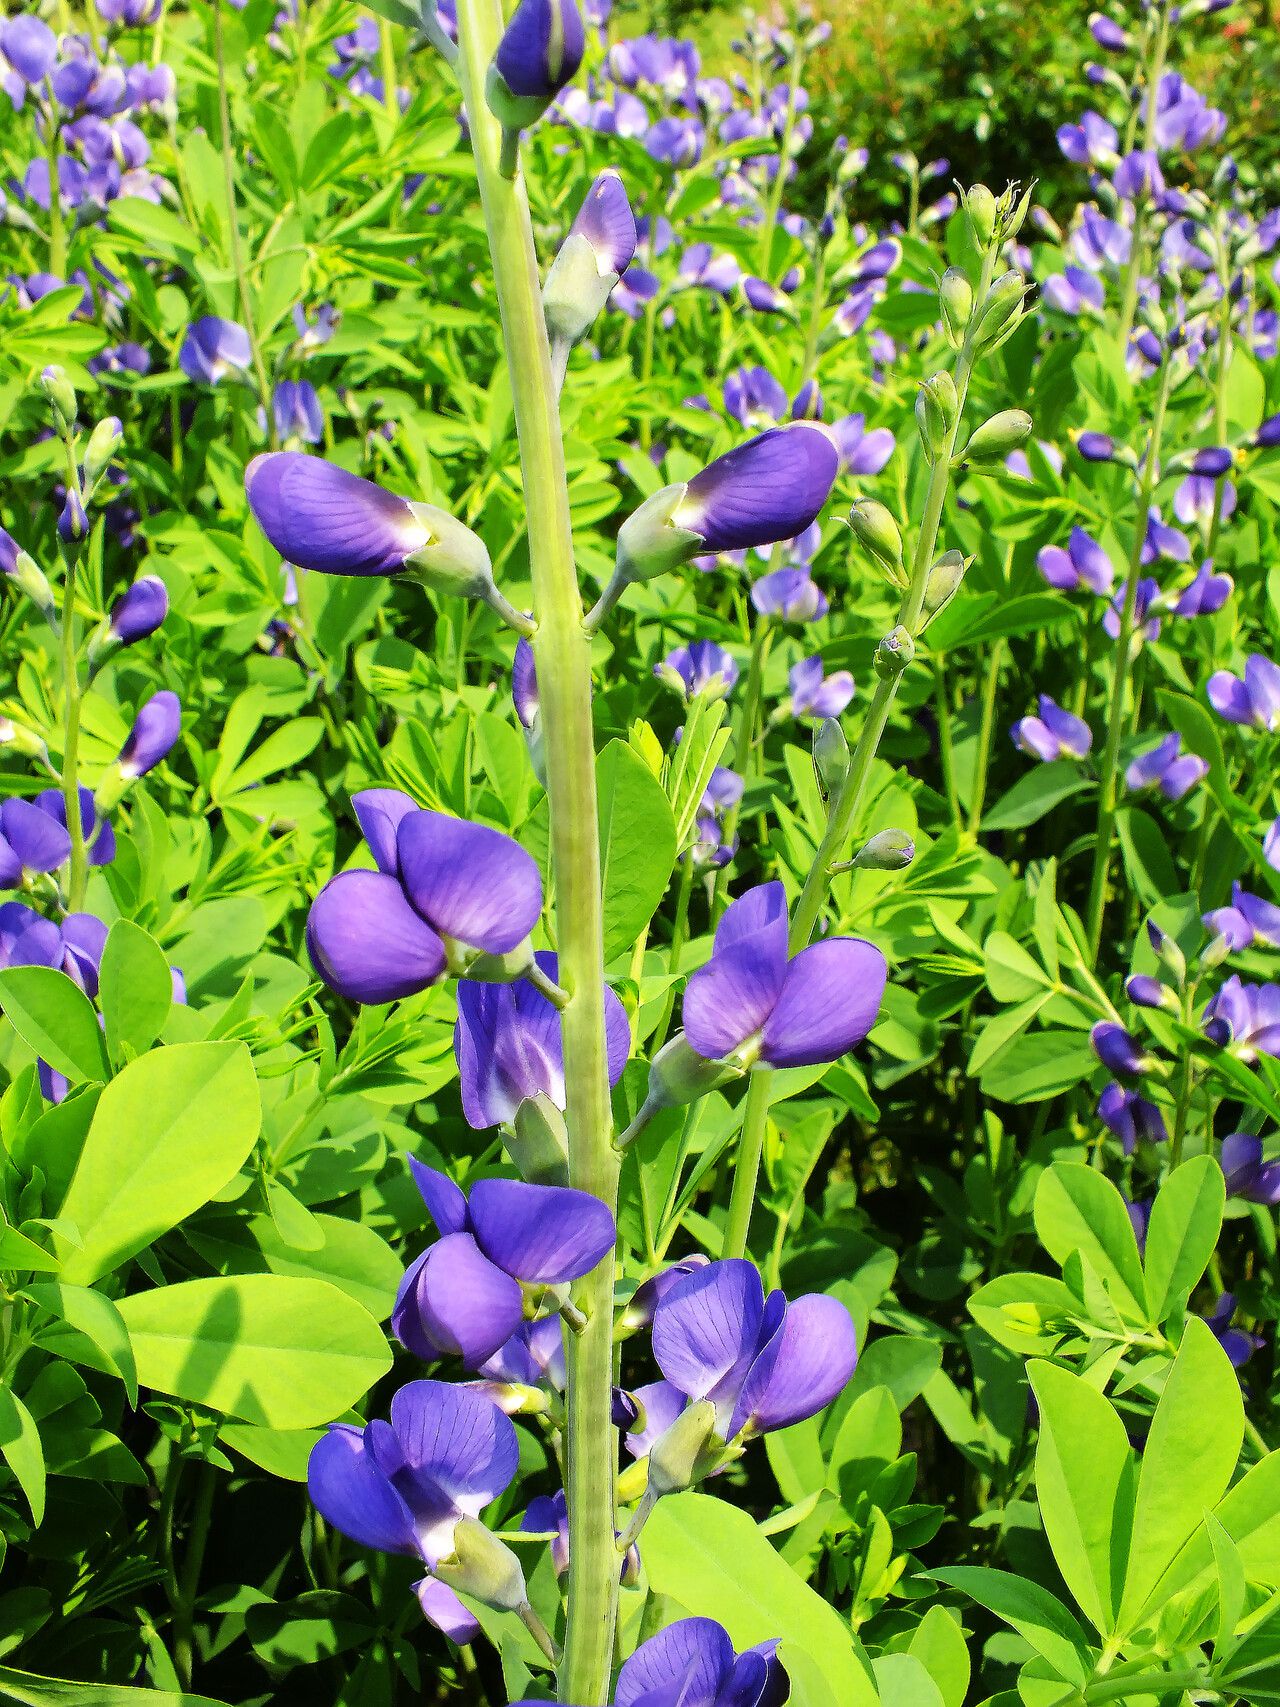
Oh, Baptisia! If you’re looking for a native beauty that brings a touch of wild elegance to your garden, you’ve found it. Also known as False Indigo, this perennial is a stunner with its spires of blue-purple flowers in late spring and early summer, often attracting all sorts of pollinators. Plus, it has these gorgeous seed pods that look fantastic in dried arrangements. Growing them from scratch is incredibly rewarding, and honestly, while it takes a little care, it’s not difficult at all for even the most novice gardener. Let me walk you through it!
The Best Time to Start
For Baptisia, I find the late spring to early summer, just as the plant is finishing its spectacular bloom, is the sweet spot. You can also divide established clumps in early spring as things are just starting to wake up. This timing gives the plant energy to put into root development rather than flowering or setting seeds, which means a much higher chance of success.
Supplies You’ll Need
Here’s what you’ll want to have on hand:
- Sharp, clean pruning shears or a propagation knife.
- A good quality potting mix. I like a blend that’s well-draining, maybe with some perlite or coarse sand added. A mix for perennials or succulents works well.
- Small pots or cell trays. Terra cotta pots are great because they allow the soil to breathe.
- Rooting hormone (optional, but can give a nice boost). I use a powder form most often.
- A watering can with a fine rose or a spray bottle.
- Labels to keep track of what you’ve propagated and when.
- For division: a garden fork or spade.
Propagation Methods
I’ve had the most success with two primary methods for Baptisia: stem cuttings and division.
Stem Cuttings
This is a fun way to get several new plants from one mature specimen.
- Choose your stems: Select healthy, non-flowering shoots that are about 4-6 inches long. Look for stems that have a bit of firmness but are not woody yet – they should bend a little before snapping.
- Take the cutting: Using your clean pruners or knife, make a clean cut right below a leaf node (where a leaf attaches to the stem).
- Prepare the cutting: Gently remove the leaves from the bottom half of the stem. You want to expose a few nodes where roots can form. If your cutting has any flower buds, pinch them off.
- Dip (optional): If you’re using rooting hormone, dip the cut end into the powder, tapping off any excess.
- Planting: Fill your small pots with your well-draining mix and moisten it. Make a hole in the center with your finger or a pencil, and insert the prepared cutting. Gently firm the soil around the stem.
- Water and Cover: Water the soil thoroughly. You can then cover the pot with a clear plastic bag or place it in a propagation dome to create a humid environment. This is crucial!
Division
This is best done in early spring when the plant is just starting to emerge.
- Dig Up the Clump: Gently dig around the base of the mature plant, trying to get as much of the root ball as possible.
- Inspect and Separate: You can often gently tease the root ball apart with your hands. For tougher clumps, use your garden fork or spade to carefully divide the plant into sections, making sure each section has both roots and some shoots.
- Replant Immediately: Get those divisions back into the ground or into pots with fresh soil as soon as possible. Water them in well.
The “Secret Sauce” (Pro Tips)
Here are a couple of things I’ve learned over the years that really make a difference:
- Don’t let your cuttings droop! Baptisia cuttings can dry out quickly if you’re not careful. As soon as you take them, get them into water or their potting mix. If you have to wait a bit, pop the cut ends into a glass of water.
- Bottom heat can be your best friend. While not strictly essential for Baptisia, placing your pots on a heat mat designed for propagation can really speed up root development, especially for those stem cuttings. It mimics the warmth of spring soil.
- Patience is truly a virtue with Baptisia. Unlike some quick-rooting plants, Baptisia can take its sweet time. Don’t get discouraged if you don’t see roots forming for several weeks. Keep the soil consistently moist but not soggy.
Aftercare & Troubleshooting
Once you see signs of new growth or feel some resistance when gently tugging on a cutting, you know roots have formed!
- Acclimate: If your cuttings were under plastic, gradually introduce them to the open air over a few days.
- Watering: Keep the soil consistently moist, but avoid overwatering. This is the most common culprit for failure. Waterlogged soil leads to rot. You can often tell when they need water if the pot feels lighter or the top inch of soil is dry.
- Light: Once rooted, place your new plants in a bright spot, but avoid intense, direct midday sun for the first week or two, especially if they were started indoors. Gradually acclimate them to more sun.
- Troubleshooting Rot: If you see your cuttings turning black and mushy, that’s usually a sign of rot. This often means the soil has been too wet and there isn’t enough air circulation. Sadly, you’ll likely need to discard those cuttings and start again, perhaps with a slightly less moist mix and better airflow.
A Encouraging Closing
There you have it! Propagating Baptisia is a wonderful way to expand your collection and share these beautiful plants with fellow gardeners. Remember, gardening is a journey, and sometimes things don’t work out the first time. Learn from each attempt, celebrate your successes, and before you know it, you’ll have a whole new patch of False Indigo gracing your garden. Happy propagating!
Resource:
https://identify.plantnet.org/k-world-flora/species/Baptisia%20australis%20(L.)%20R.Br./data