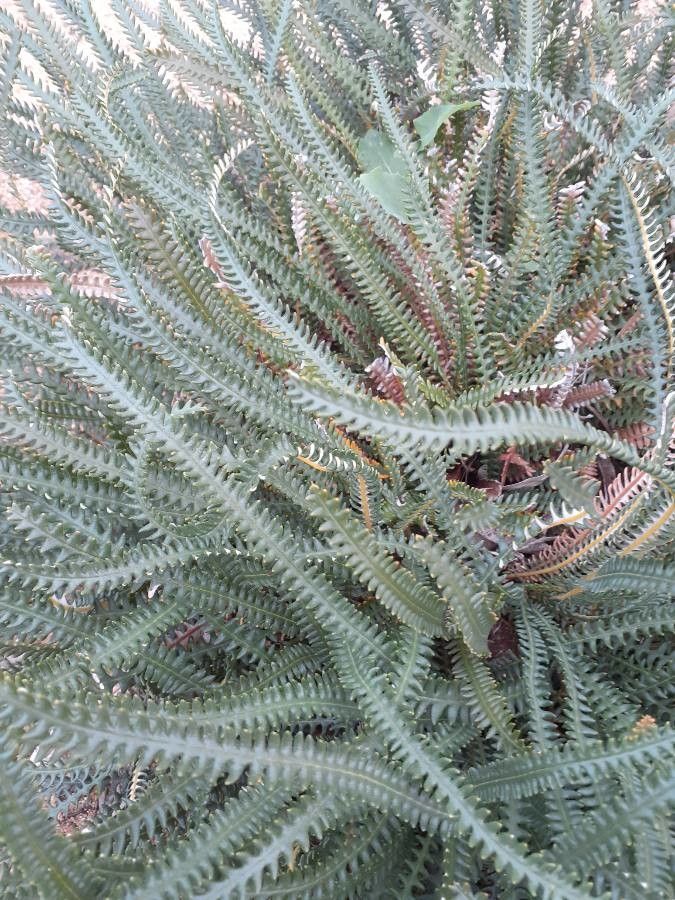
Oh, Banksia obtusa! It’s a plant that truly captures the wild heart of Australia, isn’t it? Those spiky, elegant flower spikes and that wonderfully rugged foliage – it’s a real statement piece in any garden. For me, watching a new Banksia push through the soil or root successfully from a cutting feels like unlocking a little piece of botanical magic. And trust me, there’s a special kind of joy in growing a plant from scratch, knowing you nurtured it from its very beginnings. Now, is Banksia obtusa a beginner-friendly propagation project? Honestly, I’d say it’s more for those with a bit of patience and maybe a previous propagation success or two under their belt. It’s not impossible, mind you, just requires a little extra attention to detail.
The Best Time to Start
When it comes to getting the best results with Banksia obtusa, timing is everything. I always find the late spring to early summer to be the sweet spot. That’s when the plant is actively growing, full of vigour after the chill of winter. You want to be taking cuttings from healthy, new growth, often referred to as ‘semi-hardwood’ cuttings. Avoid taking them from flowering stems or really old, woody bits. Think of it like this: you’re catching the plant at its peak energy, which gives your cuttings the best chance to thrive.
Supplies You’ll Need
Gathering your tools beforehand makes the whole process so much smoother. Here’s what I usually have on hand:
- Sharp pruning shears or a clean, sharp knife: For taking clean cuts on your stems.
- Rooting hormone powder or gel: This is a must for encouraging root development.
- A well-draining potting mix: I like a mix of perlite, coarse sand, and a bit of peat moss or coco coir. Banksias hate soggy feet!
- Small pots or trays with drainage holes: Clean pots are important to prevent disease.
- A plastic bag or propagator lid: To create a humid environment for your cuttings.
- A spray bottle filled with water: For misting.
Propagation Methods
For Banksia obtusa, the most reliable method I’ve found is stem cuttings. It’s a classic for a reason!
- Select Your Cuttings: Head out to your Banksia obtusa plant on a bright, not-too-scorching day. Look for healthy, vigorous shoots that are beginning to firm up but are still a little pliable. These are your semi-hardwood cuttings.
- Take the Cuttings: Using your clean, sharp pruners or knife, take cuttings that are about 10-15 cm (4-6 inches) long. Make a clean cut just below a leaf node (where a leaf attaches to the stem).
- Prepare the Cuttings: Gently remove the leaves from the bottom half of the cutting. You want to expose the leaf nodes where roots will eventually form. If your cutting has any flower buds, pinch them off. They take energy away from root development.
- Apply Rooting Hormone: Dip the cut end of the stem into your rooting hormone, ensuring it’s well-coated. Gently tap off any excess.
- Plant Your Cuttings: Fill your clean pots with your well-draining potting mix. Make a hole with a pencil or your finger in the center of the pot. Carefully insert the rooting hormone-treated end of the cutting into the hole, pushing it down so that at least one leaf node is buried. Firm the soil gently around the cutting to ensure good contact.
- Create a Humid Environment: Water the potting mix gently. Then, cover the pot with a clear plastic bag or a propagator lid. Make sure the plastic doesn’t touch the leaves of the cuttings – this is crucial to prevent rot. You can use stakes to prop up the bag if needed.
- Place in a Bright Spot: Find a bright location for your cuttings that receives indirect light. No direct sun, as this will scorch them through the plastic.
The “Secret Sauce” (Pro Tips)
Here are a couple of tricks I’ve learned over the years that can really make a difference:
- Bottom Heat is Your Friend: If you can, place your pots on a heat mat designed for propagators. Banksia obtusa absolutely loves a bit of warmth from below while it’s trying to root. It encourages those roots to form much more vigorously.
- Don’t Over-Water: This is probably the most common mistake I see. The soil should be consistently moist, but never waterlogged. My trick is to lightly mist the leaves with my spray bottle every couple of days to keep them turgid, and only water the soil if it starts to feel dry to the touch. The plastic bag helps maintain that humidity, so you won’t need to water as often as you might think.
Aftercare & Troubleshooting
Once you start seeing signs of life – new leaf growth is a good indicator – you’re on the right track! This usually takes several weeks, sometimes even a couple of months, so be patient!
When you gently tug on a cutting and feel resistance, it’s a good sign roots have formed. It’s time to gradually acclimatise your new baby Banksia. Start by taking the plastic bag off for a few hours each day, then leave it off entirely. Water it as you would an established plant, always ensuring good drainage.
The most common issue you might face is rot. If you see your cuttings turning black and mushy, it’s usually a sign of too much moisture and not enough air circulation. If this happens early on, it’s best to discard the affected cuttings and start again with fresh ones, ensuring your mix is even more free-draining and that you’re not watering too frequently. Another sign of trouble is if the cuttings just look sad and wilted, with no new growth after a long time. This might mean they haven’t rooted, or perhaps they didn’t get enough light or warmth.
A Encouraging Closing
So there you have it! Propagating Banksia obtusa is a journey, and like any good garden project, it rewards patience and a watchful eye. Don’t be discouraged if your first attempt isn’t a roaring success. Learn from it, adjust your approach, and try again. The satisfaction of watching these tough, beautiful plants grow from your own efforts is truly unparalleled. Happy propagating!
Resource: