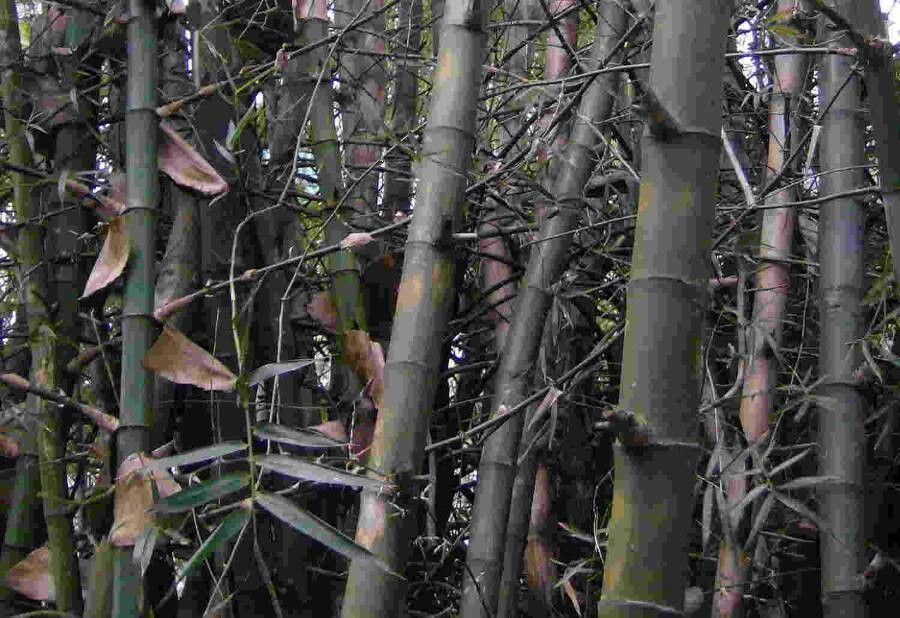
Hey there, fellow garden enthusiasts! Today, we’re diving into something truly special: propagating Bambusa spinosa, also known as Spiny Bamboo or often just called the wild bamboo that graces many tropical landscapes. I’ve spent two decades getting my hands dirty, and let me tell you, coaxing new life from an established plant is one of the most satisfying feelings a gardener can experience.
The appeal of Bambusa spinosa is undeniable. Its sturdy culms and dense growth make for a stunning, natural screen or a dramatic focal point. And the reward of growing your own from a piece of a parent plant? Priceless! For beginners, I’d say Bambusa spinosa is moderately easy to propagate. It’s not quite as foolproof as some of the fussier houseplants, but with a little care and patience, you’ll be rewarded with green shoots in no time.
The Best Time to Start
Timing is everything in the garden, and for propagating Bambusa spinosa, your best bet is late spring or early summer. This is when the plant is actively growing and has plenty of energy to put into developing new roots. Look for culms that are mature but not old and woody. Think of them as being in their prime – not brand new shoots, but not yet hardened off.
Supplies You’ll Need
Before we get our hands dirty, let’s gather our tools. Here’s what I recommend having on hand:
- Sharp Pruning Shears or a Saw: For clean cuts that minimize damage.
- Rooting Hormone: (Optional, but highly recommended!) It gives those cuttings a little nudge. Look for a powdered form.
- Well-Draining Potting Mix: A good blend for bamboo often includes perlite, compost, and coir. You want it to hold moisture but not become waterlogged.
- Pots or Containers: A few appropriately sized pots for your cuttings. Ensure they have drainage holes!
- Watering Can or Spray Bottle: For gentle hydration.
- Plastic Bag or Propagator: To create a humid environment.
- Gloves: Bamboo can be prickly!
- A Sharp Knife: For prepping your cuttings.
Propagation Methods
Bambusa spinosa can be propagated primarily through division and stem cuttings. Division is often the most successful for beginners.
Method 1: Division
This is like giving your mature bamboo a little facelift and getting new plants in the process!
- Choose Your Parent Plant: Select a healthy, well-established clump of Bambusa spinosa.
- Dig Around the Base: This is the trickiest part. Using a shovel or even a garden fork, carefully work your way around the base of the clump, trying to loosen it from the soil. You want to expose the rhizomes and the culms.
- Separate Sections: Once you have the clump partially lifted, you’ll see where the rhizomes have grown. Look for sections that have at least one healthy culm and a portion of rhizome with visible buds or root nubs. Use your sharp spade, saw, or even a sturdy knife to carefully saw or cut these sections away from the main clump. Make sure each division has some root attached.
- Trim Excess Foliage: If your divisions have a lot of leafy growth, trim off about half to two-thirds of the leaves. This reduces water loss through transpiration while the new plant establishes roots.
- Replant Immediately: Pot up your divisions into their new containers filled with your well-draining potting mix. Ensure the rhizome is just below the soil surface. Water them gently but thoroughly.
Method 2: Stem Cuttings
This method takes a bit more patience, but it’s a great way to get multiple new plants from a single culm.
- Select Your Culm: As mentioned, choose a mature, healthy culm from late spring to early summer.
- Take Your Cuttings: Using your sharp pruning shears or saw, cut a section of the culm that is about 1 to 2 feet long. You want to include at least two to three nodes (the bumps where the branches and leaves emerge). Make your cuts cleanly.
- Prepare the Cuttings: At each node, carefully remove any existing branches or leaves. If there are any aerial rootlets, leave them be. Using your sharp knife, make shallow, horizontal slits just above each node. This can help expose the cambium layer and encourage rooting.
- Apply Rooting Hormone: Dip the cut ends of your cuttings into your rooting hormone. Tap off any excess.
- Plant Your Cuttings: Insert the cut end of each cutting about 2-3 inches deep into your potting mix. You can plant multiple cuttings in the same pot, spaced a few inches apart.
- Create a Humid Environment: Water the soil gently. Then, cover the pot with a clear plastic bag, making sure the bag doesn’t touch the soil surface or the leaves. You can use stakes to keep the bag propped up. Alternatively, use a propagator with a lid.
The “Secret Sauce” (Pro Tips!)
Here are a few things I’ve learned over the years that can really boost your success:
- Bottom Heat is Your Friend: Especially for stem cuttings, placing your pots on a heat mat designed for propagation can significantly speed up root development. It mimics the warmth of the soil in warmer months and encourages those roots to get going.
- Don’t Be Afraid to Sacrifice a Little: When preparing stem cuttings, if a node looks a bit bruised or damaged, don’t use it. Starting with clean, healthy material is crucial. And for divisions, a damaged culm on an otherwise healthy division is less important than a good chunk of rhizome with viable buds. Sometimes you have to let go of a less-than-perfect part to save the whole.
- The ‘Shake Test’ is Telling: After a few weeks, gently tug on a cutting. If you feel resistance, it’s a good sign roots are forming! Don’t pull too hard, though, you don’t want to dislodge those precious new roots.
Aftercare & Troubleshooting
Once you see signs of new growth or the “shake test” indicates roots, it’s time for gentle care.
- Gradual Acclimatization: If you’ve used a plastic bag or propagator, gradually remove it over a week or two. This allows your new plant to adjust to normal humidity levels.
- Watering: Water your new bamboo when the top inch of soil feels dry. Avoid overwatering, as this is the quickest way to invite problems.
- Light: Keep your new plants in bright, indirect light for the first few weeks. Once they look more established, you can gradually introduce them to more direct sunlight, depending on your climate.
Common Signs of Trouble:
- Yellowing Leaves: This can be a sign of both underwatering and overwatering. Check the soil moisture. If it’s consistently wet, you might have root rot.
- Wilting: While wilting can indicate thirst, in a humid environment, it can also signal root issues. If the soil is moist and the plant is wilting, something more serious might be going on.
- Mushy Stems or Rotting: This is usually a clear indicator of too much moisture and poor drainage. Unfortunately, if the rot has set in deep, it can be hard to save. Ensure your pots have good drainage and your soil mix is airy.
A Little Patience Goes a Long Way
Propagating plants is a journey, and Bambusa spinosa is no exception. There will be times when things don’t go exactly as planned, and that’s okay. Learning from those experiences is part of the joy of gardening. Be patient with your new cuttings, give them the right conditions, and soon you’ll be enjoying the fruits of your labor – quite literally, in the case of bamboo shoots! Happy gardening!
Resource:
https://identify.plantnet.org/k-world-flora/species/Bambusa%20spinosa%20Roxb./data