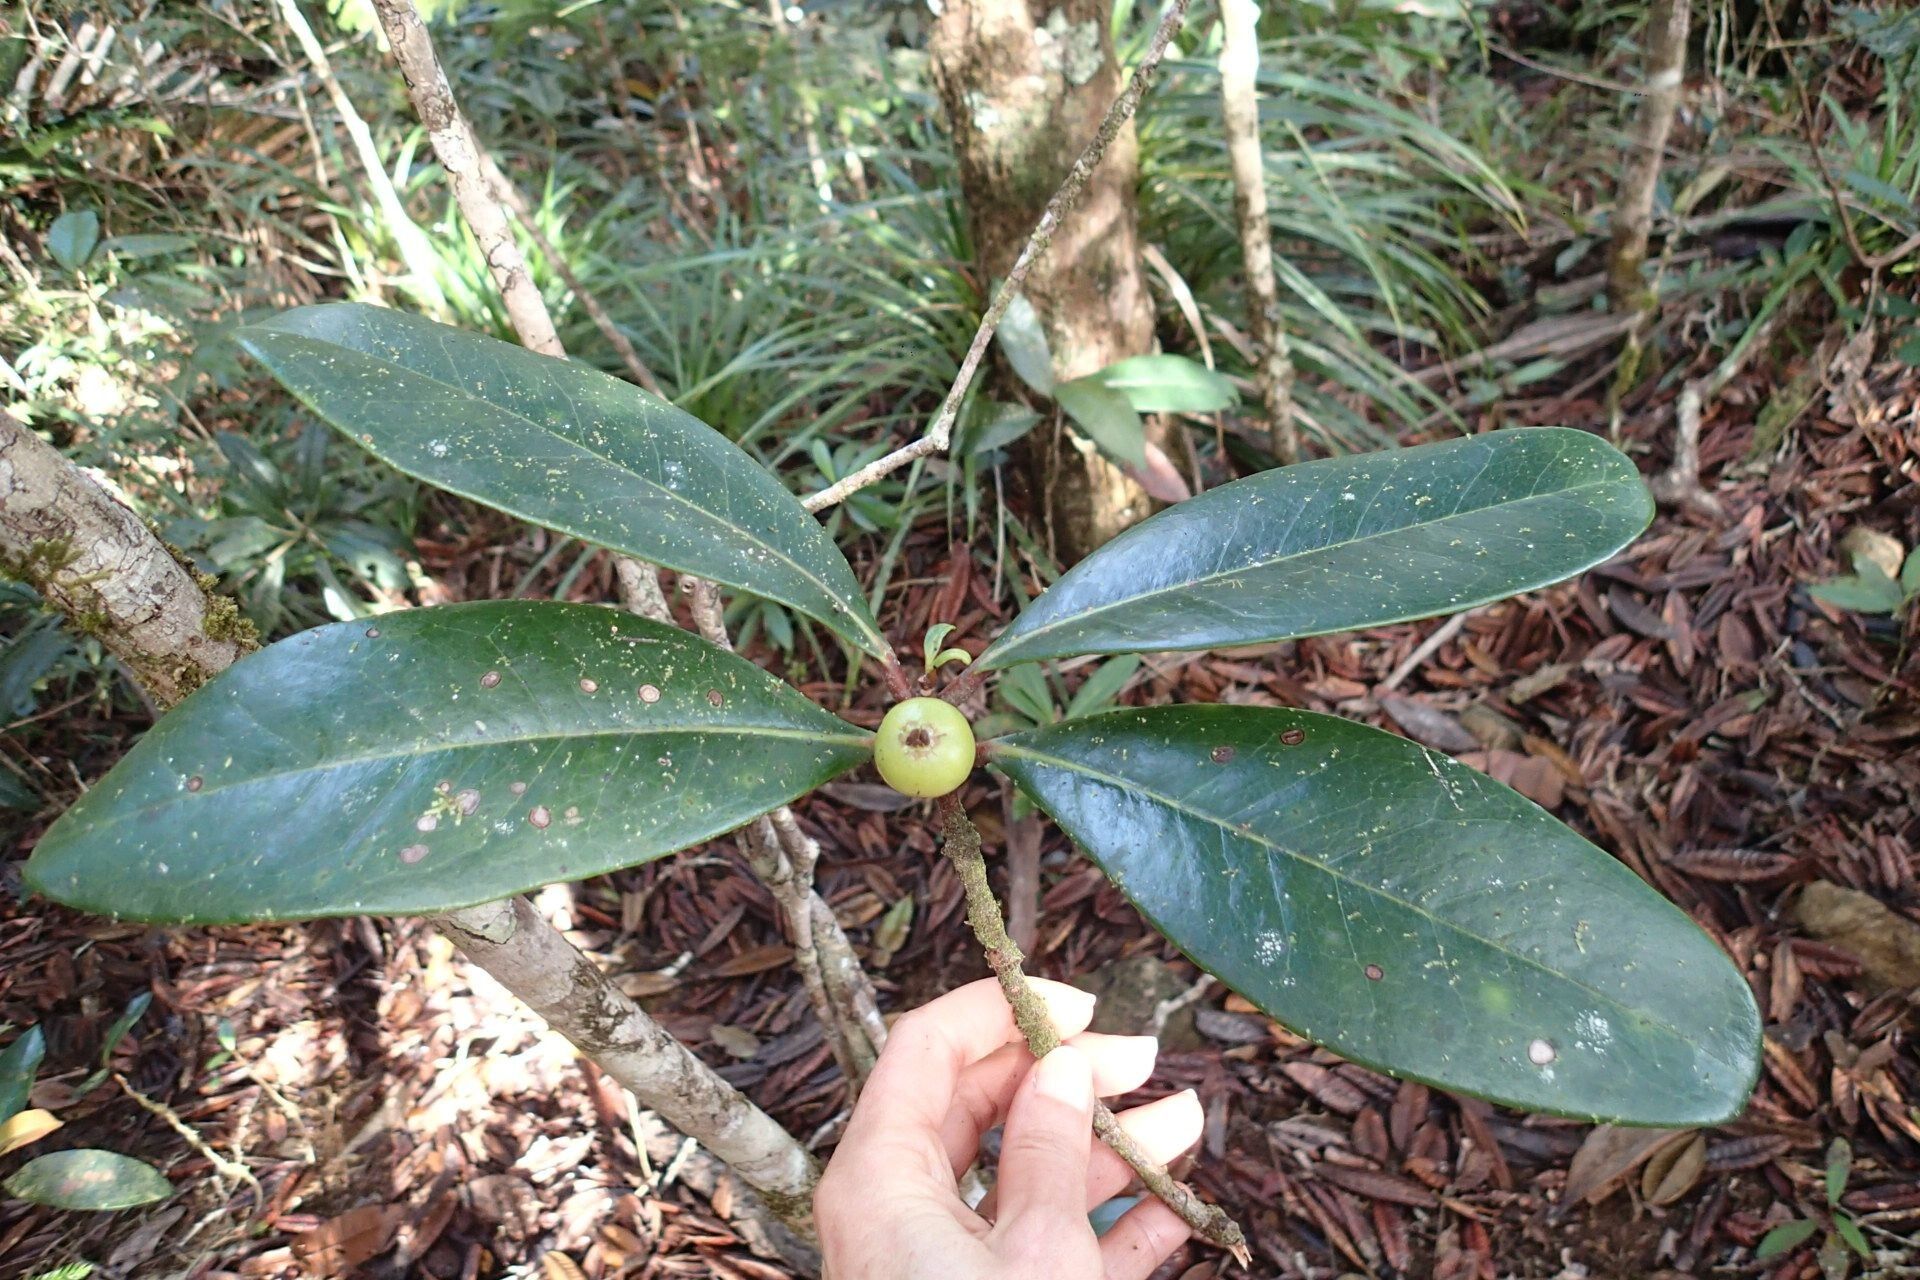
Oh, hello there! Pull up a chair and let’s chat about one of my favorite shrubs: Austrobuxus montis-do. If you’ve ever admired its glossy, emerald foliage and compact habit, you’re not alone. It’s truly a gem for hedges, borders, or even a striking specimen plant. And the best part? You can easily multiply this beauty yourself!
Why Propagate Austrobuxus montis-do?
Honestly, it’s incredibly satisfying to watch a tiny cutting transform into a flourishing plant. It’s also a fantastic way to fill out your garden beds or share the plant love with friends. Now, is it a beginner-friendly plant to propagate? I’d say it’s moderately easy. With a little patience and the right approach, you’ll be well on your way to success.
The Best Time to Start
For the highest success rates, late spring to early summer is your golden window. This is when young, new growth is developing and has plenty of energy to put into rooting. You want to be looking for stems that are flexible but have started to firm up – not the super soft, floppy tips, but not woody, mature branches either. Think of it as semi-hardwood cuttings.
Supplies You’ll Need
Gathering your tools beforehand makes the whole process smoother. Here’s what you’ll want:
- Sharp pruning shears or a clean knife: For making precise cuts.
- Rooting hormone powder or gel: This is a big help, especially for woody plants.
- Clean pots or trays: About 4-inch pots are usually a good size.
- Well-draining potting mix: I like a mix of peat moss, perlite, and a bit of coarse sand. You can also find specific cuttings mixes.
- Plastic bags or a propagator: To create a humid environment.
- Small stakes: To support the plastic bag.
- Watering can with a fine rose: For gentle watering.
Propagation Methods
The most reliable way to propagate Austrobuxus montis-do is through stem cuttings.
- Take Your Cuttings: On a mild day, select healthy stems that are about 4-6 inches long. Make your cut just below a leaf node (where a leaf joins the stem). This is crucial as it’s where the plant has the best chance of forming roots.
- Prepare the Cuttings: Gently remove the lower leaves from about half of the cutting. This prevents them from rotting in the soil or water. If your cutting has any flower buds, snip those off too.
- Apply Rooting Hormone: Dip the cut end of the stem into your rooting hormone, tapping off any excess.
- Pot Them Up: Fill your pots with your prepared, moistened potting mix. Make a small hole in the center of the mix with your finger or a pencil.
- Insert and Firm: Carefully insert the cutting into the hole, making sure the leaf nodes are below the soil line. Gently firm the soil around the base of the cutting to ensure good contact.
- Water Gently: Give the cuttings a light watering to settle the soil.
The “Secret Sauce” (Pro Tips)
Here are a few tricks I’ve learned over the years that can really boost your success:
- The Humid Chamber is Your Friend: Once potted, pop the entire pot into a clear plastic bag, propped up with stakes so the leaves don’t touch the sides. Seal it gently. This creates a mini-greenhouse, keeping humidity high, which is vital for cuttings. Place it in a bright spot, but out of direct, scorching sunlight.
- Bottom Heat Works Wonders: If you have a seedling heat mat, placing your pots on it can significantly speed up root development. It mimics the warmth of spring soil and encourages those roots to put on a spurt. Just ensure the mat isn’t too hot – aim for a gentle warmth.
- Don’t Rush the Potting Up: Resist the urge to pull out your cuttings too soon! It can take several weeks, sometimes even a couple of months, for roots to form. You’ll know they’re ready when you feel a gentle tug and the cutting is firmly anchored, or when you see new leaf growth.
Aftercare & Troubleshooting
Once your cuttings have developed a good root system (you might even see roots peeking out of the drainage holes!), it’s time to transition them to normal conditions. Gradually remove the plastic bag over a few days to acclimate them. Water them when the top inch of soil feels dry. Keep them in a bright, protected spot until they are strong enough to plant out.
The most common issue you might encounter is rot. This is usually a sign of too much moisture and not enough air circulation, or cuttings being taken too late in the season. If you see a cutting turning brown and mushy, sadly, it’s likely beyond saving. Just remove it and try again with fresh material.
Happy Growing!
Propagating Austrobuxus montis-do is a journey, not a race. Be patient, observe your cuttings, and celebrate every small sign of progress. The rewards of creating new life from a simple stem are truly immense. Happy gardening!
Resource:
https://identify.plantnet.org/k-world-flora/species/Austrobuxus%20montis-do%20Airy%20Shaw/data