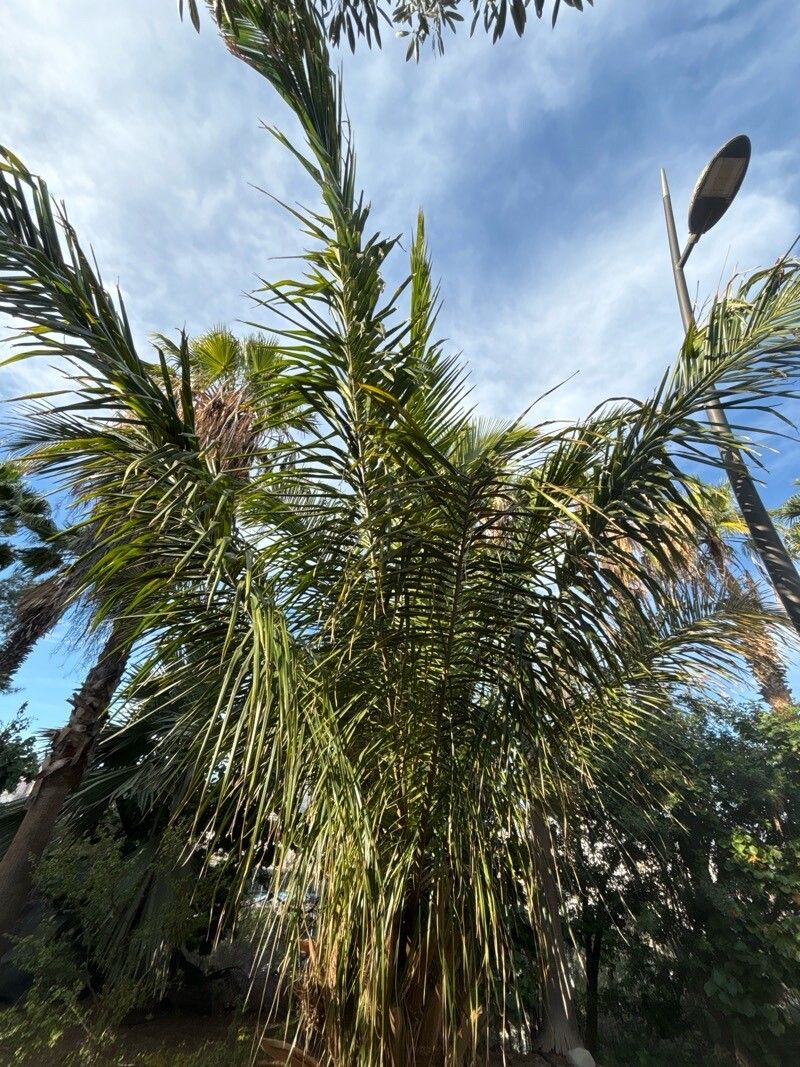
Oh, hello there! Come on in and grab a mug. Today, we’re diving into the wonderful world of Attalea phalerata, also known as the Bacuri palm. If you’ve ever seen one of these beauties gracing a garden, you know that striking silhouette, those elegant, arching fronds. They bring such a tropical vibe, don’t they? And the best part? You can bring that magic into your own space by propagating them. Now, I won’t sugarcoat it – Attalea phalerata isn’t the easiest plant for a complete beginner to propagate. It takes a bit of patience and the right approach. But that just makes the success all the more satisfying, wouldn’t you agree?
The Best Time to Start
For Attalea phalerata, the sweet spot for propagation is during its active growing season. Think late spring through summer. The warmer temperatures and longer daylight hours really give your new plant babies the energy they need to establish themselves. Trying to propagate when it’s cold or the plant is semi-dormant is like asking someone to run a marathon on an empty stomach – not ideal for success!
Supplies You’ll Need
Gathering your supplies before you begin makes the whole process so much smoother. Here’s what I usually have on hand:
- Sharp, sterile pruning shears or a clean knife: For making clean cuts.
- Rooting hormone powder (optional but recommended): Helps encourage root development.
- Well-draining potting mix: A blend of perlite, peat moss, and coir works wonderfully. You want something airy that won’t hold too much moisture.
- Small pots or propagation trays: With drainage holes, naturally!
- Plastic bags or a clear propagating dome: To create a humid environment.
- Misting bottle: For keeping things nicely moist.
- Gloves: Always a good idea when working with plants.
Propagation Methods
While Attalea phalerata can be a bit finicky, the most reliable method for home propagation is through seeds. This palm produces large, round fruits, and inside those are the seeds.
Seed Propagation (The Most Reliable Way):
- Harvesting the Seeds: If you have access to a mature Attalea phalerata, wait until the fruits are ripe. They’ll typically turn a yellowish-orange or dark brown. Gently remove the seeds from the pulp. You’ll want to wash them thoroughly to remove any lingering fruit matter, which can encourage rot.
- Stratification (Optional but helpful): Some gardeners find that a period of cold stratification can improve germination rates. If you want to try this, place the cleaned seeds in a sealed plastic bag with some lightly moist peat moss or vermiculite and store them in the refrigerator for about 4-8 weeks.
- Sowing the Seeds: Fill your pots or trays with your well-draining potting mix. Make a small indentation in the soil for each seed. Plant the seeds about half an inch deep. You can plant them pointy-end up if you can discern that, but it’s not strictly necessary.
- Watering and Covering: Water the soil until it’s consistently moist but not waterlogged. Then, cover the pots or trays with a plastic bag or a clear propagating dome to maintain high humidity.
- Placement and Temperature: Place the pots in a warm location, ideally with temperatures between 75-85°F (24-29°C). A heating mat can be a game-changer here.
- Patience is Key: This is where the “patience” part really comes in. Attalea phalerata seeds can take anywhere from six months to over a year to germinate. Keep the soil consistently moist and the humidity high.
The “Secret Sauce” (Pro Tips)
I’ve learned a few tricks over the years that often make a difference:
- Don’t Scrape the Seed Coat: Unlike some other seeds, I avoid scarifying or nicking the seed coat of Attalea phalerata. Too much damage can invite diseases. Just give them a good clean!
- Bottom Heat is Your Friend: Seriously, that consistent warmth from a seedling heat mat makes a world of difference. It mimics the tropical conditions these seeds crave to kick off germination.
- Air Circulation is Crucial (Once Seedlings Emerge): As soon as you see those first tiny sprouts, crack open the lid or the plastic bag just a little bit each day. This prevents damping off – a common fungal disease that can wipe out seedlings.
Aftercare & Troubleshooting
Once your little Attalea phalerata seedling emerges, it’s an exciting moment! Continue to keep the soil consistently moist and maintain high humidity. As the seedling grows and develops its true fronds, you can gradually reduce the humidity. When the seedlings are large enough to handle and have a few developed leaves, you can transplant them into individual pots. Use that same well-draining mix.
Now, for troubleshooting. The most common sign of problems is rot. If you see mushy stems or roots, it’s almost always a sign of overwatering and poor drainage. If you notice mold or fuzzy growth, increase airflow and gently remove any affected parts. Be vigilant about pests too; whiteflies can sometimes be an issue on young palms. A good insecticidal soap can usually take care of them.
A Encouraging Closing
Propagating Attalea phalerata is a journey, not a race. It requires a commitment to providing the right environment and a healthy dose of patience. But imagine the joy of nurturing one of these magnificent palms from a tiny seed to a thriving plant in your garden. It’s truly a rewarding experience. So, gather your supplies, embrace the quiet anticipation, and enjoy the process. Happy growing!
Resource:
https://identify.plantnet.org/k-world-flora/species/Attalea%20phalerata%20Mart.%20ex%20Spreng./data