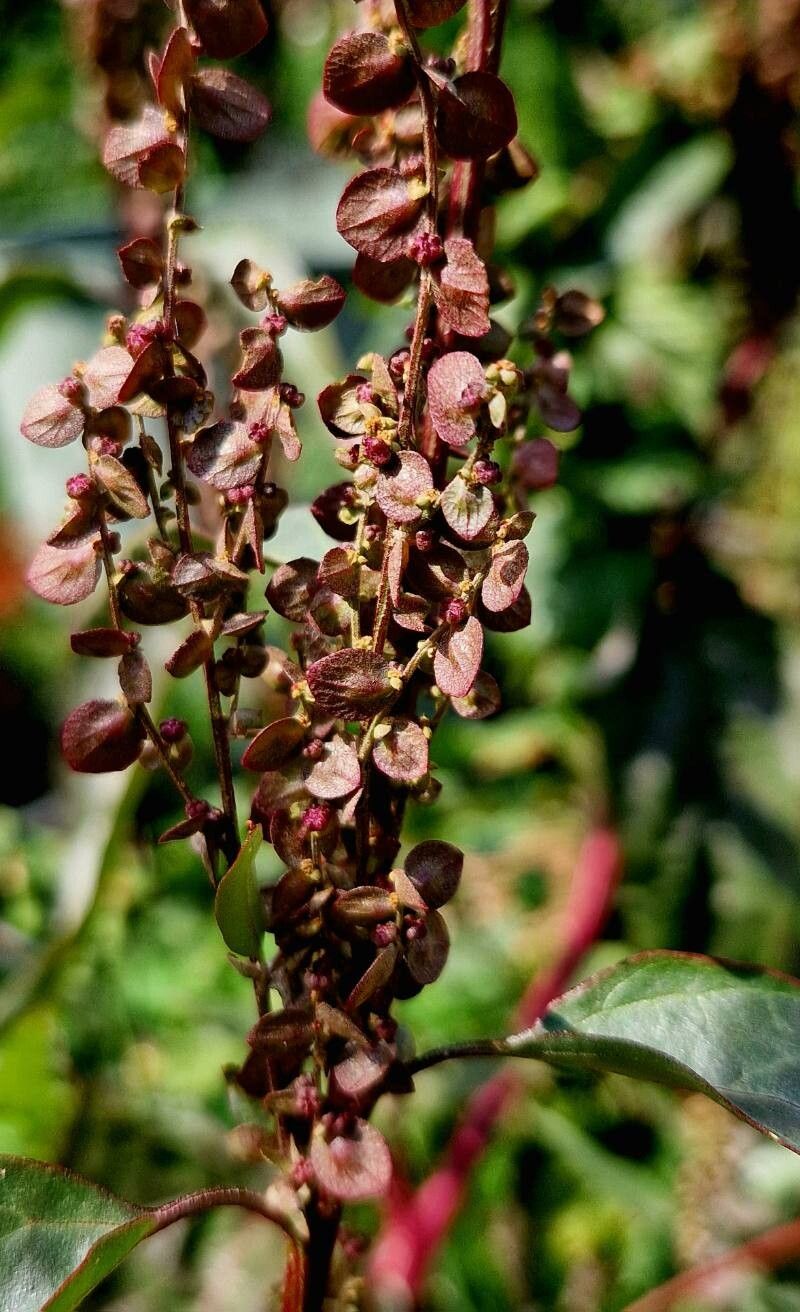
Hello, fellow garden enthusiasts! Today, we’re diving into the wonderful world of Atriplex hortensis, often called Mountain Spinach or Orach. If you’re looking for a leafy green that’s not only nutritious but also adds a splash of color to your garden – think ruby reds and vibrant greens – then Orach is your plant. It’s a fantastic, fast-growing annual that can be harvested right up until frost. And the best part? It’s wonderfully easy to propagate, making it a joy for beginners and seasoned gardeners alike to share and expand their harvests.
The Best Time to Start
For the highest success rates with Atriplex hortensis, I find spring and early summer to be your best bet. You’re looking for actively growing plants, ideally from fresh cuttings taken when the weather is warming up but before the real heat of summer sets in. This gives your new plants ample time to establish themselves before days get too long or intense.
Supplies You’ll Need
Here’s a little toolkit to get you started:
- A clean, sharp pair of pruners or scissors.
- Rooting hormone powder (optional, but it can give a little boost).
- A well-draining seed-starting mix or a blend of perlite and peat moss.
- Small pots or trays with drainage holes.
- A clear plastic bag or propagation dome to create a humid environment.
- A spray bottle filled with water.
Propagation Methods
Orach is quite obliging, and I’ve had great luck with a couple of methods.
Stem Cuttings
This is my go-to for Orach. It’s quick and effective.
- Take Your Cuttings: On a clear morning, select healthy, non-flowering stems from a mature Orach plant. Aim for cuttings about 4-6 inches long.
- Prepare the Cuttings: Using your sharp pruners, make a clean cut just below a leaf node (where a leaf attaches to the stem). Remove the lower leaves, leaving just two to four sets at the top. This prevents them from rotting in the soil.
- Apply Rooting Hormone (Optional): If you’re using rooting hormone, dip the cut end of each stem into the powder, tapping off any excess.
- Plant the Cuttings: Fill your small pots with the prepared potting mix. Make a hole with your finger or a pencil and gently insert the base of each cutting. Firm the soil gently around the stem.
- Water and Cover: Water the soil thoroughly until it’s evenly moist but not waterlogged. Then, place the pots inside a clear plastic bag or cover them with a propagation dome. This traps humidity, which is crucial for root development.
Water Propagation
This method is wonderfully visual and satisfying.
- Prepare the Cuttings: Similar to the stem cuttings method, take 4-6 inch healthy stem sections. Remove all but the top 2-4 leaves.
- Place in Water: Find a clean jar or glass and fill it with fresh water. Place the prepared cuttings in the water, ensuring that the leaf nodes are submerged but the remaining leaves are above the waterline.
- Find a Bright Spot: Set the jar in a brightly lit location, but out of direct, harsh sunlight.
- Change Water Regularly: Change the water every 2-3 days to keep it fresh and oxygenated, and to prevent any bacterial growth.
The “Secret Sauce” (Pro Tips)
Here are a few little tricks I’ve picked up over the years that really help:
- Don’t Let Those Leaves Touch the Water: If you’re water propagating, this is non-negotiable! Leaves submerged in water will quickly rot and can take down your whole cutting with them. Keep them clean and dry.
- Bottom Heat is a Game Changer: While Orach is pretty forgiving, placing your pots on a gentle heat mat can significantly speed up root formation, especially if your space is a little cooler. It mimics the warmth of spring soil beautifully.
- Mist, Don’t Drench: When using the plastic bag or dome method for stem cuttings, it’s better to mist the inside of the bag or dome lightly every few days if the condensation seems to be fading, rather than drenching the soil again. Too much moisture can lead to rot.
Aftercare & Troubleshooting
Once you see new leaf growth or roots emerging from the bottom of the pot or the cutting in water, you’re almost there!
- For Cuttings in Soil: Gradually acclimate your new plants to the open air by opening the plastic bag or dome for increasing periods each day over a week. Once they’re sturdy, you can transplant them into their own pots or directly into the garden. Continue to keep the soil consistently moist.
- For Cuttings in Water: Once you have a good network of roots, usually an inch or two long, it’s time to pot them up. Use a well-draining potting mix and water them in gently.
- Troubleshooting: The most common issue you’ll face is rot. If a cutting turns black and mushy, or develops fuzzy white mold, it’s usually a sign of too much moisture and poor air circulation. Discard it and try again, being sure to sterilize your tools and use less water next time. Leggy, weak growth can indicate insufficient light.
And there you have it! It’s so rewarding to take a simple stem and watch it transform into a whole new plant. Be patient with your cuttings – sometimes it takes a few weeks to see those first signs of life. The joy of successfully propagating your own Orach is a special kind of garden magic. Happy growing!
Resource:
https://identify.plantnet.org/k-world-flora/species/Atriplex%20hortensis%20L./data