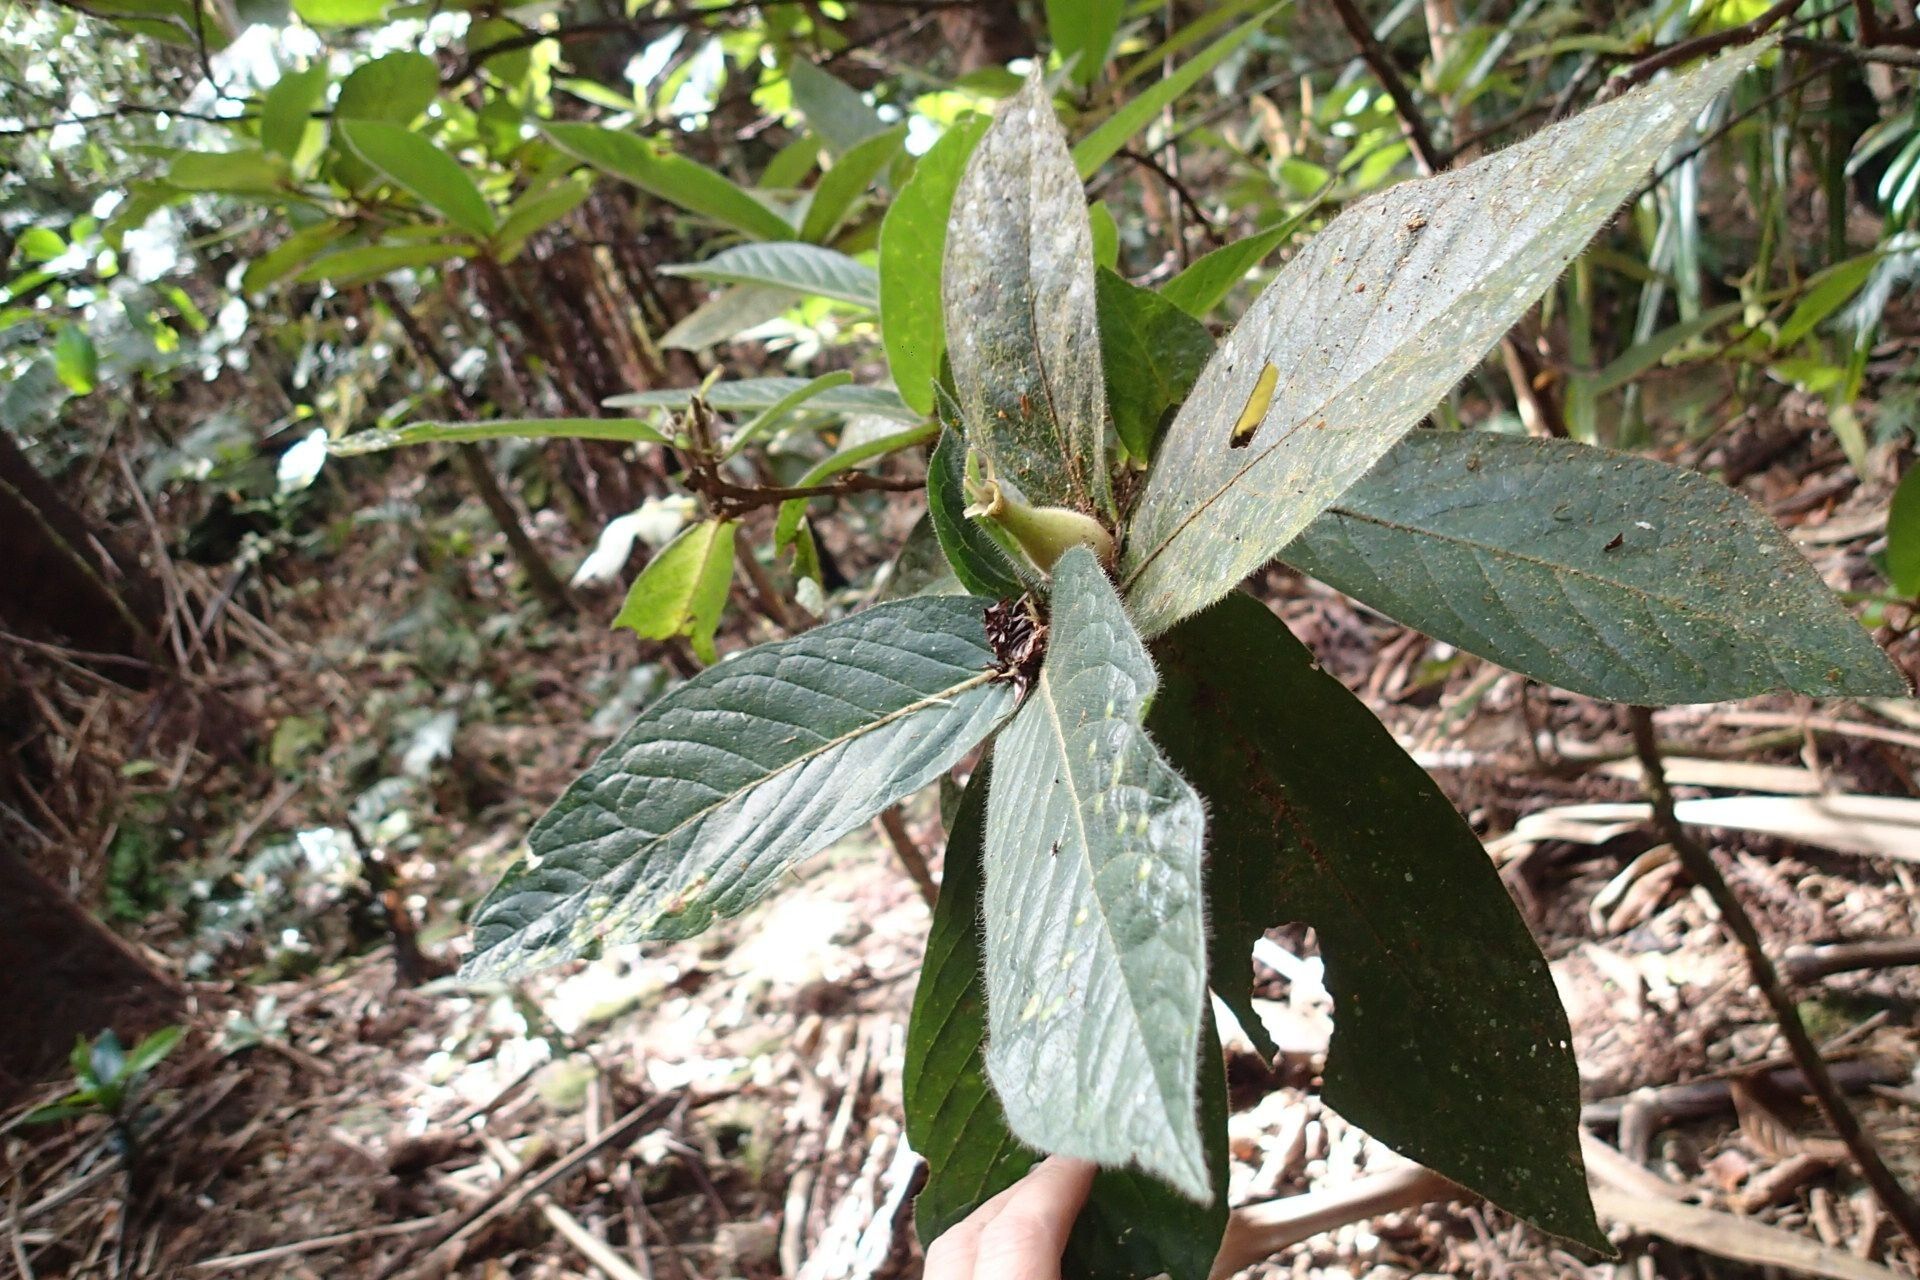
Oh, hello there! Come on in, pull up a chair. Let’s chat about a truly special plant: Atractocarpus mollis. You know, the one with those gorgeous, fragrant white flowers that smell like heaven in the evening? It’s a bit of a show-stopper, really. And the best part? You can easily multiply this beauty yourself! It’s incredibly rewarding to see those tiny beginnings grow into something substantial. Now, for beginners, I’d say Atractocarpus mollis is moderately easy to propagate. It’s not quite as foolproof as a pothos, but with a little attention, you’ll be celebrating success in no time.
The Best Time to Start
For the highest success rate, I always recommend working with Atractocarpus mollis during its active growing season. This typically means late spring through summer. The plant is full of vigor then, pushing out new growth which is exactly what we want for cuttings. You’re looking for those soft, non-woody new shoots that are just starting to mature a little – not the brand-new, bright green, floppy tips, but slightly firmer ones.
Supplies You’ll Need
Gathering your tools beforehand makes the whole process smoother. Here’s what I always have on hand:
- Sterilized pruning shears or a sharp knife: Clean tools are crucial to prevent disease.
- Potting mix: A well-draining mix is key! I often use a blend of good quality potting soil mixed with perlite or orchid bark. You want it to be airy.
- Small pots or trays: Anything that can hold your cuttings and keep the humidity up.
- Rooting hormone (optional but recommended): A powder or gel can give your cuttings a helpful boost.
- Plastic bags or a propagator: To create a humid environment.
- Water: For keeping things moist.
- Labels: So you don’t forget what you planted!
Propagation Methods
I find stem cuttings are the most reliable way to go with Atractocarpus mollis. Let me walk you through it.
Stem Cuttings:
- Select your cuttings: Find those slightly mature, new shoots I mentioned. You want pieces that are about 4-6 inches long.
- Make the cut: Using your sterilized shears, make a clean cut just below a leaf node (where a leaf attaches to the stem). This is where new roots are most likely to form.
- Prepare the cutting: Gently remove the lower leaves, leaving just a few at the top. This prevents them from rotting in the soil or water.
- Apply rooting hormone (if using): Dip the cut end of the stem into your rooting hormone, tapping off any excess.
- Potting: Fill your small pots with your prepared, moist potting mix. Make a small hole with your finger or a pencil.
- Insert the cutting: Gently push the cut end of the stem into the hole, ensuring the leaf nodes are buried. Firm the soil gently around it.
- Water and cover: Water thoroughly until you see it drain from the bottom. Then, cover the pot with a clear plastic bag, or place it inside a propagator. Make sure the leaves don’t touch the plastic. You can prop up the bag with a skewer if needed.
- Location, location, location: Place your pots in a bright spot, but out of direct sunlight. Too much sun will scorch your precious cuttings.
The “Secret Sauce” (Pro Tips)
After years of tinkering, a few little tricks always seem to make a difference:
- Bottom Heat: This is a game-changer, especially if your propagation attempts are happening in cooler periods. Placing your pots on a heat mat designed for plants can significantly speed up root development. It mimics the warmth of spring soil and really encourages those roots to get going.
- Patience with the Leaves: Sometimes, if you’re water propagating (which I sometimes do for Atractocarpus mollis to see root development, although potting directly is often more successful long-term), you’ll be tempted to let leaves dip into the water. Resist this urge! Any submerged leaves are a prime spot for rot. Keep them high and dry, even if it means trimming them back further.
- Don’t Overwater: It’s so tempting to keep things perpetually soggy, but soggy means rot. Aim for consistently moist, not waterlogged, soil. Check the moisture level by gently poking your finger into the soil or lifting the pot to feel its weight.
Aftercare & Troubleshooting
Once you start seeing new growth emerging from your cuttings – a tiny leaf unfurling or a slight plumpness at the base – that’s a good sign your roots are forming. Keep the humidity high for a little longer, gradually introducing it to slightly less humid air over a week or two.
The most common issue you’ll run into is rot. If your cutting turns black and mushy, or the leaves start dropping off dramatically, it’s likely the result of too much moisture and not enough air circulation. If you catch rot early, you might be able to trim away the affected part, but often, it means it’s time to start again with fresh cuttings. Another sign of failure is if the cutting just stays limp and doesn’t show any signs of life after several weeks.
A Encouraging Closing
So there you have it! Propagating Atractocarpus mollis is a journey, and like any gardening endeavor, it’s a wonderful way to connect with nature and learn. Be patient with yourself and your little plant babies. Sometimes they take their time, and sometimes they surprise you! Just enjoy the process, and soon you’ll be rewarded with even more of those beautiful, fragrant blooms. Happy propagating!
Resource:
https://identify.plantnet.org/k-world-flora/species/Atractocarpus%20mollis%20(Schltr.)%20Mouly/data