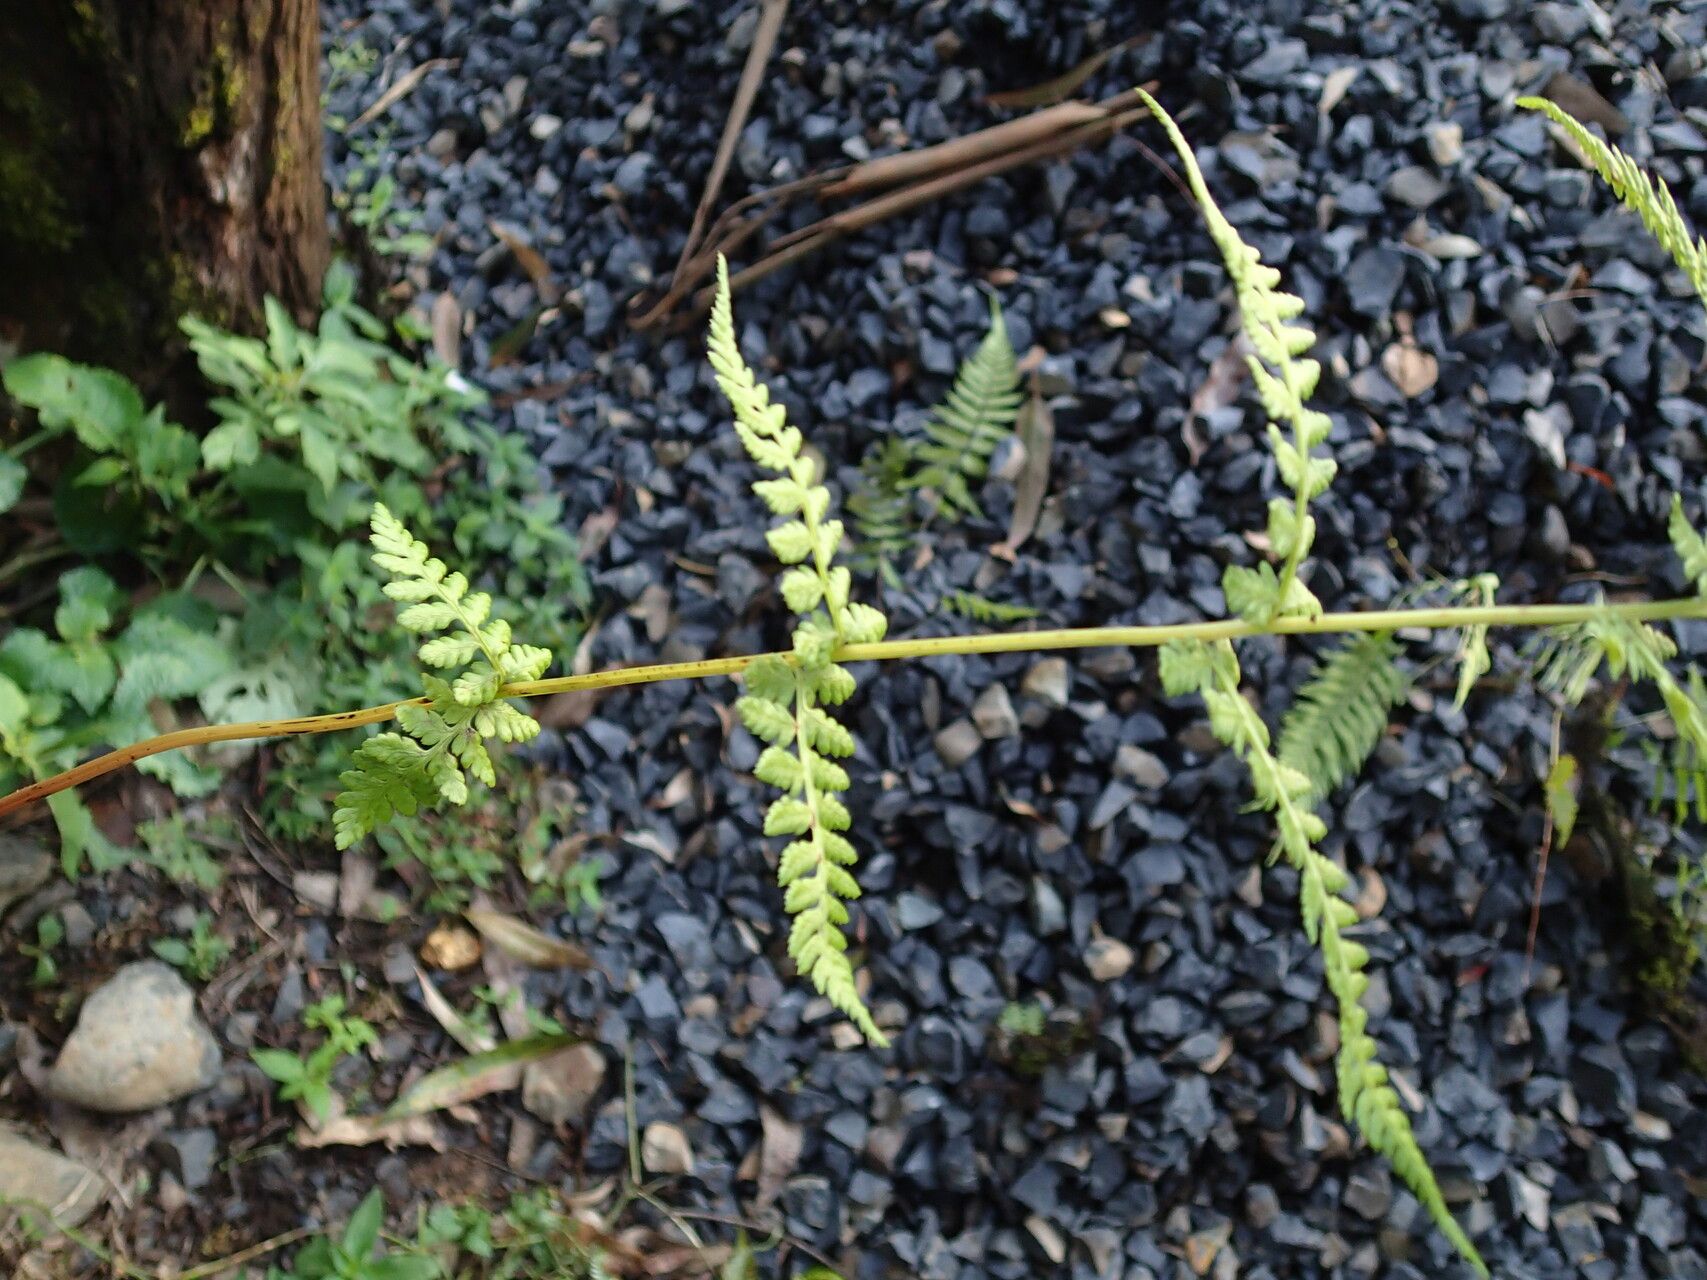
Oh, Athyrium schimperi! If you’ve ever spotted this magnificent fern gracing a dappled woodland floor or adorning a shady corner of your garden, you’ve likely been captivated by its elegance. Those delicate, almost lacy fronds have a magical way of softening any landscape. And the best part? You can experience that magic grow and multiply right in your own home. Propagating your own Athyrium schimperi is incredibly rewarding, giving you a deeper connection to your plants and the satisfaction of nurturing new life. Now, I won’t sugarcoat it – ferns can sometimes be a bit particular. But with a little patience and the right approach, I think even beginners can find success with this beauty.
The Best Time to Start
When it comes to coaxing new life from your established Athyrium schimperi, spring is your golden ticket. As the days begin to lengthen and the plant itself is gearing up for its most vigorous growth spurt, it’s the perfect time to get started. Look for healthy, actively growing fronds. You want to work with a plant that’s full of life, not one that’s stressed or dormant.
Supplies You’ll Need
Gathering your tools before you begin will make the whole process much smoother. Here’s what I usually have on hand:
- Sharp, clean pruning shears or a sharp knife: Essential for making clean cuts.
- Potting mix: A well-draining mix is absolutely crucial. I like a blend of peat moss, perlite, and a bit of compost for good aeration.
- Small pots or trays: Clean containers are a must to prevent disease.
- Perlite or vermiculite: Helps with drainage and aeration.
- Rooting hormone (optional but helpful): A dipping powder or gel can encourage faster root development.
- Clear plastic bags or a propagation dome: To create a humid environment.
- Spray bottle: For gentle misting.
- Watering can: For careful watering.
Propagation Methods
For Athyrium schimperi, division is the most tried-and-true method for reliable results. While stem cuttings can be attempted, they are often more challenging with ferns, and success can be hit or miss. Let’s focus on division.
Division: Welcoming New Fernlets
This is essentially taking your mature fern and gently separating it into smaller, equally vigorous pieces.
- Gently remove the fern from its pot or carefully dig it up from your garden bed in the spring. You want to disturb the roots as little as possible.
- Inspect the root ball. You’ll be looking for natural divisions where the plant has already started to branch out.
- Using your hands (my preferred method for a gentle touch) or a clean knife, carefully separate the root ball. Try to pull or cut so that each new division has intact roots and at least one healthy frond. Don’t be afraid to tease apart the roots with your fingers.
- Pot up each division. Use your well-draining potting mix. Plant each division at the same depth it was originally growing.
- Water thoroughly. Make sure the soil is evenly moist but not waterlogged.
- Create a humid environment. Cover the pots with clear plastic bags, making sure the plastic doesn’t touch the fronds too much, or use a propagation dome. Place them in a bright spot that doesn’t get direct sunlight. You want that dappled light your fern loves.
The “Secret Sauce”
Here are a couple of things I’ve learned over the years that can make a real difference:
- Root disturbance is okay, but brutal damage isn’t. When you’re dividing, think of it like gently untangling a ball of yarn. You want to separate the strands without snapping them. If a few fine roots break, it’s not the end of the world, but try to keep the main root masses intact.
- Don’t let those beautiful fronds sit in stagnant water. If you’re using a plastic bag for humidity, try to prop it up a bit so it doesn’t mush against the leaves. Moisture clinging to the fronds for too long can invite fungal issues. A gentle misting now and then is usually all they need.
Aftercare & Troubleshooting
Once your new divisions are potted up, the key is consistent, but not excessive, care.
- Maintain humidity. Keep them covered for the first few weeks until you see signs of new growth.
- Water carefully. Water only when the top inch of soil feels dry to the touch. It’s better to underwater slightly than to overwater, especially with ferns.
- Provide bright, indirect light. Avoid direct sun at all costs, as it will scorch those delicate fronds.
Signs of trouble can include yellowing fronds, wilting, or a mushy base. These often point to overwatering or poor drainage. If you see signs of rot, act quickly. You might need to remove the affected part, ensure better airflow, and let the soil dry out a bit more. If a division looks severely wilted but the roots seem okay, give it time and maintain humidity. Sometimes it takes a while for them to re-establish.
A Encouraging Closing
See? It’s not so daunting when you break it down. Watching those new fronds unfurl on your propagated Athyrium schimperi is such a thrill. Be patient with your new plants, give them a little extra TLC, and enjoy the fascinating process of growth. Happy gardening, friends!
Resource:
https://identify.plantnet.org/k-world-flora/species/Athyrium%20schimperi%20Moug.%20ex%20Fée/data