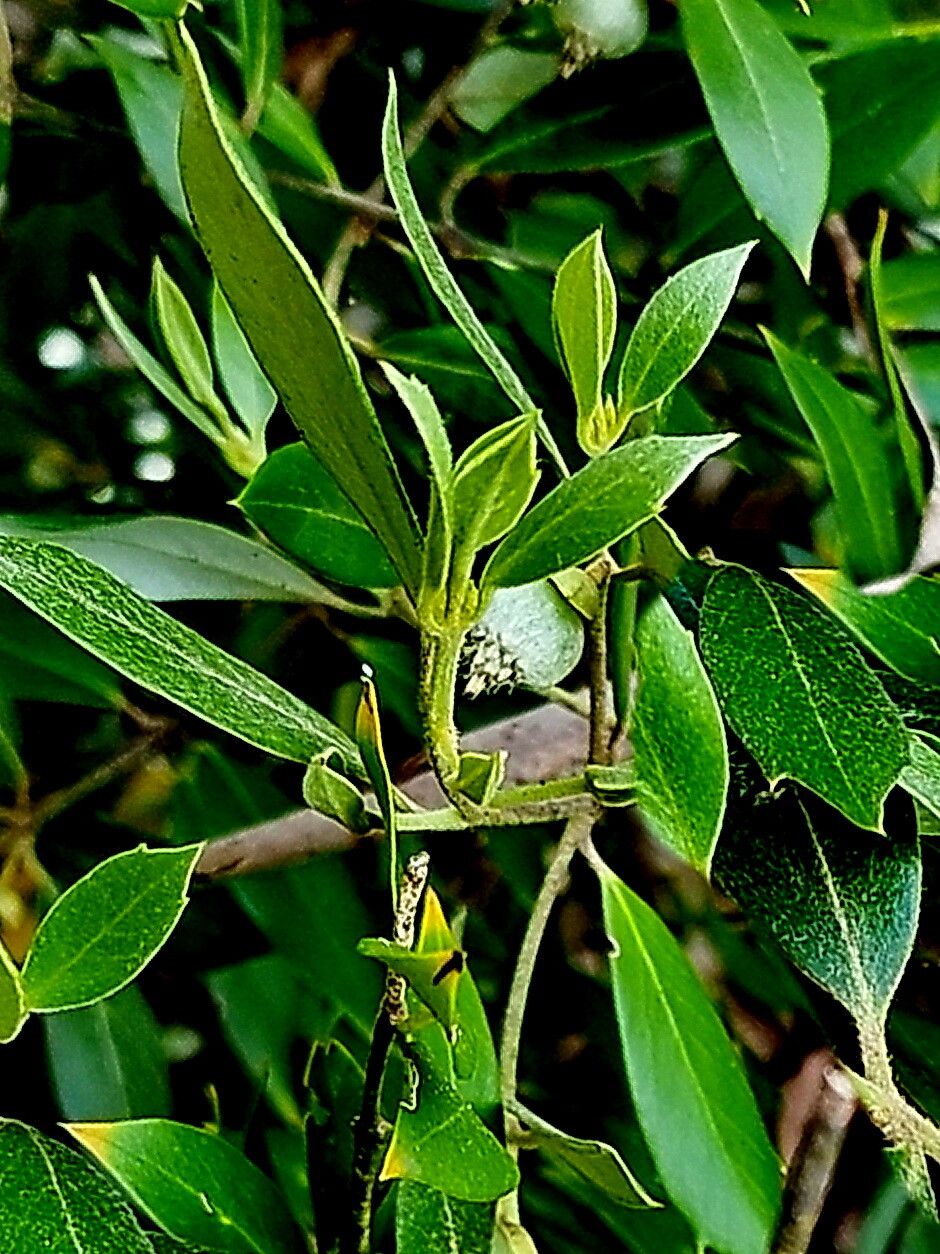
Oh, hello there! Come on in and grab a mug. Let’s chat about Atherosperma moschatum, also known as the Southern Sassafras or, in my neck of the woods, the Native Nutmeg. Isn’t she a beauty? I find her glossy, deeply lobed leaves and delicate white flowers utterly captivating. And the scent! A warm, spicy whisper that truly earns her nutmeg moniker. Propagating this tree is a wonderfully rewarding endeavor, a chance to multiply that charm and share it with others. Now, I won’t lie to you; Atherosperma moschatum can be a bit of a slow starter when it comes to propagation, so while not impossible for beginners, a little patience and the right approach will make all the difference.
The Best Time to Start
For the highest success rate with Atherosperma moschatum, I always lean towards late spring or early summer. This is when the plant is actively growing, and the new shoots are usually more vigorous and receptive to rooting. You’re looking for semi-hardwood cuttings, meaning they’re no longer floppy and soft like a brand-new shoot, but haven’t quite hardened off into old wood either. They should snap cleanly when bent, rather than just fold over.
Supplies You’ll Need
Gathering your tools beforehand makes the whole process much smoother. Here’s what I typically have on hand:
- Sharp, clean pruning shears or a sharp knife: For making clean cuts. Sterilize them with rubbing alcohol between uses!
- Rooting hormone: A powder or gel will do. It really gives your cuttings an encouraging boost.
- A well-draining potting mix: I like a blend of equal parts peat moss or coco coir, perlite, and coarse sand. Avoid heavy garden soil.
- Small pots or propagation trays: Make sure they have drainage holes.
- Clear plastic bags or a propagation dome: To create a humid microclimate.
- A watering can with a fine rose attachment: For gentle watering.
- Labels and a marker: To keep track of what you’ve planted and when.
Propagation Methods
While Atherosperma moschatum isn’t the easiest plant to propagate from seed, propagating from stem cuttings is usually my go-to.
- Take Your Cuttings: Using your clean shears, take cuttings that are about 4-6 inches long. Make your cut just below a leaf node (where a leaf attaches to the stem). Remove the lower leaves, leaving just a couple at the top.
- Dip in Rooting Hormone: Moisten the cut end of the stem and then dip it into your rooting hormone, tapping off any excess.
- Plant Your Cuttings: Fill your pots with your prepared potting mix. Make a hole with a pencil or your finger, then gently insert the cutting, ensuring the rooting hormone-coated end is well-covered by the soil. Firm the soil gently around the stem.
- Water Gently: Water thoroughly until the soil is consistently moist but not waterlogged.
- Create Humidity: Cover the pots with a clear plastic bag, securing it around the rim with a rubber band, or place them under a propagation dome. This will trap humidity, which is crucial for cuttings.
- Provide Light and Warmth: Place your pots in a bright spot out of direct sunlight. A little bottom heat from a heat mat can significantly speed up root development, though it’s not strictly essential.
The “Secret Sauce”
Here are a few little tricks I’ve learned over the years that can really boost your chances:
- First, don’t be tempted to overwater. While humidity is key, soggy soil is the fastest way to invite rot. Let the surface of the soil feel slightly dry before watering again. It’s better to err on the side of slightly too dry than too wet.
- Secondly, when you’re creating that humid environment, make sure the leaves of your cuttings aren’t constantly touching the sides of the plastic bag or dome. This can also encourage fungal diseases. If they are, try supporting them with a small stake or adjusting the cover.
- And for Atherosperma moschatum specifically, I’ve found that using a slightly coarser mix with more perlite and sand really helps aeration and prevents that dreaded sogginess. It gives the roots room to breathe and develop.
Aftercare & Troubleshooting
Once you start to see new leaf growth, that’s a good sign! It means your cutting is likely developing roots. Gently tugging on the cutting will reveal resistance if roots have formed. Once you have a decent root system (this can take anywhere from a few weeks to a couple of months), you can slowly acclimate your new plant to drier air by gradually opening the plastic bag or dome over several days. Continue to water consistently, allowing the top inch of soil to dry out between waterings.
The most common sign of failure is wilting and browning of the leaves, eventually leading to the stem turning mushy and black. This is usually a sign of rot, typically caused by overwatering or poor drainage. If you see this, unfortunately, it’s usually too late. Another sign is simply no progress – no new growth and no root development after a significant amount of time. This can sometimes be due to the cutting being too old or too young, or insufficient humidity or warmth.
A Encouraging Closing
So, there you have it! Propagating Atherosperma moschatum is a journey, one that requires a bit of patience and keen observation. But the reward of nurturing a new life from a simple cutting is truly immense. Don’t be discouraged if your first few attempts aren’t a runaway success. Every gardener learns through doing, and each plant is a lesson. Just be patient, enjoy the process of gardening, and soon you’ll have another beautiful Southern Sassafras to admire. Happy propagating!
Resource:
https://identify.plantnet.org/k-world-flora/species/Atherosperma%20moschatum%20Labill./data