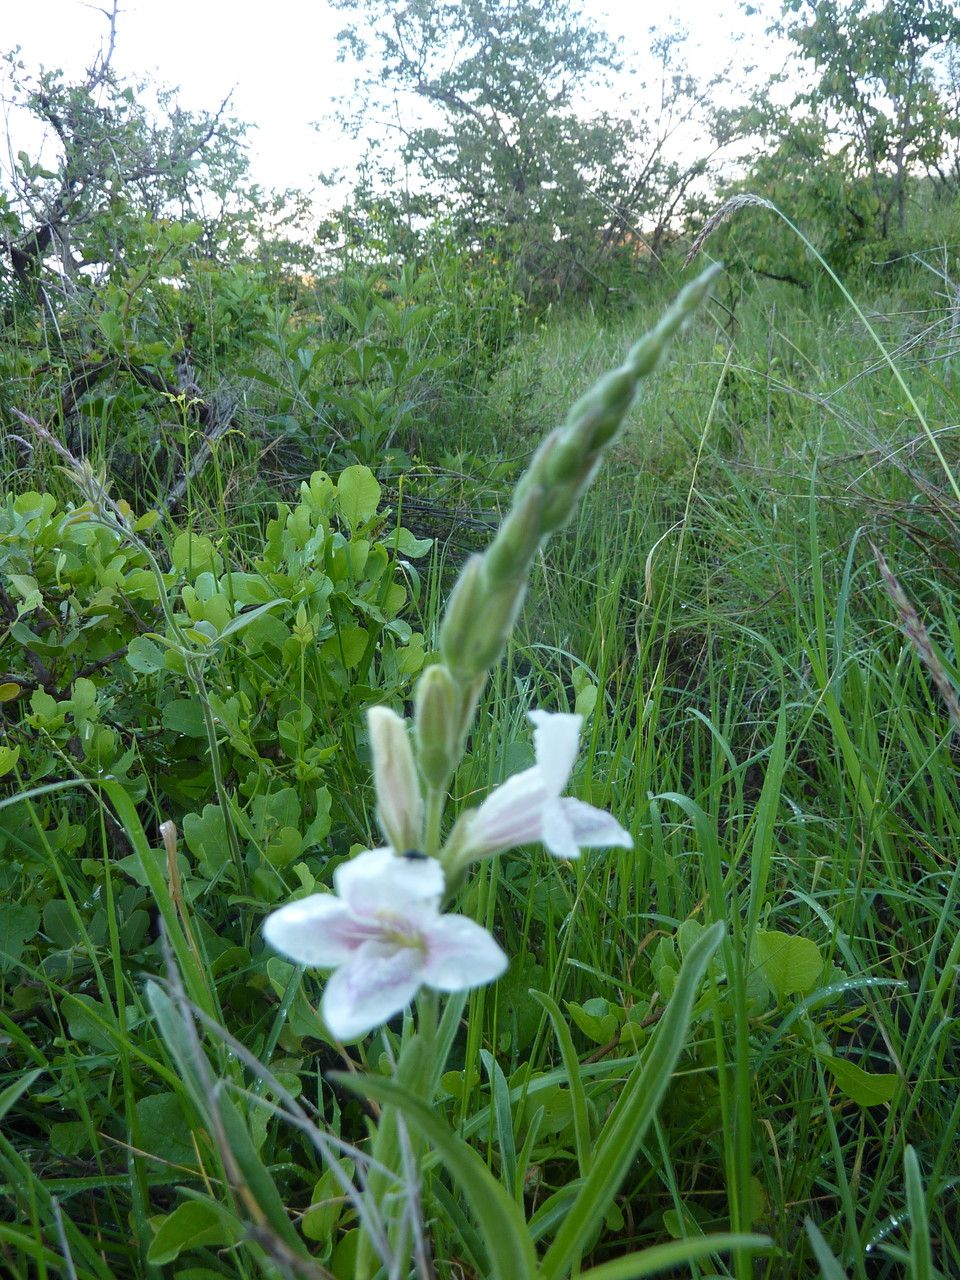
Hello, fellow plant enthusiasts! It’s so lovely to have you here. Today, we’re diving into the wonderful world of propagating Asystasia gangetica, often known by its common name, Chinese Violet or just Asystasia. If you’re looking for a vibrant, low-maintenance groundcover or an eye-catching trailer for your hanging baskets, this is the plant for you. Its beautiful lavender-pink to white trumpet-shaped flowers bloom almost non-stop, bringing so much joy and color to the garden. And the best part? It’s incredibly rewarding and surprisingly easy to multiply! You’ll be sharing these beauties with friends in no time. Don’t worry if you’re new to propagation; Asystasia is a fantastic plant to start your journey with.
The Best Time to Start
My favorite time to get busy with propagation is during spring and early summer. This is when the plant is in its most vigorous growth phase. The warmer temperatures and longer days provide the energy needed for cuttings to root quickly. While you can propagate Asystasia at other times, you’ll likely see the best, fastest results when you catch it at the peak of its growing season.
Supplies You’ll Need
Gathering your supplies beforehand makes the whole process so much smoother. Here’s what you’ll want to have on hand:
- Sharp Pruning Shears or a Knife: Clean tools are crucial to prevent disease.
- Rooting Hormone (Optional but Recommended): This isn’t strictly necessary for Asystasia as it roots easily, but it can give cuttings a significant boost.
- Potting Mix: A well-draining mix is key. I like to use a blend of equal parts peat moss or coco coir and perlite or coarse sand. You can also buy a good quality seedling or cutting mix.
- Small Pots or Seedling Trays: Ensure they have drainage holes.
- Clear Plastic Bags or a Humidity Dome: These are essential for maintaining a humid environment for your cuttings.
- Watering Can with a Fine Rose: For gentle watering.
- Labels and a Marker: So you don’t forget what you’ve planted where!
Propagation Methods
Asystasia is a champion at propagating, and there are a couple of straightforward methods that work beautifully. I usually opt for stem cuttings, but division is also an option for established plants.
Stem Cuttings
This is my go-to method for Asystasia. It’s simple and yields excellent results.
- Select Healthy Stems: Choose vibrant, non-flowering stems that are at least 4-6 inches long. Look for stems that have both soft new growth and slightly more developed, woody sections towards the base.
- Make the Cut: Using your sharp pruning shears or knife, make a clean cut just below a leaf node. A leaf node is where a leaf attaches to the stem, and it’s where roots are most likely to form.
- Prepare the Cuttings: Remove the lower leaves from the cutting, leaving just the top two or three sets of leaves. This prevents the leaves from rotting when they are in the soil or water. If the remaining leaves are very large, you can even cut them in half horizontally.
- Apply Rooting Hormone (Optional): Dip the cut end of the stem into rooting hormone, tapping off any excess.
- Plant the Cuttings: Fill your small pots or trays with your prepared potting mix. Moisten the mix thoroughly. Make a small hole in the center of the pot with your finger or a pencil. Insert the cutting into the hole, ensuring the leaf nodes you removed are buried under the soil. Gently firm the soil around the base of the cutting.
- Water and Cover: Water the pots gently. Then, cover each pot with a clear plastic bag or place them under a humidity dome. This creates a mini-greenhouse effect, keeping the humidity high.
Water Propagation
If you’re feeling impatient or just love watching roots grow, water propagation is a fun alternative.
- Prepare Your Cuttings: Follow steps 1-3 above for preparing your stem cuttings.
- Place in Water: Fill a small jar or glass with clean water. Place your cuttings in the water, making sure the leaf nodes that had leaves removed are submerged. Crucially, ensure none of the remaining leaves touch the water. This will cause them to rot.
- Provide Light: Place the container in a bright spot with indirect sunlight.
- Change Water Regularly: Change the water every few days to keep it fresh and prevent bacterial growth.
The “Secret Sauce” (Pro Tips)
Here are a few little tricks I’ve picked up over the years that can really make a difference:
- Bottom Heat is Your Friend: If you’re propagating in a cooler environment, placing your pots on a heat mat can significantly speed up root formation. It mimics the warmth of spring soil and really encourages those roots to get going.
- Don’t Be Afraid to Prune the Parent Plant: When you take cuttings, you’re essentially pruning the mother plant. This, in itself, encourages bushier growth. So, by propagating, you’re actually improving the health and appearance of your original Asystasia!
- Use Water from Rain Barrels: If you have access to rainwater, use it for watering your cuttings. It’s free of the chlorine and other additives found in tap water, which can sometimes be a bit harsh on delicate new roots.
Aftercare & Troubleshooting
Once your cuttings have developed a good root system – you’ll see them poking out of the drainage holes or the roots will be clearly visible in your water propagation jar – it’s time to move them into their own homes.
- Potting Up: For cuttings from soil, gently pot them into slightly larger containers with your regular potting mix. For water-propagated cuttings, wait until the roots are at least an inch long before carefully transplanting them into pots filled with moist soil.
- Acclimatize: If your cuttings were under a dome or plastic bag, gradually acclimatize them to drier air by opening the cover a little each day for a week before removing it entirely.
- Watering: Keep the soil consistently moist, but not soggy. Overwatering is the most common mistake and can lead to root rot.
- Light: Place your newly potted plants in a location where they receive bright, indirect light. Avoid harsh, direct sunlight, which can scorch their tender leaves.
Troubleshooting is a normal part of gardening! The most common issues you might encounter are:
- Rotting Stems: This usually happens due to overwatering or poor air circulation. Ensure your soil drains well and remove any leaves that are touching the soil. If you see rot, it’s best to discard the affected cutting and start again, perhaps adjusting your watering schedule.
- Wilting Cuttings: This can be a sign of too little humidity, so ensure your plastic bag or dome is sealed nicely. It can also mean the roots haven’t formed yet and the cutting can’t access water. Patience is key here!
A Little Encouragement
Propagating plants is such a joyful way to connect with nature. It’s a process that teaches patience and observation. Don’t get discouraged if every single cutting doesn’t make it – that’s perfectly normal! Each attempt is a learning opportunity, and soon you’ll be a pro at coaxing new life from your favorite Asystasia. Enjoy the journey, and happy gardening!
Resource: