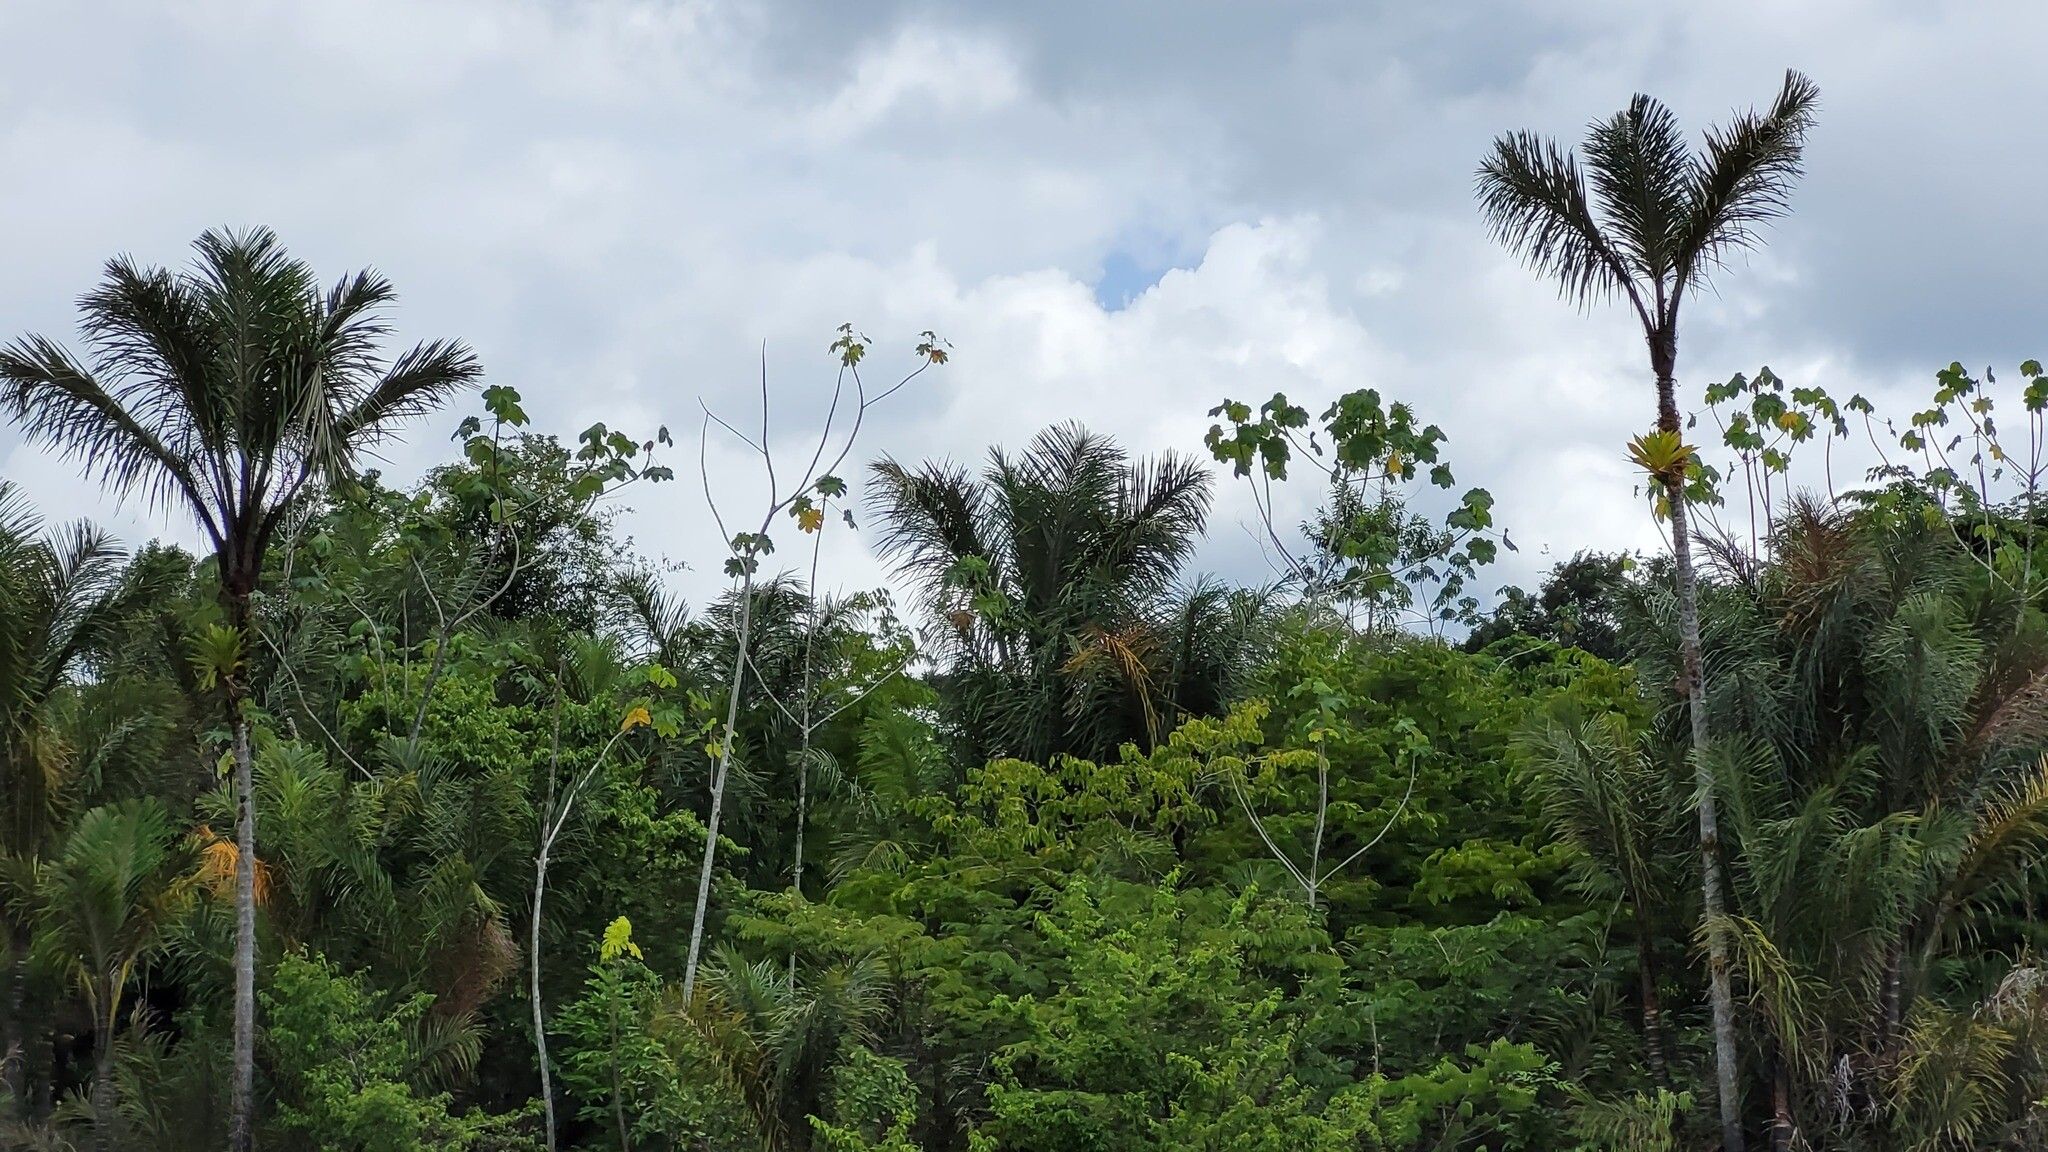
Oh, Astrocaryum jauari! If you’ve ever seen this beauty gracing a botanical garden or a dedicated collector’s home, you know its appeal. With its elegant, arching fronds and those striking, spiky stems, it’s a plant that truly commands attention. There’s something incredibly satisfying about watching a new plant emerge from a tiny piece of its parent, and when it comes to Astrocaryum jauari, the reward feels even sweeter. Now, let’s be honest, propagating this particular palm isn’t quite the “put it in water and forget it” situation some houseplants offer. It’s a little more involved, but absolutely achievable with a bit of care and patience. Think of it as a rewarding challenge, not an insurmountable obstacle.
The Best Time to Start
For most tropical plants, including Astrocaryum jauari, spring and early summer are your golden windows. This is when the plant is naturally gearing up for active growth after a period of rest. The days are getting longer and warmer, and the plant’s energy is ready to be put to good use. Trying to propagate when the plant is dormant just won’t give you the same enthusiastic response. I always aim to get my propagation projects underway just as the weather starts to reliably warm up.
Supplies You’ll Need
Before we dive in, let’s gather our tools. Having everything ready beforehand makes the process so much smoother:
- Well-draining potting mix: I like a blend of perlite, orchid bark, and a good quality peat or coco coir. About a 1:1:1 ratio works wonders. Good drainage is key to preventing rot.
- Sharp, sterilized pruning shears or a sharp knife: You want a clean cut to minimize damage and potential disease.
- Small pots or trays: Choose something appropriate for the size of your cuttings or divisions. Make sure they have drainage holes!
- Clear plastic bag or humidity dome: This creates a mini-greenhouse to keep humidity high.
- Watering can or spray bottle: For gentle watering.
- Optional: Rooting hormone powder or gel: This can give a little boost to encourage root development, though some plants don’t strictly need it.
- Optional: Bottom heat mat: For those cooler indoor temperatures, this can be a game-changer.
Propagation Methods
Astrocaryum jauari is most reliably propagated through division. This palm doesn’t readily produce offsets from leaf nodes like some other plants, so we’ll focus on splitting up established clumps.
Division Method
- Assess your mature plant: Look for sections of the plant that have grown together, forming new shoots branching off the main stem. These are your candidates for division. You’ll want a plant that’s at least moderately sized to have good sections to work with.
- Gently remove the plant from its pot: Tip the pot on its side and ease the plant out. It’s much easier to work with the root ball when you can see it clearly.
- Examine the root ball: With clean hands, carefully start to tease apart the root system. If the roots are tightly bound, you might need to use your sterilized knife or even a small spade or trowel to help separate sections. The goal is to get a division that has both healthy leaf growth and a good amount of attached roots.
- Make your cuts: If a natural separation isn’t obvious, make a clean cut through the root ball, ensuring each new division has at least one or two healthy stems and a robust root system. Don’t be afraid to get in there; a decisive cut is better than a ragged tear.
- Pot up your divisions: Plant each new division in its own pot filled with your well-draining potting mix. Plant it at the same depth it was growing previously.
- Water gently: Water thoroughly to settle the soil around the roots.
The “Secret Sauce” (Pro Tips)
- Avoid Overcrowding the Roots: When potting up your divisions, give them a little breathing room. Don’t cram them into pots that are too small. Their roots need access to air and moisture, and overly tight pots can lead to compacted soil and root rot.
- The Magic of Bottom Heat: For divisions, a gentle bottom heat can make a world of difference. Placing your pots on a seedling heat mat (set to a mild temperature, around 70-75°F or 21-24°C) will encourage root development much faster than ambient room temperature alone. It mimics the warm soil of their native tropics.
- Don’t Rush the Acclimation: Once your new divisions are showing signs of growth (new leaves unfurling), resist the urge to immediately strip off the humidity dome. Gradually acclimate them by lifting the dome for a few minutes each day, slowly increasing the time over a week or two. This prevents shock from the sudden change in humidity.
Aftercare & Troubleshooting
Once your divisions are potted up, keep them in a spot with bright, indirect light. Avoid direct sun, which can scorch delicate new growth. Keep the soil consistently moist but never waterlogged. This is where that excellent drainage really shines.
Watch out for common issues. Wilting leaves are often a sign of underwatering, especially in the initial establishment phase. However, mushy stems or blackening at the base are clear indicators of rot, usually caused by too much moisture. If you spot rot, act fast. You might need to unpot the division, trim away any affected tissue with your sterilized knife, and repot in fresh, dry soil. Sometimes, unfortunately, a badly rotted division can’t be saved, but don’t let it discourage you.
A Encouraging Closing
Propagating Astrocaryum jauari is a journey, and like all good journeys, it requires a bit of patience. Nature works in its own time, and sometimes success comes after a few attempts. Celebrate every new leaf, every tiny root that emerges. Enjoy the process of nurturing these new plants and the deep connection it fosters to the natural world. Happy propagating!
Resource:
https://identify.plantnet.org/k-world-flora/species/Astrocaryum%20jauari%20Mart./data