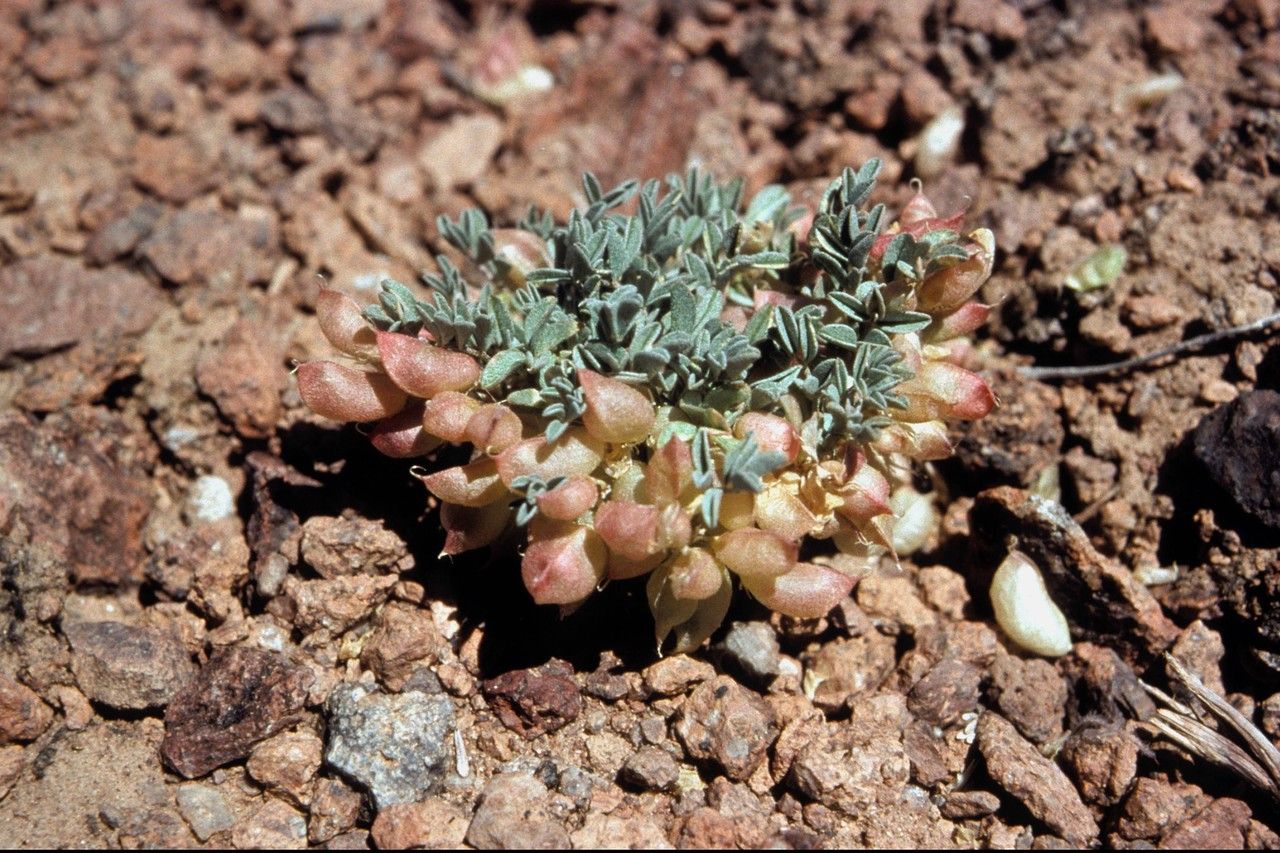
Hey there, fellow garden enthusiasts! I’m so excited to chat with you today about a plant that truly captures my heart: Astragalus beatleyae. If you’re anything like me, your garden is a place of discovery and joy, and bringing new life into it is one of the most rewarding feelings. Astragalus beatleyae, with its lovely foliage and adaptable nature, is a fantastic choice for this very reason. Now, I won’t sugarcoat it – if you’re brand new to plant propagation, this might be a touch more challenging than, say, a peace lily. But with a little patience and these tips, you’ll be well on your way to success!
The Best Time to Start
For Astragalus beatleyae, the sweet spot for starting new plants is definitely late spring to early summer. This is when the plant is actively growing, bursting with fresh energy. You’ll be looking for stems that are developed but still somewhat flexible, not woody and old. Giving them a good start during this peak growth period significantly boosts their chances of rooting.
Supplies You’ll Need
Before we dive in, let’s gather our tools. Having everything ready makes the process so much smoother:
- Sharp Pruning Shears or a Clean Knife: For taking clean cuts.
- Rooting Hormone: This isn’t always strictly necessary for Astragalus beatleyae, but it can give your cuttings a nice little boost. Look for one with IBA.
- Well-Draining Potting Mix: A good starting point is a blend of peat moss or coco coir and perlite or coarse sand. You want to avoid anything too dense that will hold onto excess moisture.
- Small Pots or Trays: For potting up your cuttings. Make sure they have drainage holes!
- Plastic Bags or a Propagator: To create a humid environment.
- Watering Can with a Fine Rose: For gentle watering.
Propagation Methods
Let’s get our hands dirty! Astragalus beatleyae is generally quite happy with stem cuttings.
- Taking the Cuttings: Using your clean shears or knife, select a healthy stem that’s about 4-6 inches long. Make a clean cut just below a leaf node (where a leaf attaches to the stem). Remove the lower leaves from the cutting. You can leave a couple of leaves at the top, but don’t overcrowd it.
- Preparing the Cuttings: If you’re using rooting hormone, dip the cut end of the stem into the powder, tap off any excess, and then gently insert it into your prepared potting mix. Make sure the mix is moist but not soggy.
- Creating a Humid Environment: This is crucial! You want to mimic the humid conditions of a greenhouse. Gently mist the leaves of your cuttings and then carefully cover the pots with a plastic bag or place them in a propagator. If using a bag, ensure the leaves don’t touch the sides of the bag, as this can encourage rot. You can use stakes to prop it up.
- Placement: Place your pots in a bright spot, but out of direct sunlight. Too much sun can scorch the delicate cuttings.
The “Secret Sauce” (Pro Tips)
Here are a few things I’ve learned over the years that make a real difference:
- Bottom Heat is Your Friend: If you have a seedling heat mat, placing your pots on it can dramatically speed up root development. It warms the soil and encourages roots to form.
- Don’t Be Afraid to Experiment: While stem cuttings are generally reliable, I’ve found that sometimes stems taken from slightly different parts of the plant (e.g., a bit more mature but still green) can also root well. Just keep an eye on them!
- “Callousing” for Tougher Stems: If you notice a stem seems a bit tougher, you can try letting the cut end air dry for a few hours after taking it, before dipping in rooting hormone and planting. This can help it to “callous” over and prevent rot.
Aftercare & Troubleshooting
Once your cuttings have been in their humid little homes for a few weeks, it’s time to check for roots! Give them a gentle tug. If you feel resistance, congratulations, you’ve got roots! At this point, you can gradually introduce them to regular air by opening the plastic bag a bit more each day over a week. Water them as the top inch of soil begins to dry.
The biggest challenge you might face is rot. If you see stems turning mushy or developing black spots, it’s a sure sign of too much moisture. Unfortunately, rotted cuttings are usually a lost cause. Make sure your soil is truly well-draining and that you’re not overwatering. Improving air circulation around the cuttings can also help prevent this.
A Encouraging Closing
Propagating plants is a journey, and each attempt teaches us something new. Be patient with your little Astragalus beatleyae cuttings. They might take their time, but the joy of watching them grow into their own beautiful plants is absolutely worth it. Happy propagating, and I can’t wait to hear all about your successes!
Resource:
https://identify.plantnet.org/k-world-flora/species/Astragalus%20beatleyae%20Barneby/data