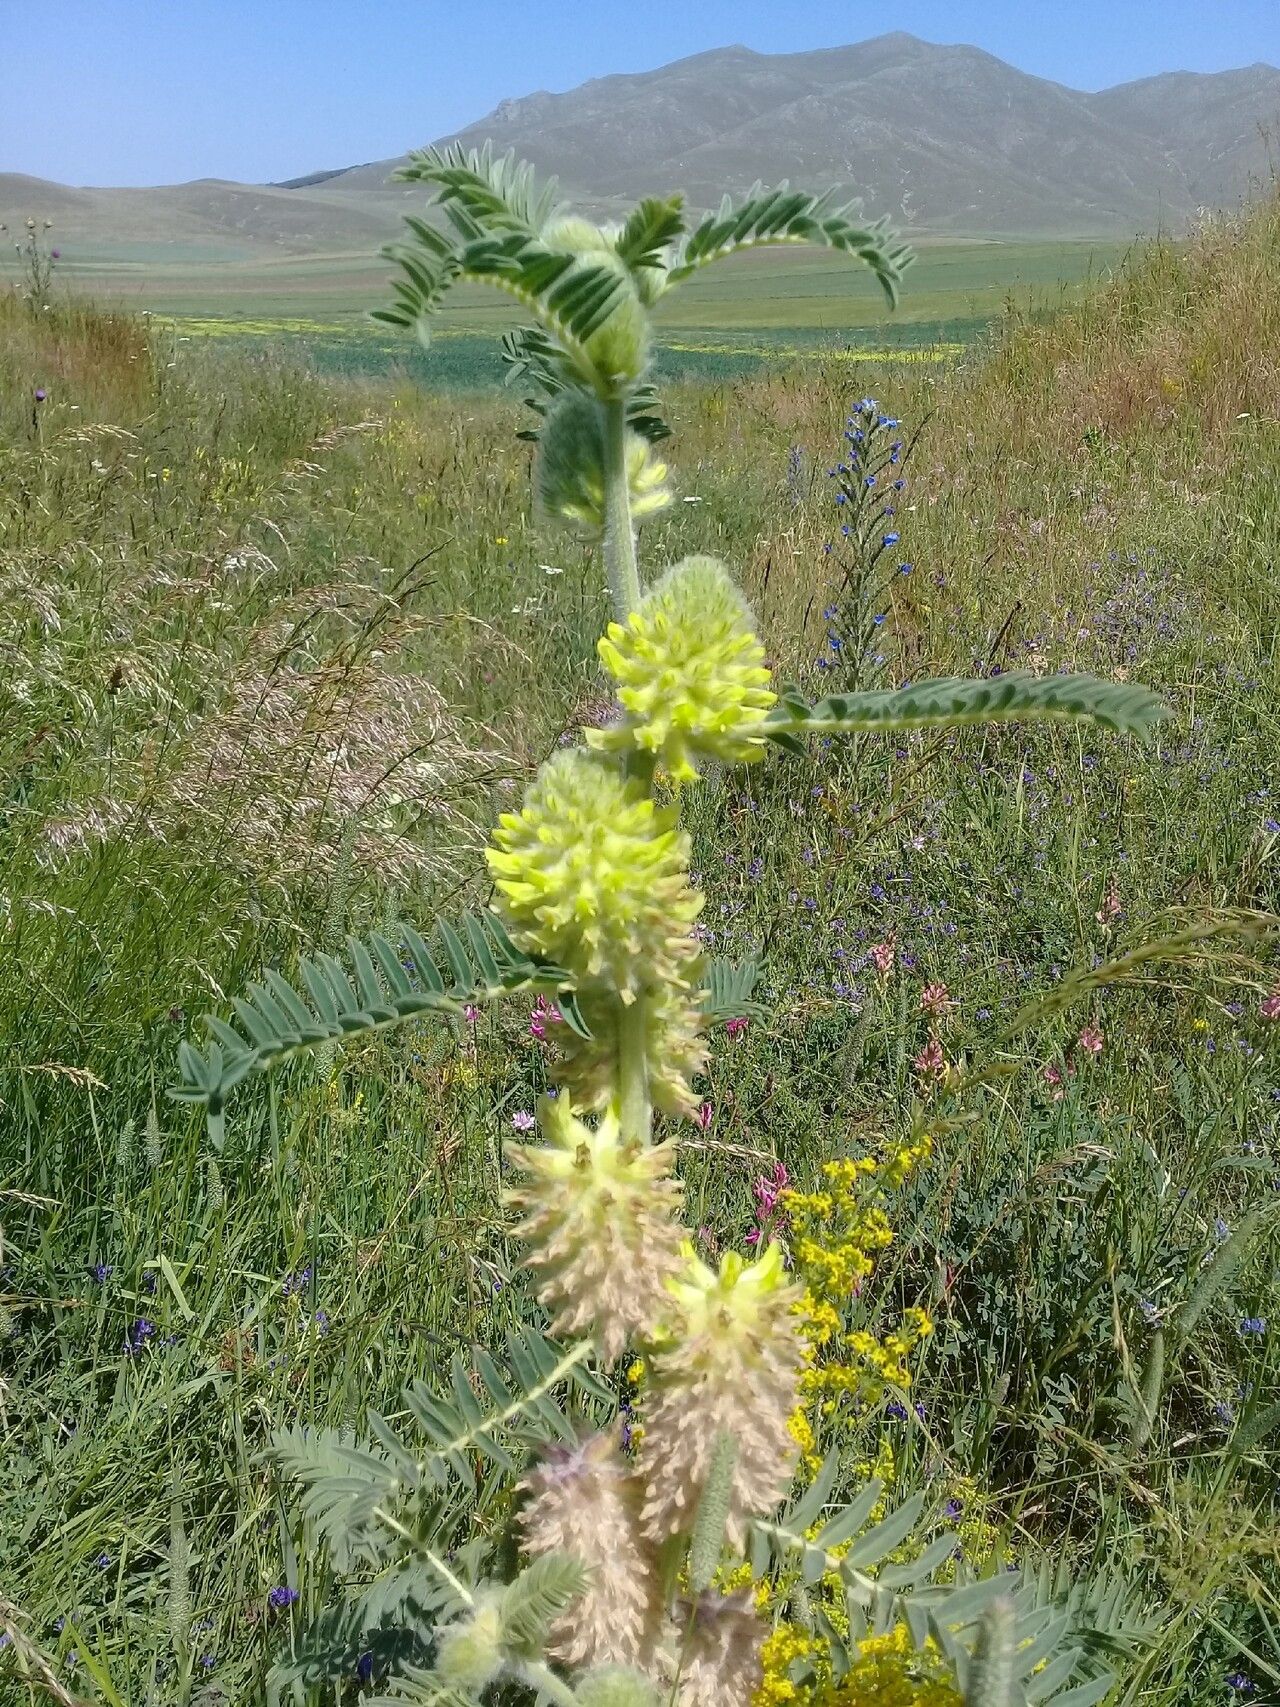
Hey there, fellow plant lovers! I’m so excited to chat with you today about one of my absolute favorites: Astragalus alopecurus. You know, the one with those stunning, fox-tail-like flower spikes that just seem to dance in the breeze? They bring such a unique charm to any garden, and honestly, watching those little sprouts emerge from something you created? Pure magic, I tell you.
Now, you might be wondering if this beauty is a finicky diva or a welcoming friend for newcomers. For Astragalus alopecurus, I’d say it leans towards being a bit more of a thoughtful grower. It’s not the plant you can just stick a twig in the ground and forget about, but with a little care and attention, you’ll be rewarded with plenty of new plants to share.
The Best Time to Start
When it comes to giving your Astragalus alopecurus cuttings the best chance, I’ve found late spring to early summer is your golden window. This is when the plant is actively growing and has plenty of energy to put into developing those precious roots. Look for stems that are somewhat mature – not brand new and flimsy, but not woody and old either. A nice, firm green stem is just perfect.
Supplies You’ll Need
To get your propagation station set up, here’s what I always have on hand:
- Sharp Pruning Shears or a Craft Knife: For clean cuts that heal well.
- Rooting Hormone (Optional but Recommended): This really gives your cuttings a boost. Look for a powder or gel.
- Well-Draining Potting Mix: A mix of perlite, peat moss, and a bit of compost works wonders. You can also use a dedicated seed-starting mix.
- Small Pots or Seedling Trays: With drainage holes, of course!
- Plastic Bags or a Propagator: To create a humid environment.
- A Spray Bottle: For misting.
- A Warm Location: A sunny windowsill or a heat mat is ideal.
- Labels: You’ll want to remember what you planted where!
Propagation Methods
While you can sometimes try seed propagation (which can be a bit more challenging with Astragalus), stem cuttings are my go-to for this plant. It’s straightforward and yields great results.
Stem Cuttings:
- Take Your Cuttings: With your clean shears, select a healthy, non-flowering stem. Cut a piece about 3-5 inches long, just below a leaf node (where a leaf meets the stem). Remove the lower leaves, leaving just a few at the top.
- Apply Rooting Hormone: Dip the cut end of the stem into your rooting hormone, tapping off any excess. This step is truly a game-changer for encouraging root development.
- Pot Them Up: Fill your small pots with your well-draining potting mix. Make a little hole in the center with your finger or a pencil.
- Insert the Cuttings: Gently place the prepared cutting into the hole, making sure the leaf nodes that were buried are in contact with the soil. Firm the soil around the stem.
- Create Humidity: Water the soil lightly until it’s moist, but not soggy. Then, cover the pot with a plastic bag or place it in a propagator. This creates that humid microclimate cuttings need to thrive.
- Provide Warmth and Light: Place your pots in a bright spot that gets indirect sunlight. If you have a heat mat, placing the pots on it will really speed things up.
The “Secret Sauce” (Pro Tips)
Now, here are a few things I’ve learned over the years that make a big difference:
- Don’t Over-Water: This is probably the biggest pitfall. Soggy soil is an invitation for rot. It’s better to let the top layer of soil dry out slightly between waterings. Mist the leaves occasionally, but focus on keeping the soil consistently moist, not waterlogged.
- Bottom Heat is Your Friend: Seriously, if you can manage it, a gentle heat from below (like a propagation mat) will encourage root formation much, much faster. It mimics the warmth of summer soil and gives those roots a cozy place to start.
- Be Patient with Leaves: If you see tiny new leaves emerging, it’s a great sign! But avoid disturbing the cutting too much. Let it develop a good root system before you even think about transplanting it out of the humid environment.
Aftercare & Troubleshooting
Once you start seeing roots emerging (you can often gently tug on the cutting – if there’s resistance, you have roots!), it’s time to ease them into the real world.
Gradually reduce humidity over a week or so. You can do this by poking a few holes in the plastic bag or opening the propagator for longer periods each day. Once the cuttings look sturdy and are actively growing, you can transplant them into slightly larger pots. Water them well and continue to keep the soil consistently moist.
The most common problem you’ll face is rot. This usually happens from overwatering or poor drainage. If you see a stem turn black and mushy, unfortunately, that cutting is a goner. Don’t get discouraged! Just try to identify what might have gone wrong (too much water, not enough ventilation) and adjust for your next batch.
A Little Encouraging Word
Propagating plants is a journey, and Astragalus alopecurus will teach you a bit about patience and observation. Don’t be afraid to experiment a little, and remember that even seasoned gardeners have cuttings that don’t make it. The satisfaction of seeing your new plant thrive, knowing you helped it grow from a tiny cutting? That’s a reward like no other. Happy propagating!
Resource:
https://identify.plantnet.org/k-world-flora/species/Astragalus%20alopecurus%20Pall./data