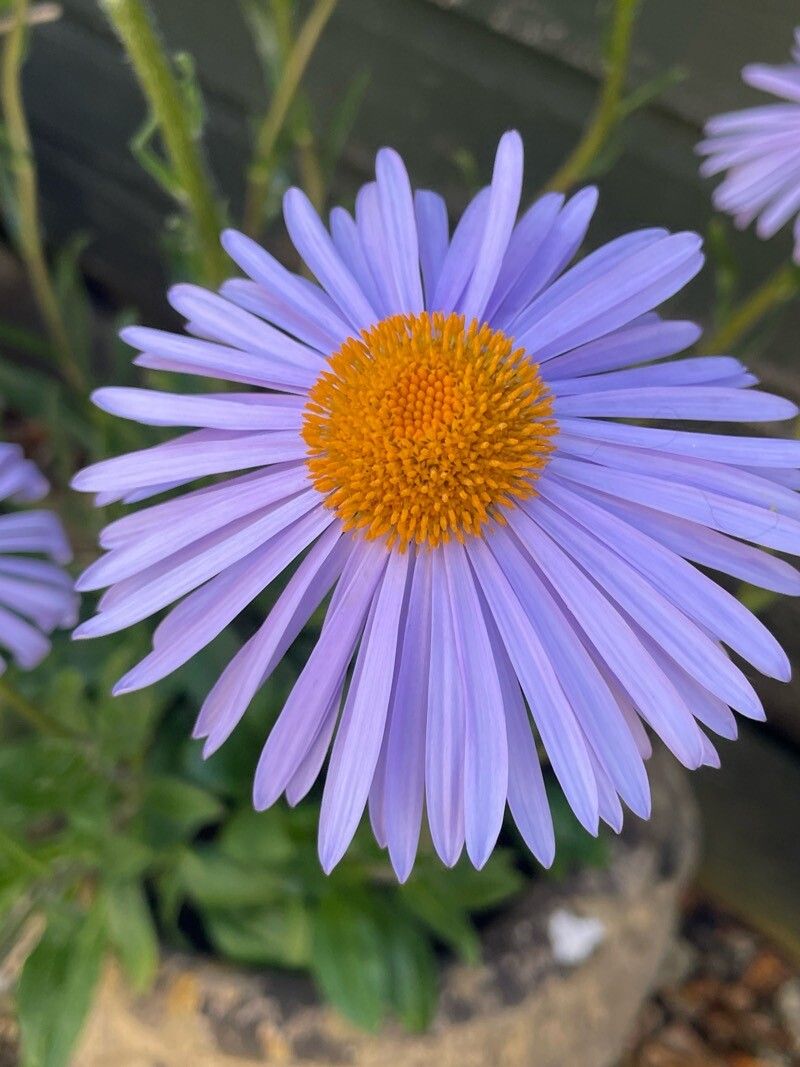
Hello, fellow garden lovers! Today, we’re diving into something truly special: propagating Aster tongolensis. This little gem, with its beautiful, star-like blooms in shades of violet and lavender, is an absolute joy in any late-season garden. Its delicate yet persistent flowers really brighten things up when other blooms are starting to fade. And the best part? You can easily multiply this beauty yourself! Don’t worry if you’re new to propagating; Aster tongolensis is a pretty forgiving plant, making it a wonderful choice for beginners to try their hand at.
The Best Time to Start
For the highest success rate, I always find late spring to early summer, right after the plant has finished its main flush of flowering or when new, tender growth is emerging, to be the sweet spot. The plant is actively growing, which means it’s ready to put energy into forming new roots.
Supplies You’ll Need
Here’s what I like to have on hand before I begin:
- Sharp, clean pruning shears or a sharp knife. A clean cut is crucial for preventing disease.
- A good potting mix. I usually opt for a well-draining mix, often a blend of peat moss or coco coir with perlite and some coarse sand.
- Small pots or trays. Clean containers are key!
- Rooting hormone (optional but recommended). This can give your cuttings a helpful boost.
- A watering can with a fine rose or a spray bottle. Gentle watering is essential.
- Plastic bags or a propagator lid. To create a humid environment.
Propagation Methods
Aster tongolensis is most commonly propagated through stem cuttings or division. Let’s break down how I do it.
Stem Cuttings
This is my go-to method when I want to create many new plants from a healthy specimen.
- Take the Cuttings: On a cool, overcast morning (or at least not in the midday sun), select healthy, non-flowering stems. Look for stems that are firm but not woody. You want the newest growth that has started to harden slightly. Using your clean shears, cut lengths of about 3-4 inches. Make your cut just below a leaf node (where a leaf meets the stem).
- Prepare the Cuttings: Gently remove the lower leaves from the cutting, leaving just two or three sets of leaves at the top. This prevents them from rotting once they’re in the soil. If the leaves are very large, you can even cut them in half lengthwise to reduce water loss.
- Apply Rooting Hormone (Optional): Dip the cut end of each stem into your rooting hormone powder. Tap off any excess. This step isn’t strictly necessary, but I find it significantly increases the success rate and speeds up rooting.
- Plant the Cuttings: Fill your small pots or trays with your prepared potting mix. Moisten the soil thoroughly but ensure it’s not waterlogged. Make a small hole in the center of each pot with your finger or a pencil. Carefully insert the prepared cuttings, ensuring the leaf nodes are below the soil surface. Gently firm the soil around the base of each cutting.
- Create Humidity: Water gently again. Then, cover the pots with a clear plastic bag, securing it around the rim with a rubber band, or use a propagator lid. This creates a mini-greenhouse effect, keeping the humidity high, which is vital for cuttings to root before they can take up water through new roots.
Division
This method is best done in early spring as soon as the ground can be worked, or in early autumn.
- Prepare the Plant: Water your Aster tongolensis well a day or two before you plan to divide it. This helps reduce transplant shock.
- Lift the Plant: Carefully dig around the root ball of the established plant using a garden fork or spade. Gently lift the entire plant from the ground.
- Separate the Divisions: You can often pull the root ball apart with your hands. If it’s a bit stubborn, use two forks inserted back-to-back into the center of the clump, and gently twist to separate. Aim to create divisions that have plenty of healthy roots and some shoots.
- Replant: Replant the divisions in their new spots in the garden or in pots, ensuring they are planted at the same depth they were previously growing. Water them in well.
The “Secret Sauce” (Pro Tips)
- Don’t let the leaves touch the water! If you’re doing water propagation (which you can try with Aster tongolensis, but cuttings in soil are generally more robust), make absolutely sure that no leaves are submerged. They’ll just rot and contaminate the water.
- Bottom heat is your friend. While not always essential, placing your pots on a heated propagator mat can significantly speed up root development, especially if your house is on the cooler side. Warmth from below encourages those roots to get moving!
- Be patient with that wilting. Sometimes, cuttings will look a little droopy for the first week or so. Don’t panic! This is normal as they adjust. As long as the stems are still firm and the leaves are green, give them time.
Aftercare & Troubleshooting
Once you start to see new leaf growth emerging from your cuttings, that’s a very good sign that roots have formed! You can gently tug on a cutting to feel for resistance. At this point, you can gradually acclimatize your new plants to less humid conditions. Start by opening the plastic bags a little each day, or lifting the propagator lid for increasing amounts of time.
The most common issue you might encounter is rot. If your cuttings turn black and mushy, or if you see mold developing, it’s usually a sign of too much moisture and/or poor air circulation. Ensure your potting mix drains well and don’t overwater. If rot sets in, it’s usually best to discard the affected cuttings to prevent it from spreading.
A FInal Encouragement
Propagating plants is such a magical part of gardening. It connects you more deeply with your plants and fills your garden with even more beauty. Be patient with the process, enjoy watching for those first tiny roots, and don’t be discouraged if not every single one takes. Every gardener has the occasional setback! Happy propagating!
Resource:
https://identify.plantnet.org/k-world-flora/species/Aster%20tongolensis%20Franch./data