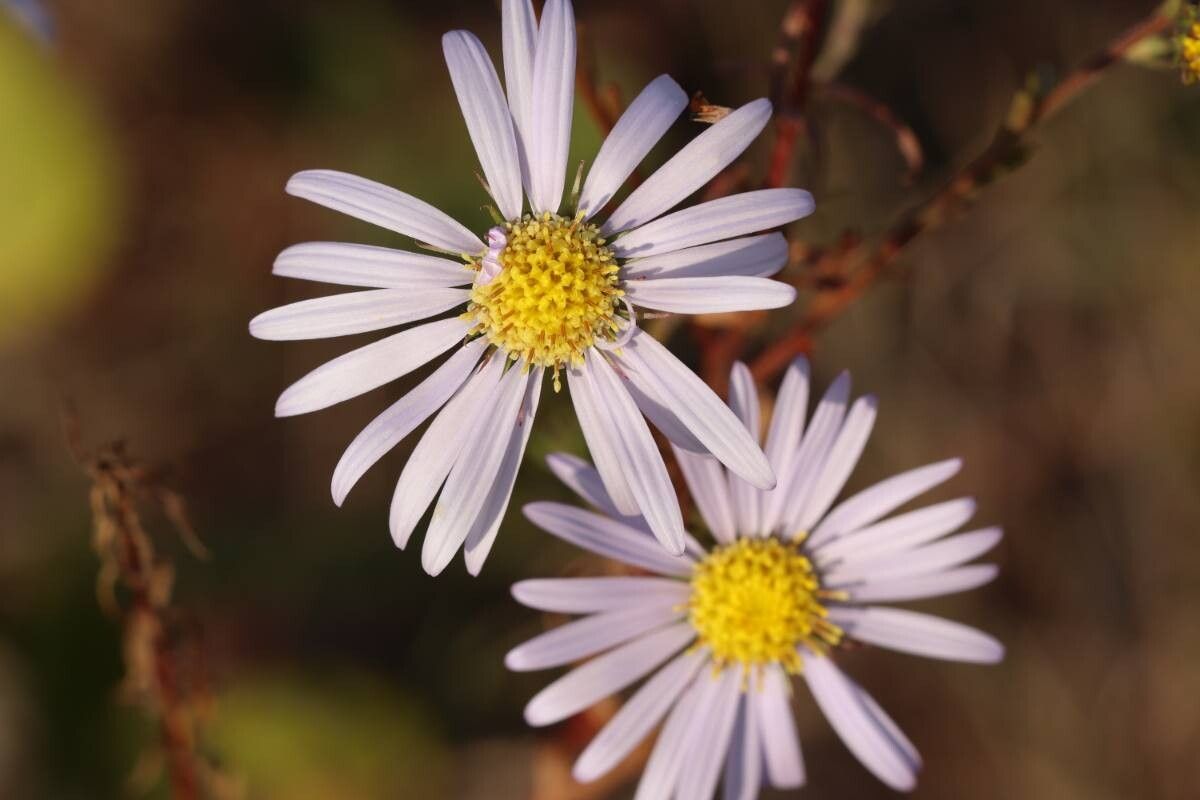
Oh, hello there! It’s so lovely to chat with you today about a plant that has truly captured my heart over the years – Aster kantoensis. If you’ve ever seen these beauties gracing a garden with their vibrant, star-shaped blooms, you know exactly why they’re special. They bring such a splash of color and a delightful, airy presence, especially as the season starts to wane. And the joy of coaxing new life from a single parent plant? There’s nothing quite like it. For those of you just dipping your toes into the world of plant propagation, I’d say Aster kantoensis is a wonderfully rewarding plant to try. It’s not overly fussy, and with a little patience, you’ll be rewarded with more of these charming flowers to share and enjoy.
The Best Time to Start
When it comes to getting your Aster kantoensis off to the best possible start, I’ve found that late spring to early summer is your golden window. This is when the plant is actively growing and has plenty of energy to put into rooting. Aim for when you see new, vigorous shoots emerging after the main flush of growth. Trying to take cuttings when the plant is stressed or dormant just doesn’t yield the same results. Think of it as catching the plant at its peak, full of life and ready to branch out.
Supplies You’ll Need
Before we get our hands dirty, let’s gather our tools. Having everything ready makes the process so much smoother.
- Sharp Pruning Shears or a Clean Knife: For making clean cuts.
- Rooting Hormone (Powder or Gel): This isn’t strictly necessary, but it definitely gives your cuttings a helpful boost.
- Well-Draining Potting Mix: I usually use a blend of equal parts peat moss or coco coir and perlite or coarse sand. This ensures good aeration and prevents waterlogging, which is crucial.
- Small Pots or Seedling Trays: Clean containers with drainage holes are a must.
- Plastic Bag or Humidity Dome: To create a mini-greenhouse effect.
- Watering Can or Spray Bottle: For gentle watering.
- Marker Pen: To label your pots with the date and variety.
Propagation Methods
Aster kantoensis is most commonly and successfully propagated through stem cuttings, and it’s quite straightforward.
Stem Cuttings:
- Select Your Cuttings: Look for healthy, non-flowering stems on your mature plant. You want shoots that are about 4-6 inches long. Avoid leggy or spindly stems.
- Make the Cut: Using your sharp pruning shears or knife, make a clean cut just below a leaf node. A leaf node is a small bump on the stem where a leaf grows. This is where the magic happens, as roots tend to emerge from these points.
- Prepare the Cuttings: Gently remove the lower leaves from the cutting, leaving just a few at the very top. This prevents them from rotting once they’re in the soil. If the top leaves are quite large, you can even trim them in half to reduce water loss.
- Apply Rooting Hormone (Optional but Recommended): Dip the cut end of the stem into your rooting hormone, tapping off any excess. This gives your cutting a little extra encouragement to form roots.
- Plant Your Cuttings: Fill your small pots or seedling trays with your prepared potting mix. Make a little hole in the center with your finger or a pencil, and carefully insert the cut end of the stem. Gently firm the soil around the stem to ensure good contact.
- Water Gently: Water the soil thoroughly but gently. You don’t want to dislodge the cuttings. A spray bottle can be very useful here to moisten the surface without drowning.
- Create a Humid Environment: Cover the pots or trays with a clear plastic bag or a humidity dome. This traps moisture, which is vital for the cuttings until they develop their own root system. Make sure the leaves do not touch the plastic.
The “Secret Sauce” (Pro Tips)
Alright, between you and me, here are a few things I’ve learned that can make a real difference.
- Bottom Heat is Your Friend: While not absolutely essential for Aster kantoensis, placing your pots on a small propagation mat set to a gentle warmth (around 70-75°F or 21-24°C) can significantly speed up root development. The warmth encourages root formation from below while the top stays cooler.
- Don’t Overcrowd: Give your cuttings a bit of breathing room. Whether you’re using small pots or dividing a tray, don’t cram too many in. This helps prevent the spread of any potential fungal issues.
- Watch for the Bloom of Roots: Once they start rooting, you might see a tiny bit of new leaf growth at the top of your cutting. This is often a good sign that roots are forming below. You can also give your pots a very gentle tug; if there’s resistance, you’ve likely got roots!
Aftercare & Troubleshooting
Once your cuttings have developed a good root system – you’ll usually see them poking through the drainage holes or feel that resistance when you gently tug – it’s time to move them to their own individual pots if they aren’t already. Continue to water them regularly, ensuring the soil stays consistently moist but not soggy. As they grow stronger, you can gradually introduce them to slightly less humid conditions and eventually to their final planting location.
The most common issue you’ll encounter is rot. If you see your cuttings wilting, turning mushy, or developing black spots, it’s usually a sign of too much moisture or poor drainage. This is why that well-draining soil mix is so important! If you notice a cutting has rotted, remove it immediately to prevent the problem from spreading to other cuttings. Sometimes, a cutting just doesn’t take. Don’t get discouraged! It happens to all of us, even with years of experience.
A Encouraging Closing
Growing new plants from cuttings is such a fulfilling part of gardening. It’s a testament to nature’s resilience and your own plant-parenting skills. Be patient with your Aster kantoensis cuttings. Some might root faster than others, and that’s perfectly okay. The journey of nurturing them from a simple stem to a flourishing plant is a joy in itself. So, go ahead, give it a try. I have a feeling you’ll be wonderfully surprised by what you can achieve. Happy propagating!
Resource:
https://identify.plantnet.org/k-world-flora/species/Aster%20kantoensis%20Kitam./data