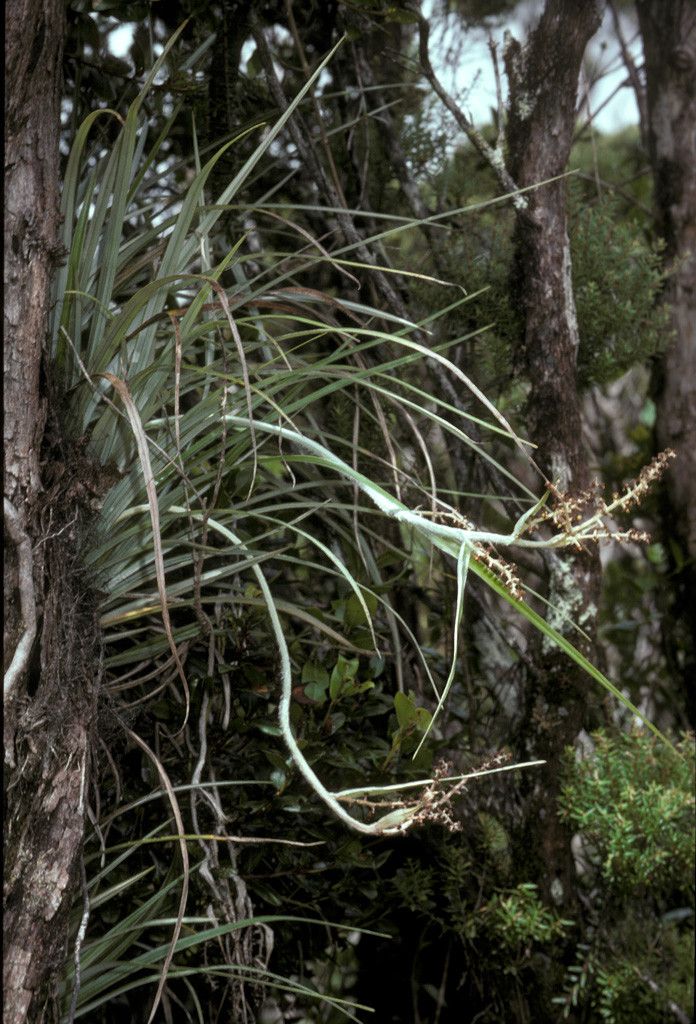
Oh, hello there! Grab a mug, and let’s chat about one of my absolute favorite foliage plants: Astelia menziesiana. You know those gorgeous, silvery-bronze, architectural beauties that add such incredible texture to a garden? They’re called western sword ferns, and they hail from the forests of the Pacific Northwest.
I’ve spent years admiring their architectural form and that unique, almost metallic sheen. And the best part? They’re surprisingly rewarding to propagate! If you’re new to gardening, don’t shy away from this one. Astelias are quite forgiving, making them a wonderful plant to practice your propagation skills on. You’ll feel an incredible sense of accomplishment when you see those first little roots forming.
The Best Time to Start
For Astelia menziesiana, the absolute sweet spot for propagation is late spring to early summer. This is when the plant is really hitting its stride, actively growing and full of energy. You’ll find that cuttings taken during this period have the best chance of rooting quickly and successfully. Avoid propagating when the plant is stressed, like during a heatwave or when it’s dormant in winter.
Supplies You’ll Need
Here’s what you’ll want to have on hand before you get started:
- Sharp pruning shears or a clean, sharp knife: For making clean cuts.
- Rooting hormone (optional but recommended): A powder or gel that encourages root development.
- A well-draining potting mix: I like a blend of peat moss, perlite, and a bit of compost.
- Small pots or trays: With drainage holes, of course!
- A spray bottle filled with water: For misting.
- Plastic bags or a propagation dome: To create a humid environment.
- Labels and a marker: To keep track of your new babies!
Propagation Methods
Astelia menziesiana is best propagated through division, which is essentially splitting the plant into smaller sections. It’s a very reliable method for this particular plant.
Here’s how I do it:
- Gently unpot your Astelia. Tip the pot and carefully slide the plant out. You might need to loosen the soil around the edges with your fingers or a trowel.
- Assess the root ball. Look for natural divisions. You should be able to see where the plant is naturally forming new clumps or where the rhizomes are separating.
- Divide the plant. This is where you’ll use your hands or, if it’s a bit tough, a clean, sharp spade or knife. Be patient and try to pull the clumps apart as gently as possible. You want to ensure each section has a good amount of healthy roots and some leafy growth. Don’t worry if you lose a few of the oldest, dried-out leaves; that’s normal.
- Pot up your divisions. Fill your small pots with your well-draining potting mix. Make a hole in the center of the soil for each division.
- Plant your new Astelias. Place each division into a pot, ensuring the roots are spread out. Gently firm the soil around the base. The top of the root ball should be level with the soil surface.
- Water thoroughly. Give each potted division a good watering to settle the soil.
(While stem cuttings or water propagation aren’t typically successful for Astelia menziesiana due to their rhizomatous growth habit, division is incredibly effective!)
The “Secret Sauce” (Pro Tips)
Now for a couple of little tricks I’ve picked up over the years:
- Don’t be afraid of a little root trimming. If you have some really long, leggy roots on a division, it’s okay to trim them back slightly. This encourages the plant to develop a more compact, healthy root system. Just make sure you’re leaving plenty of smaller, fibrous roots.
- Give them a little humidity boost. After potting, I like to place the pots inside plastic bags or under a propagation dome. This traps moisture and creates a mini-greenhouse, which the new divisions absolutely love. Just like in nature where they grow in moist, sheltered spots, they crave that extra humidity as they establish.
Aftercare & Troubleshooting
Once your Astelia divisions are potted, keep them in a spot with bright, indirect light. Avoid direct sun, especially harsh afternoon sun, as it can scorch those delicate new leaves.
Water them when the top inch of soil feels dry. Overwatering is the most common pitfall. You want the soil to be consistently moist but not soggy. Those drainage holes are your best friend here!
You might see a bit of wilting in the first week or two, and that’s usually just the plant adjusting. If you notice leaves turning yellow and mushy, or the base of the plant looking like it’s rotting, that’s a sign of too much moisture. In that case, ease up on the watering and ensure good air circulation. If you catch rot early, you might be able to salvage the division by removing the affected parts and repotting in fresh, dry soil.
Happy Propagating!
Propagating Astelia menziesiana is a journey. It requires a bit of patience, but seeing those divisions take root and grow into thriving new plants is incredibly satisfying. Don’t be discouraged if your first attempt isn’t perfect. Every gardener has had their share of successes and failures – it’s all part of the learning process. Enjoy coaxing these beauties into existence!
Resource:
https://identify.plantnet.org/k-world-flora/species/Astelia%20menziesiana%20Sm./data