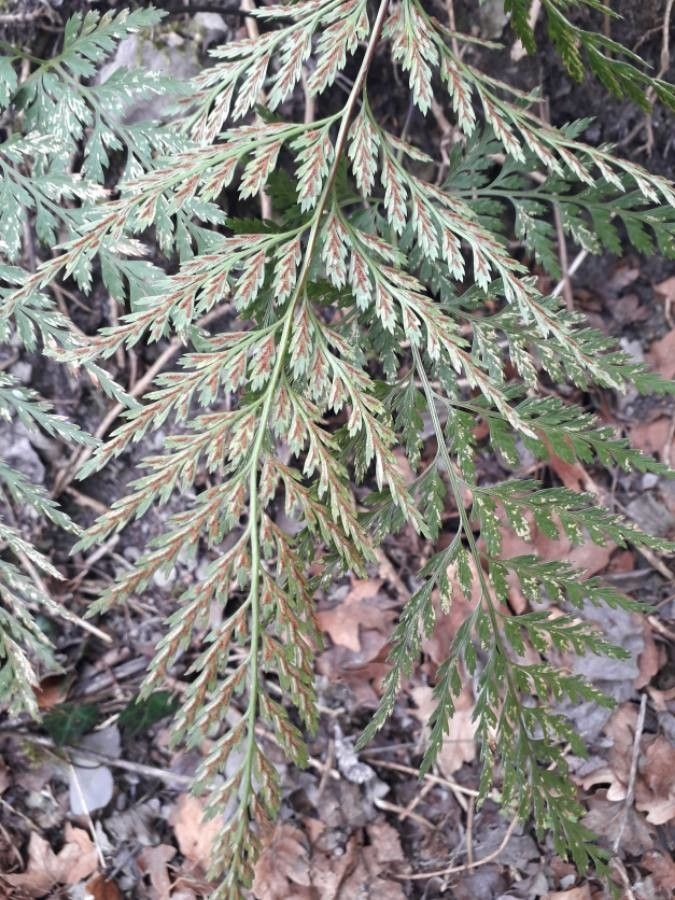
Oh, the Black Spleenwort, Asplenium adiantum-nigrum! What a stunner. Its dark, glossy fronds and delicate, almost architectural form have always held a special place in my heart. If you’re anything like me, you’ve probably admired this beauty in a shady corner of your garden or perhaps on a mossy wall, and thought, “I wish I had more of these!” Well, good news! Propagating it is definitely doable, and incredibly satisfying. While not as straightforward as some of your common houseplants, it’s certainly within reach for the enthusiastic beginner willing to give it a little care.
The Best Time to Start
For the highest success rates, I always aim to propagate my Black Spleenworts in the late spring or early summer. This is when the plant is actively growing, buzzing with energy, and ready to put its efforts into producing new life. You’ll want to take cuttings or divide plants when new fronds are unfurling, but before they reach their full size and hardness.
Supplies You’ll Need
Gathering your supplies beforehand makes the whole process smoother. Here’s my go-to list:
- Sharp Pruning Shears or a Clean Knife: For making clean cuts.
- Well-Draining Potting Mix: A blend of peat moss, perlite, and orchid bark works wonderfully for ferns. Think airy!
- Small Pots or Trays: Clean ones are crucial to prevent disease.
- Plastic Bags or a Propagator: To create a humid environment.
- Water: Preferably distilled or rainwater.
- Rooting Hormone (Optional but Recommended): This can give cuttings a helpful boost.
- Labels: Because once these little ones start growing, you’ll want to remember what they are!
Propagation Methods
The Black Spleenwort is best propagated through a couple of methods, and I find both very rewarding.
Division
This is often the easiest and most successful way to get more plants.
- Gently Excavate: Carefully dig up the entire parent plant. Be as gentle as you can with the roots.
- Inspect the Crown: Look for natural divisions in the plant – where established fronds meet at the base. You’ll often see multiple crowns.
- Separate Carefully: With your hands or a clean, sharp knife, gently pull or cut apart the sections. Aim for sections that have both roots and several healthy fronds. If it’s a bit stubborn, a little wiggle might do the trick. Don’t force it too much!
- Repot Immediately: Plant each division into its own small pot filled with your prepared, moistened potting mix.
Spore Propagation (for the Truly Patient!)
This is a more advanced technique, not for the faint of heart, but incredibly fascinating. You’ll need to collect spores from mature fronds, but frankly, for most home gardeners, division is much more practical. If you’re curious, I’d recommend researching further specifically on fern spore propagation – it’s a whole other world!
The “Secret Sauce” (Pro Tips)
Here are a couple of little tricks I’ve learned over the years that really help with fern propagation:
- Humidity is King: Ferns love humidity. After potting your divisions, lightly water them, then cover the pots with a clear plastic bag or place them in a propagator. This creates a mini-greenhouse effect that keeps the moisture levels high, which is vital for their survival. Just make sure the fronds aren’t directly touching the plastic if possible, to prevent rot.
- Patience and Gentle Watering: When you water, do it gently. You don’t want to disturb those delicate new roots that are trying to establish themselves. Also, allow the top layer of the soil to dry slightly between waterings. Overwatering is the quickest way to heartbreak with ferns.
Aftercare & Troubleshooting
Once your divisions are potted up, keep them in a bright, indirect light location. Avoid direct sun at all costs – it will scorch those tender new fronds. Maintain that high humidity.
You’ll know your division is taking off when you see new frond growth emerging from the center of the plant. This can take a few weeks to a couple of months, so don’t get discouraged if you don’t see immediate action.
The most common sign of trouble is rotting at the base, where the fronds meet the soil. This is usually a sign of too much moisture and poor air circulation. If you see this, remove the affected parts immediately and try to let the soil dry out a bit more. Yellowing fronds can also indicate stress, either from too much sun or inconsistent watering.
A Encouraging Closing
Propagating your Black Spleenwort is a journey, and like all good gardening endeavors, it rewards patience. Enjoy the process of nurturing these new plants from a piece of the parent. Watch for those tiny new fiddleheads unfurling – it’s an incredible feeling! Happy propagating!
Resource:
https://identify.plantnet.org/k-world-flora/species/Asplenium%20adiantum-nigrum%20L./data