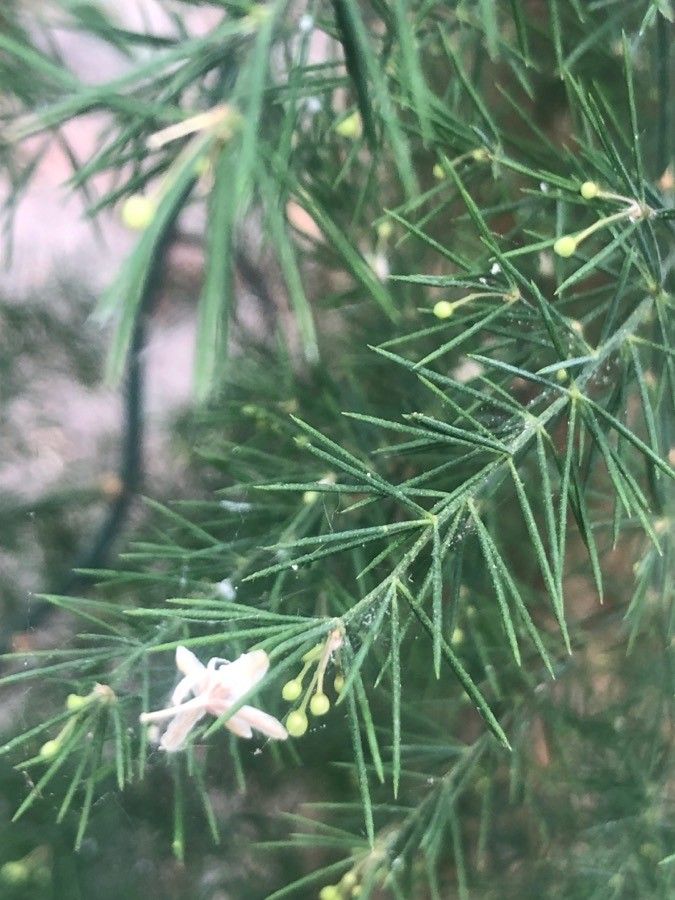
Oh, Asparagus fallax! What a delight it is to have this wispy beauty gracing a home or a garden. Its delicate, fern-like foliage can bring such an airy, almost ethereal quality to any space. And the best part? Getting more of these lovely plants is totally doable! It’s a deeply satisfying feeling, watching a tiny cutting transform into a robust new specimen. For beginners? I’d say it’s moderately easy, but with a few key pointers, you’ll be a pro in no time.
The Best Time to Start
To catch Asparagus fallax at its most vigorous and receptive stage, I find that late spring to early summer is absolutely prime time. Think of it as when the plant is really waking up and putting on a growth spurt. You want to take cuttings from healthy, actively growing stems, ideally those that aren’t flowering or fruiting. This energy is best directed towards root development.
Supplies You’ll Need
Here’s what I like to have on hand before I dive in:
- Sharp, clean pruning shears or a sharp knife: This is crucial for making clean cuts, preventing disease.
- Rooting hormone (optional but recommended): It gives cuttings a helpful boost. Look for a powdered form; it’s easiest to use.
- Well-draining potting mix: A good blend of perlite, peat moss, and a bit of sterile compost works wonders. Or, a good quality succulent/cactus mix is often a great starting point.
- Small pots or seed trays: Clean pots are a must.
- Clear plastic bag or a humidity dome: This creates a mini-greenhouse effect.
- Watering can with a fine spray: Gentle watering is key.
- Labels and a marker: You’ll thank yourself later for knowing what’s what.
Propagation Methods
While Asparagus fallax can be grown from seed, which takes a while, I find stem cuttings are the most rewarding and quickest route.
Here’s how I tackle it:
- Select Your Cuttings: Look for healthy, mature stems that are at least 4-6 inches long. You want stems that are firm, not at all woody, but also not too soft and leggy. Find a spot just below a leaf node (where a branch or leaf emerges from the main stem) – this is where the magic will happen for root formation.
- Make the Cut: Using your sharp shears or knife, make a clean cut just below that leaf node. Aim for a single cutting per potential “rooting point.”
- Prepare the Cutting: Gently remove the lower leaves from your cutting, leaving just the top few sets intact. This reduces water loss and prevents leaves from rotting if they touch the soil or water during propagation.
- Dip in Rooting Hormone (Optional): If you’re using rooting hormone, lightly dip the cut end of the stem into the powder, tapping off any excess.
- Plant Your Cuttings: Fill your small pots with your prepared, slightly damp potting mix. Make a small hole with your finger or a pencil. Insert the cut end of the stem into the hole, gently firming the soil around it. You can usually fit 2-3 cuttings per small pot, as long as they aren’t crowded.
- Create a Humid Environment: Water the soil very gently until it’s moist but not soggy. Then, cover the pot with a clear plastic bag, securing it around the rim with a rubber band, or place it under a humidity dome. This traps moisture, which is vital for cuttings to develop roots.
- Find the Right Spot: Place the pot in a location that receives bright, indirect light. Avoid direct sunlight, which can scorch the delicate cuttings.
The “Secret Sauce” (Pro Tips)
- Don’t let those leaves touch the water (if you were tempted to try water propagation). While some plants root easily in water, Asparagus fallax is much happier in a soil medium for rooting. If any leaves are close to the soil surface, gently prune them off.
- Bottom heat is your friend! If you have a seed starting mat, placing your pots on it can significantly speed up the rooting process. The gentle warmth encourages root development from below. It’s like giving those baby roots an extra cozy blanket.
Aftercare & Troubleshooting
Once your cuttings are planted, keep the soil consistently moist but never waterlogged. The plastic bag or dome should help maintain humidity, so you might only need to mist lightly every few days.
You’ll know you’re on your way to success when you see new growth emerging from the top of your cutting. This usually takes anywhere from 3-6 weeks, sometimes a bit longer. Another sign is a gentle tug resistance – if you can feel the cutting being anchored, roots have likely formed.
The most common issue you might encounter is rot. This happens if the soil is too wet, or if the cuttings are in a space with poor air circulation. If you see a cutting turning black, mushy, or wilting dramatically, it’s best to remove it to prevent it from affecting others. A bit of yellowing can sometimes be stress, but mushy and black is a definite sign of rot. If you’re consistently having this problem, try a slightly less water-retentive soil mix and ensure good airflow once roots start to form.
A Encouraging Closing
Propagating Asparagus fallax is a wonderful journey, and it’s one that rewards patience and observation. Don’t be discouraged if your first attempt isn’t perfect. Each cutting you try is a learning experience. Enjoy the process of nurturing these tiny beginnings, and soon you’ll have a whole forest of delicate green beauty to share or enjoy yourself. Happy propagating!
Resource:
https://identify.plantnet.org/k-world-flora/species/Asparagus%20fallax%20Svent./data