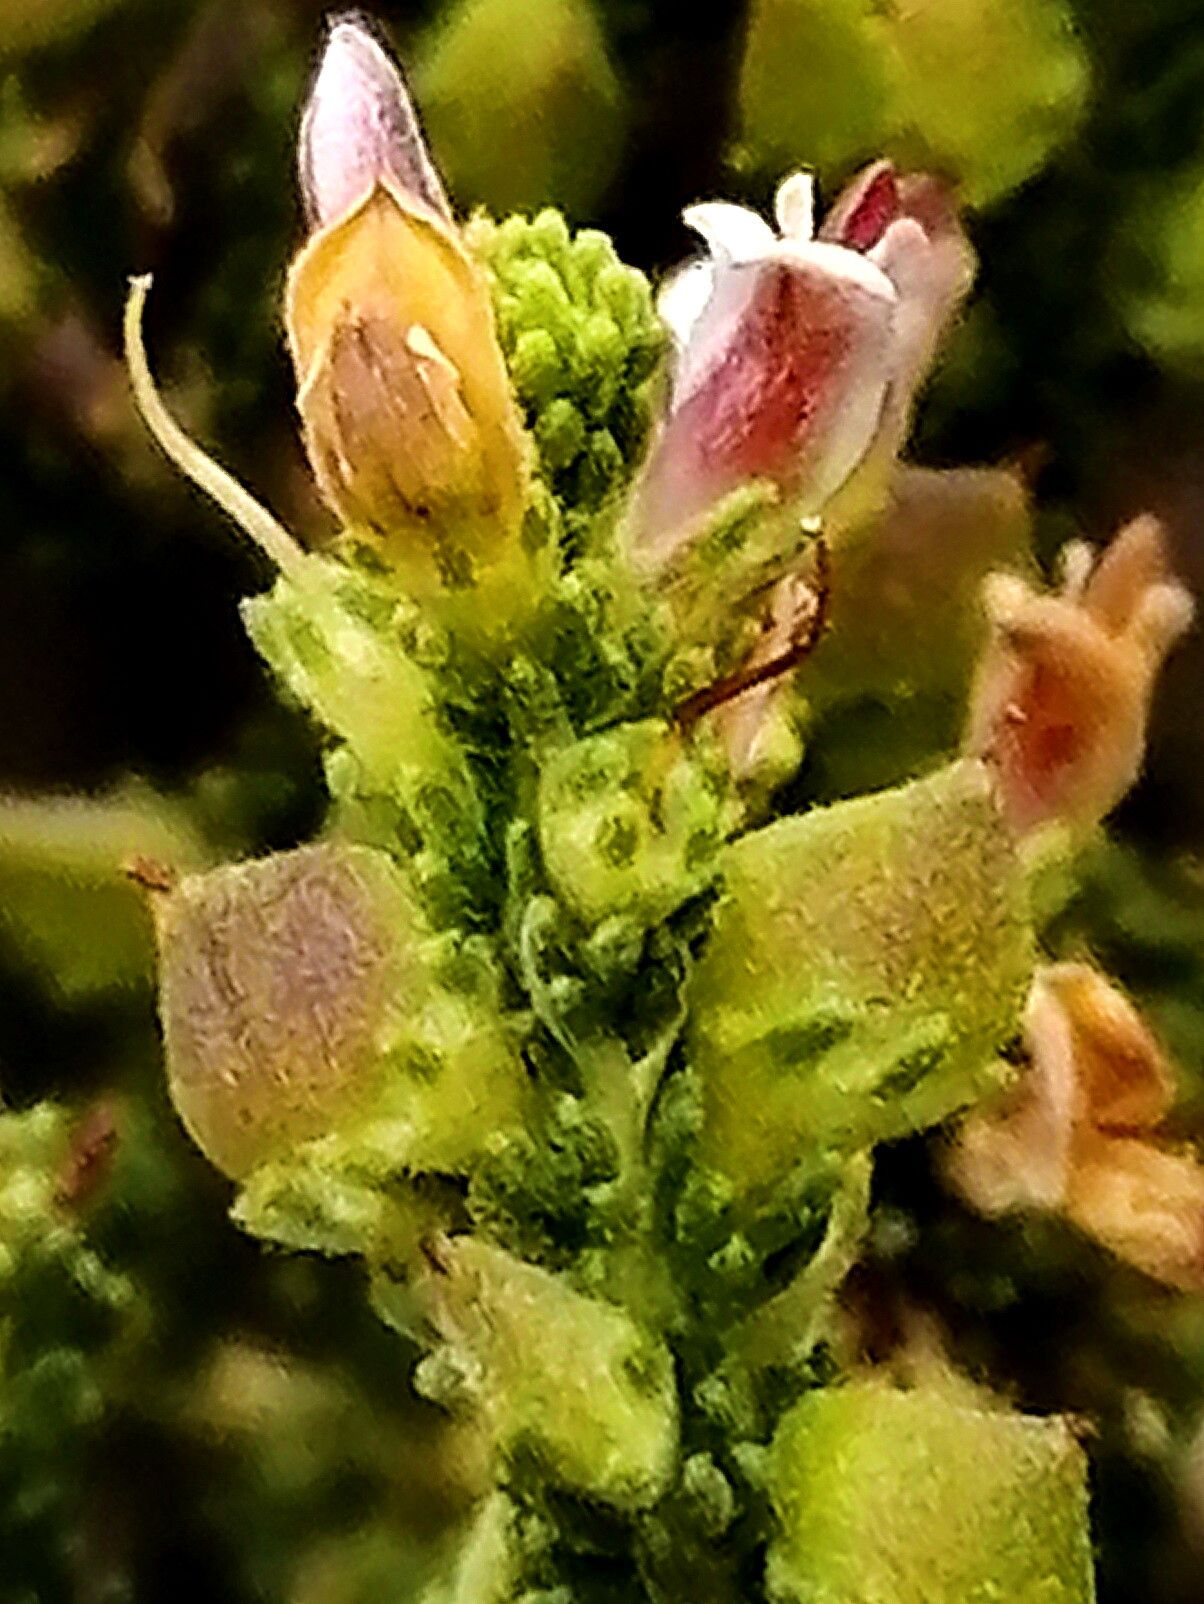
Hey there, fellow plant lovers! I’m so excited to chat with you today about a plant that has completely charmed me over the years: Aspalathus hispida. If you’re looking for a plant that brings a touch of the wild, a burst of unique texture, and a surprisingly sweet scent to your garden or home, then this is it. Its fine, needle-like foliage and delicate papery flowers are just gorgeous. Propagating it yourself? Well, that’s where the real magic happens, and it’s a deeply satisfying experience, even if it might ask for a little extra attention as a beginner.
The Best Time to Start
For the highest success rate with Aspalathus hispida, I always recommend taking cuttings in late spring or early summer. This is when the plant is actively growing, meaning those new shoots are full of vigor and have the best energy to put into developing roots. Look for healthy, non-flowering stems that are about the thickness of a pencil and have a bit of flexibility to them. Avoid woody or old stems; they’re just not as eager to sprout roots.
Supplies You’ll Need
Before we get our hands dirty, let’s gather our tools. Having everything ready makes the process so much smoother.
- Sharp, clean pruning shears or a craft knife: For making those crucial clean cuts.
- Rooting hormone (optional, but recommended): Specifically, a powder formulation designed for softwood or semi-hardwood cuttings.
- A well-draining potting mix: A blend of peat moss, perlite, and coarse sand works wonderfully. You want something that won’t hold too much moisture.
- Small pots or seed trays with drainage holes: Clean ones, of course!
- Plastic bags or a propagator lid: To create a humid environment for your cuttings.
- A spray bottle: For misting.
- A heat mat (optional): But a real game-changer for encouraging root development.
Propagation Methods: Let’s Get Growing!
The most reliable way to propagate Aspalathus hispida is through stem cuttings. It’s tried and true for me.
- Take Your Cuttings: Using your sharp shears or knife, select a healthy stem and make a clean cut just below a leaf node (where the leaves meet the stem). You’re looking for cuttings that are about 4-6 inches long. Remove the lower leaves, leaving just a few at the top. This prevents them from rotting in the soil and directs the plant’s energy to root formation.
- Prepare the Cutting: If you’re using rooting hormone, dip the cut end of the stem into the powder, tapping off any excess. This little boost can really help those roots get a head start.
- Plant Your Cuttings: Make a small hole in your prepared potting mix with a pencil or your finger. Gently insert the bottom of the cutting into the hole and firm the soil around it. Don’t pack it too tightly! You want to give those future roots space to breathe.
- Create a Humid Environment: Water the soil gently. Then, cover the pots with a plastic bag (propped up so it doesn’t touch the leaves) or place them in a propagator. This creates a mini-greenhouse effect, which is vital for keeping those cuttings from drying out.
- Find the Right Spot: Place your cuttings in a bright location but out of direct, scorching sunlight. A windowsill that gets good indirect light is usually perfect. If you have a heat mat, place your pots on it. This gentle warmth from below is fantastic for stimulating root growth.
The “Secret Sauce” (Pro Tips)
Here are a few little tricks I’ve picked up over the years that make a big difference:
- Don’t Let Bottom Leaves Touch the Water! I know I mentioned removing lower leaves, but it’s worth repeating. If any part of the cutting is submerged in water or constantly touching moist soil after the initial watering, it’s a prime spot for rot to set in. Keep it dry and airy down there.
- Bottom Heat is Your Friend: As I mentioned with the heat mat, providing consistent, gentle warmth from below really accelerates root formation. It mimics the perfect conditions of a warm soil bed, and your cuttings will thank you for it.
- Mist, Don’t Drench: While humidity is crucial, you don’t want the leaves sitting in soggy puddles. A light misting with your spray bottle every day or two is usually sufficient. You’ll get a feel for it as the humidity builds inside your covered propagator.
Aftercare & Troubleshooting
The waiting game is the hardest part, but be patient! You should start to see signs of rooting (like new leaf growth appearing) within 4-8 weeks. You can gently tug on a cutting; if you feel resistance, roots have formed.
Once your cuttings have developed a good root system, it’s time to transplant them into individual, slightly larger pots. Continue to keep them in bright, indirect light and water them when the top inch of soil feels dry. Don’t overwater!
The most common sign of trouble is root rot, which looks like mushy, brown stems. This is usually due to overwatering or poor drainage. If you see this, sadly, that cutting is likely lost, but don’t be discouraged! Just move on to the next batch. Yellowing leaves can also indicate a few things – sometimes it’s a sign of too much or too little water, or even insufficient light. Adjust your care accordingly.
A Little Patience, A Lot of Joy!
Propagating Aspalathus hispida is a journey. There might be a few hiccups along the way, but the thrill of watching a tiny cutting transform into a thriving plant is an unparalleled reward. Be observant, be patient, and most importantly, enjoy the process of nurturing new life. Happy gardening!
Resource:
https://identify.plantnet.org/k-world-flora/species/Aspalathus%20hispida%20Thunb./data