Well hello there, fellow plant lover! It’s so lovely to have you join me today. I’ve got something special to chat about that’s near and dear to my heart – propagating Asclepias curassavica, or as we often call it, tropical milkweed.
Why Tropical Milkweed?
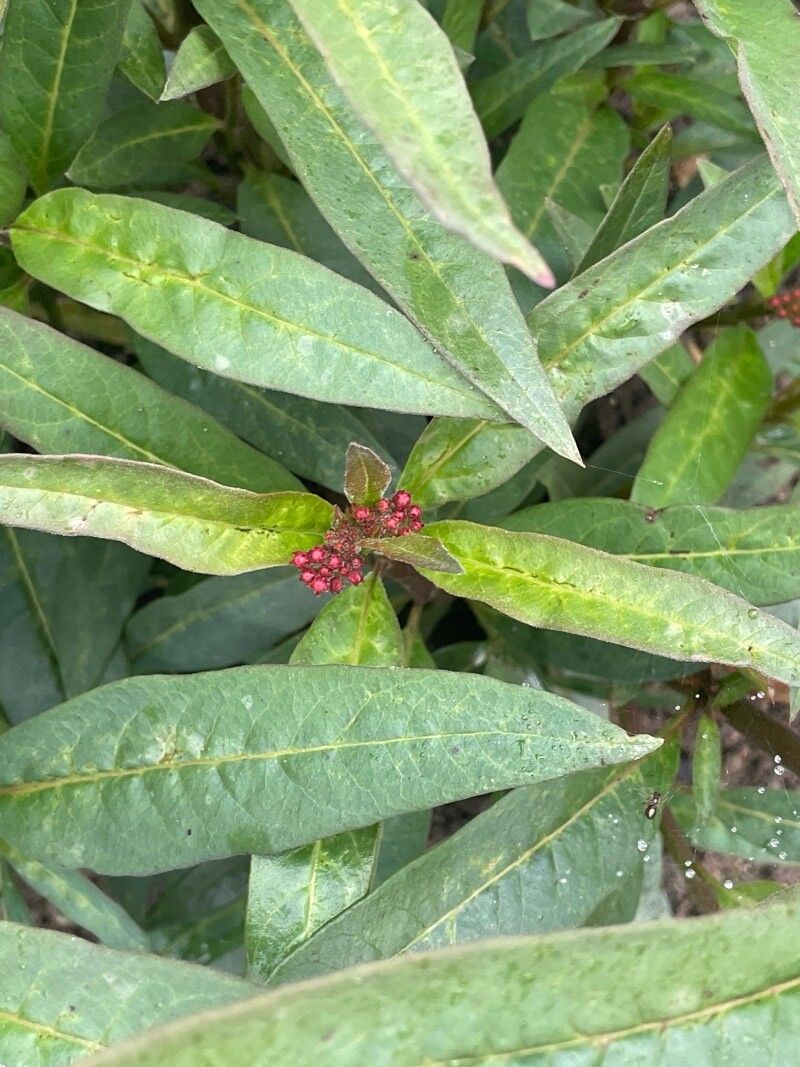
Honestly, this plant is a superstar in my garden. The vibrant red and orange blooms are like little fireworks, and they absolutely adore attracting butterflies, especially those magnificent monarchs. Growing your own milkweed is incredibly rewarding. It’s not just about adding beauty; it’s about supporting vital pollinators. And the best part? This isn’t a plant that will make you pull your hair out. I’d say Asclepias curassavica is quite beginner-friendly when it comes to propagation, which is wonderful news for all of us!
The Best Time to Start
For the highest success rate, I always recommend starting your propagation efforts when the plant is in its active growing season. Think spring or early summer. You want to work with healthy, vigorous stems that have plenty of energy. Starting from seeds is also an option then, but for cuttings, definitely go for those lush new shoots.
Supplies You’ll Need
Gathering your supplies beforehand makes the whole process much smoother. Here’s what I usually have on hand:
- Sharp, clean pruning shears or a knife: Essential for making clean cuts that heal well.
- Potting mix: A well-draining mix is key. I often use a blend of peat moss and perlite, or a good quality seedling mix.
- Small pots or trays: For your cuttings to root in.
- Rooting hormone (optional but helpful): This can give your cuttings a nice boost.
- Clear plastic bags or a propagation dome: To create a humid environment.
- Water: For hydration.
Propagation Methods
There are a couple of ways to get new milkweed plants going, but my absolute favorite is stem cuttings. It’s fast and gives you a real sense of accomplishment.
Stem Cuttings
- Take your cutting: Select a healthy stem that’s about 4-6 inches long. Make a clean cut just below a leaf node (where a leaf attaches to the stem). I like to remove the bottom leaves, leaving just a couple at the top.
- Dip in rooting hormone (optional): If you’re using rooting hormone, dip the cut end into it. Just a light coating is all you need.
- Plant your cutting: Make a small hole in your potting mix and insert the cut end of the stem. Gently firm the soil around it.
- Water lightly: Give it a gentle watering to help the soil settle.
- Create humidity: Cover the pot with a clear plastic bag or a propagation dome. This is crucial to keep the humidity high, which helps the cutting develop roots before it dries out. Place it in a bright spot, but out of direct, harsh sunlight.
Water Propagation (Another Easy Option!)
This is even simpler!
- Prepare the cutting: Just like with stem cuttings, take a healthy 4-6 inch stem and remove the lower leaves.
- Place in water: Put the cutting in a jar or glass of water, making sure the leaf nodes are submerged.
- Keep it bright: Place the container in a spot with bright, indirect light.
- Change water regularly: Every few days, change out the water to keep it fresh and prevent rot. You’ll see tiny roots emerging in a few weeks. Once the roots are about an inch long, you can carefully transplant them into potting mix.
The “Secret Sauce” (Pro Tips)
Here are a couple of things I’ve learned over the years that really make a difference:
- Don’t let the leaves of your cuttings touch the water if you’re doing water propagation. They can rot quickly that way. Just the stem should be in the water.
- Once you’ve potted your stem cuttings, bottom heat can be a game-changer. If you have a heat mat for seedlings, placing your pots on it can really encourage root development. It mimics the warmth of summer soil.
Aftercare & Troubleshooting
Once you see new leaf growth, it’s a good sign that roots are forming! You can gently tug on the cutting to feel for resistance.
- Gradual acclimatization: If you used a plastic bag or dome, gradually open it up over a few days to let your new plant get used to the regular humidity levels.
- Watering: Keep the soil consistently moist but not soggy. Overwatering is the most common reason for failure, leading to root rot. You’ll see a stem go limp and mushy, and it won’t recover.
- Signs of failure: Besides rot, if your cutting looks completely wilted and dry, and nothing is happening after a few weeks, it might not have taken. Don’t be discouraged! Not every cutting is successful, and that’s perfectly normal.
Final Encouragement
Propagating Asclepias curassavica is a delightful way to fill your garden with these beautiful plants and support our precious pollinators. Be patient, observe your cuttings, and enjoy the magic of watching new life emerge. Happy gardening!
Resource:
https://identify.plantnet.org/k-world-flora/species/Asclepias%20curassavica%20L./data