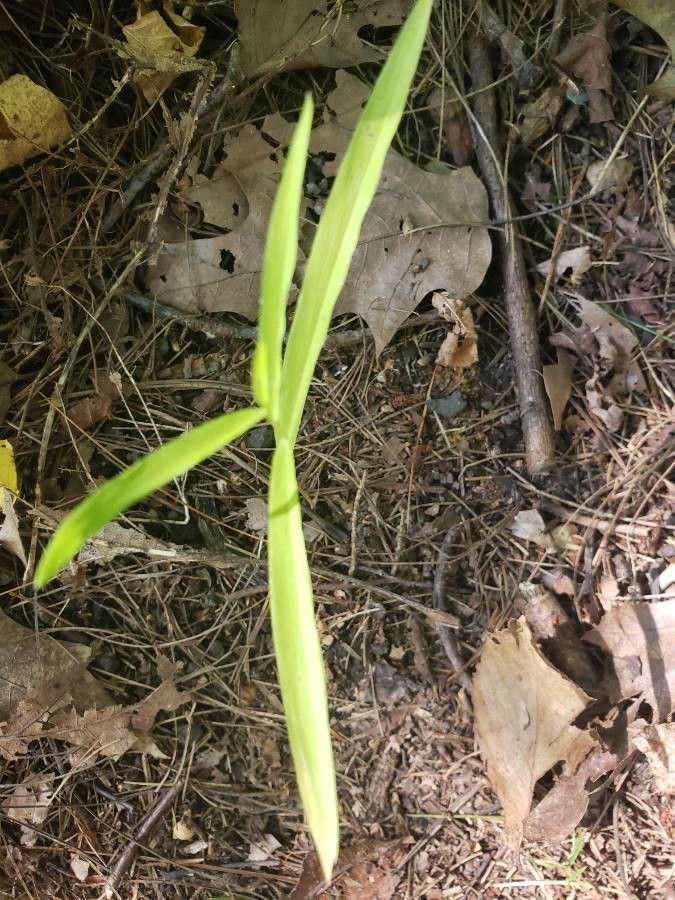
Oh, hello there, fellow plant enthusiast! Come on in, grab a cup of coffee, and let’s chat about one of my absolute favorite plants: Arundinaria gigantea, more commonly known as Giant Cane or Southern Cane. This magnificent native grass brings such a wild, natural beauty to any garden. Its tall, elegant culms (that’s the fancy word for bamboo stalks!) create a sense of privacy and a soothing rustle in the breeze that I just can’t get enough of. And the best part? You can easily multiply this beauty yourself! Propagating it is incredibly rewarding, and I’m happy to say, it’s quite beginner-friendly. Let’s get our hands dirty!
The Best Time to Get Started
For Arundinaria gigantea, spring is your golden ticket. Think about when the plant is really waking up after its winter nap. You want to catch it during its active growth phase, when it has plenty of energy to put into forming new roots. Mid-spring, after the last frost has passed but before the summer heat really sets in, is typically perfect.
What You’ll Need to Gather
Before we dive in, let’s make sure you have your tools ready. Having everything at hand makes the process so much smoother.
- Sharp Pruning Shears or a Knife: Clean cuts are crucial for helping your cuttings heal.
- Rooting Hormone (Optional but Recommended): This gives your cuttings a little boost. Look for one that contains IBA (Indole-3-butyric acid).
- Well-Draining Potting Mix: A good blend for us is about 50% peat moss or coco coir and 50% perlite or coarse sand. This prevents waterlogged roots.
- Small Pots or Trays: Whatever you have that can hold your cuttings and mix. Even old yogurt containers with drainage holes poked in the bottom will work in a pinch!
- Watering Can with a Fine Rose: For gentle watering.
- Plastic Bags (Clear) or a Propagator: To create a humid environment.
Let’s Get Propagating!
There are a couple of fantastic ways to multiply your Arundinaria gigantea. I usually find division to be the most straightforward and successful for this particular plant, but stem cuttings can also work beautifully.
Method 1: Division – My Go-To for Giant Cane
This is honestly the easiest way to propagate mature Arundinaria gigantea. Think of it like giving your plant a much-needed haircut and a new home!
- Digging Up the Clump: In the spring, carefully dig around the base of your established Arundinaria gigantea. You want to go a good distance out from the main clump, maybe a foot or so, to avoid severing too many roots. Gently lift the entire clump out of the ground. You might have to work a bit to loosen it from the soil.
- Separating the Divisions: Once it’s out, examine the root ball. You’re looking for sections that have healthy rhizomes (underground stems) and culms. You can often gently pull these apart with your hands. For tougher clumps, a clean spade or even a sharp knife can help you slice through the rhizomes. Aim for divisions that have at least 2-3 healthy culms and a good chunk of root.
- Planting Your New Babies: Prepare your new pots with your well-draining potting mix. Make a hole in the center large enough to accommodate the roots of your division. Place the division in the hole, ensuring the top of the rhizome is about an inch or two below the soil surface. Gently firm the soil around it.
- Water Thoroughly: Water your new plants well, making sure the soil is evenly moist but not soggy.
Method 2: Stem Cuttings
This method takes a bit more patience but is incredibly satisfying when those roots appear!
- Take Your Cuttings: Again, spring is ideal. Select healthy, new shoots that are about 6-10 inches long. They should have at least 3-4 nodes (the points along the stem where leaves emerge). Using your sharp shears, make a clean cut just below a node.
- Prepare the Cutting: Gently remove the leaves from the bottom two-thirds of the cutting. This is important because any leaves submerged in water or soil will likely rot. If the remaining leaves are very large, you can cut them in half horizontally to reduce water loss through transpiration.
- Apply Rooting Hormone (Optional): Dip the cut end of the stem into your rooting hormone, tapping off any excess.
- Planting the Cuttings: You have two main options here:
- Water Propagation: Place your cuttings in a jar or vase filled with room-temperature water. Make sure no leaves are touching the water. Place the container in a bright spot, but out of direct sunlight. Change the water every few days.
- Soil Propagation: Fill small pots or trays with your well-draining potting mix. Make a small hole with a pencil or your finger. Insert the cutting, ensuring the lowest node is below the soil surface. Gently firm the soil around it.
- Create Humidity: This is key for stem cuttings to prevent them from drying out. Cover the pots or jars with clear plastic bags or place them in a heated propagator. You can use stakes to keep the plastic from touching the leaves.
The “Secret Sauce” for Success
Over the years, I’ve learned a few tricks that really make a difference.
- Bottom Heat is Your Friend: Especially for stem cuttings, placing your pots on a heated propagator mat can significantly speed up root development. It mimics the warmth of spring soil and gives those roots a cozy place to start.
- Don’t Be Afraid to Prune: When taking stem cuttings, don’t hesitate to remove any weak or damaged culms from the parent plant. Your new propagated divisions and cuttings will thank you for it by having more energy directed towards healthy growth.
- Patience with Water: If you’re water propagating, you might think you see roots immediately. But often, what looks like roots could just be root initials. Wait until you have a good network of sturdy white roots, at least an inch or two long, before you attempt to move them to soil.
Aftercare and When to Worry
Once your divisions are planted or your cuttings have developed a good root system, it’s time for a bit of attentive care.
- Watering: Keep the soil consistently moist but not waterlogged. You’ll want to water them more frequently than established plants, especially during dry spells. As they grow, you can gradually reduce the watering frequency.
- Light: Place your new plants in a spot that receives bright, indirect light. Avoid scorching direct sun until they are well-established.
- Transplanting: Once your divisions have put on a bit of new growth or your cuttings are showing vigorous new shoots, they’re ready to be transplanted into larger pots or their final garden location.
Troubleshooting: The most common issue you might encounter is rot. This is usually a sign of too much moisture and poor drainage. If you see yellowing or mushy stems, or if your cuttings simply refuse to root and turn black, it’s likely rot. Ensure you’re using well-draining soil and not overwatering. Fungicidal treatments can sometimes help, but good cultural practices are your best defense.
Go Forth and Grow!
Propagating Arundinaria gigantea is such a wonderful way to connect with nature and expand your garden’s beauty. Don’t get discouraged if your first attempt isn’t perfect – gardening is all about learning and experimenting! Just be patient, nurture your new green shoots, and enjoy the process. Happy planting!
Resource:
https://identify.plantnet.org/k-world-flora/species/Arundinaria%20gigantea%20(Walter)%20Muhl./data