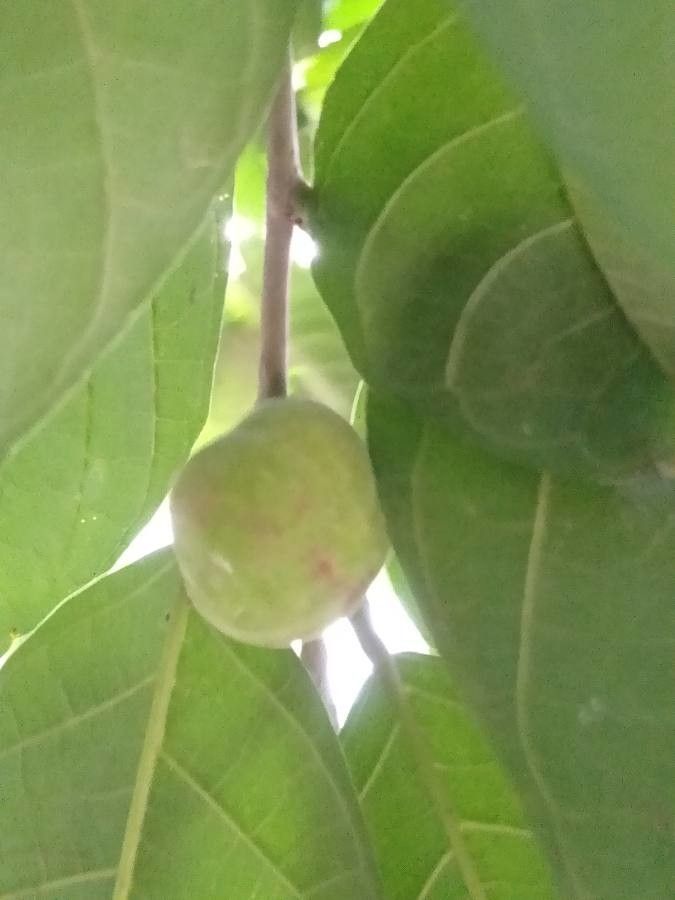
Hello, fellow garden enthusiasts! Today, we’re diving into something truly special: propagating Artocarpus lamellosus, often known as the Chempedak. If you’ve ever been captivated by its unique, fragrant fruit and striking foliage, you’re in for a treat. Growing your own Chempedak from a cutting feels like a little piece of horticultural magic, and it’s a fantastic way to share this delightful plant with friends. While it might not be the absolute easiest plant to start from scratch for a total beginner, with a little patience and the right approach, you can absolutely succeed!
The Best Time to Start
For the most success with Artocarpus lamellosus, aim to take cuttings during its active growing season. This usually means late spring through summer, when the plant is energized and has plenty of sap flow. You’re looking for semi-hardwood cuttings – these are stems that are no longer soft and green but not yet woody and mature. They have a bit of flexibility to them.
Supplies You’ll Need
Here’s what I always have on hand when I’m propagating:
- Sharp Pruning Shears or a Knife: Cleanliness is key here. I sterilize mine with rubbing alcohol between each cut.
- Rooting Hormone: A good quality rooting powder or gel makes a world of difference.
- Well-Draining Potting Mix: A blend of perlite, peat moss, and maybe some coco coir works beautifully. You want it airy.
- Small Pots or Propagation Trays: Clean pots are essential to prevent disease.
- Clear Plastic Bag or Dome: This creates a humid environment for your cuttings.
- Water Spray Bottle: For keeping humidity levels balanced.
- Optional: Bottom Heat Mat: This can really speed up rooting for some plants.
Propagation Methods
We’ll focus on stem cuttings, which is typically the most reliable method for Artocarpus lamellosus.
- Select a Healthy Stem: Look for a new, healthy shoot from your mature plant. It should be about pencil-thick and ideally 6-8 inches long.
- Make the Cut: Using your sterilized shears or knife, make a clean cut just below a leaf node (where a leaf attaches to the stem).
- Prepare the Cutting: Gently remove the lower leaves, leaving just a few at the top. This prevents them from rotting in the soil. You can even cut larger leaves in half to reduce water loss.
- Apply Rooting Hormone: Dip the cut end of the stem into your rooting hormone, ensuring it’s coated evenly. Tap off any excess.
- Plant the Cutting: Make a hole in your prepared potting mix with a pencil or dowel. Insert the cutting into the hole, firming the soil gently around it.
- Create a Humid Environment: Water the soil lightly. Then, cover the pot with a clear plastic bag or place it under a propagation dome. Ensure the leaves aren’t touching the sides of the bag if possible.
- Placement: Find a warm, bright location that doesn’t get direct sun. A windowsill away from harsh light is perfect.
The “Secret Sauce” (Pro Tips)
I’ve learned a few things over the years that truly make a difference:
- Don’t Overdo the Hormone: While rooting hormone is helpful, too much can actually hinder the process. A light coating is all that’s needed.
- Bottom Heat is Your Friend: If you have a heating mat, place your pot on it. This gentle warmth encourages root development from below, mimicking ideal soil temperatures. It can significantly speed up the rooting time.
- Be Patient with Air Circulation: While humidity is crucial, you don’t want stagnant air. Once a day, lift the plastic bag or open the dome for a few minutes to allow for some air exchange. This helps prevent fungal issues.
Aftercare & Troubleshooting
Once your cuttings are rooted (this can take anywhere from 4-12 weeks, so hang in there!), you’ll know it because you’ll see new leaf growth.
- Gradual Acclimation: Once new growth appears, gradually acclimate your cutting to normal room humidity by slowly increasing the time the bag or dome is off.
- Watering: Keep the soil consistently moist but not soggy. Allow the top inch of soil to dry out slightly between waterings.
- Signs of Trouble: The most common problem is rot, which looks like mushy, discolored stems. This is often due to too much moisture and poor air circulation. If you see rot, it’s often best to discard the affected cutting and start again with cleaner tools and better drainage. Another sign of failure is if the cutting just shrivels up and never shows signs of rooting – this could be due to lack of humidity, insufficient light, or the cutting being too old when taken.
A Little Patience Goes a Long Way
Propagating any plant is an act of hopeful anticipation. Sometimes they take off beautifully, and sometimes they teach us valuable lessons. Don’t be discouraged if your first few attempts aren’t perfect. Celebrate the new growth you see, learn from any setbacks, and most importantly, enjoy the journey of bringing more of these incredible plants into your life. Happy gardening!
Resource:
https://identify.plantnet.org/k-world-flora/species/Artocarpus%20lamellosus%20Blanco/data